Nakivo – Homelab Build Out
As I work on building out my homelab, I decided that for this iteration of it, I needed to have something that was more robust to handle my backups. I spend a lot of time configuring and deploying my key VMs and I wanted to make sure that I had good backups as I tinker.
I’ve long since used Nakivo Backup and Replication Free Edition which is a perfect solution for those on a budget or with a small environment. Nakivo’s free edition covers 2 VMs. This was a great start, but I really wanted to protect my whole infrastructure. So I pulled the proverbial trigger and purchased 2 Enterprise Essential licenses to cover VMWare on my Dell R510.
Being a Systems Administrator for over a decade, I’ve used and tested numerous backup products. Some worked better then others, and for me, most of them were well out of my price range. After using Nakivo in my lab and deploying it for a former employer, I felt it was well worth the investment to purchase the full product.
Installation
Installation of Nakivo is very easy. I’ve used Nakivo on both Windows and Synology platforms. For this installation, I will be installing Nakivo on my Supermicro mini server case and a Supermicro X10SDV-TLN4F motherboard. You can see more about the server in my post titled “Small Home Lab Server”.

Nakivo Installation
First we need to obtain the trial installation of Nakivo. You can do so by click on the link here. Fill out the information and download the installation. Once you’ve downloaded the executable, we can go ahead and double click it. You will see the screen below.
Once the installer initializes, you have some options to pick. I accepted all of the defaults for my installation.
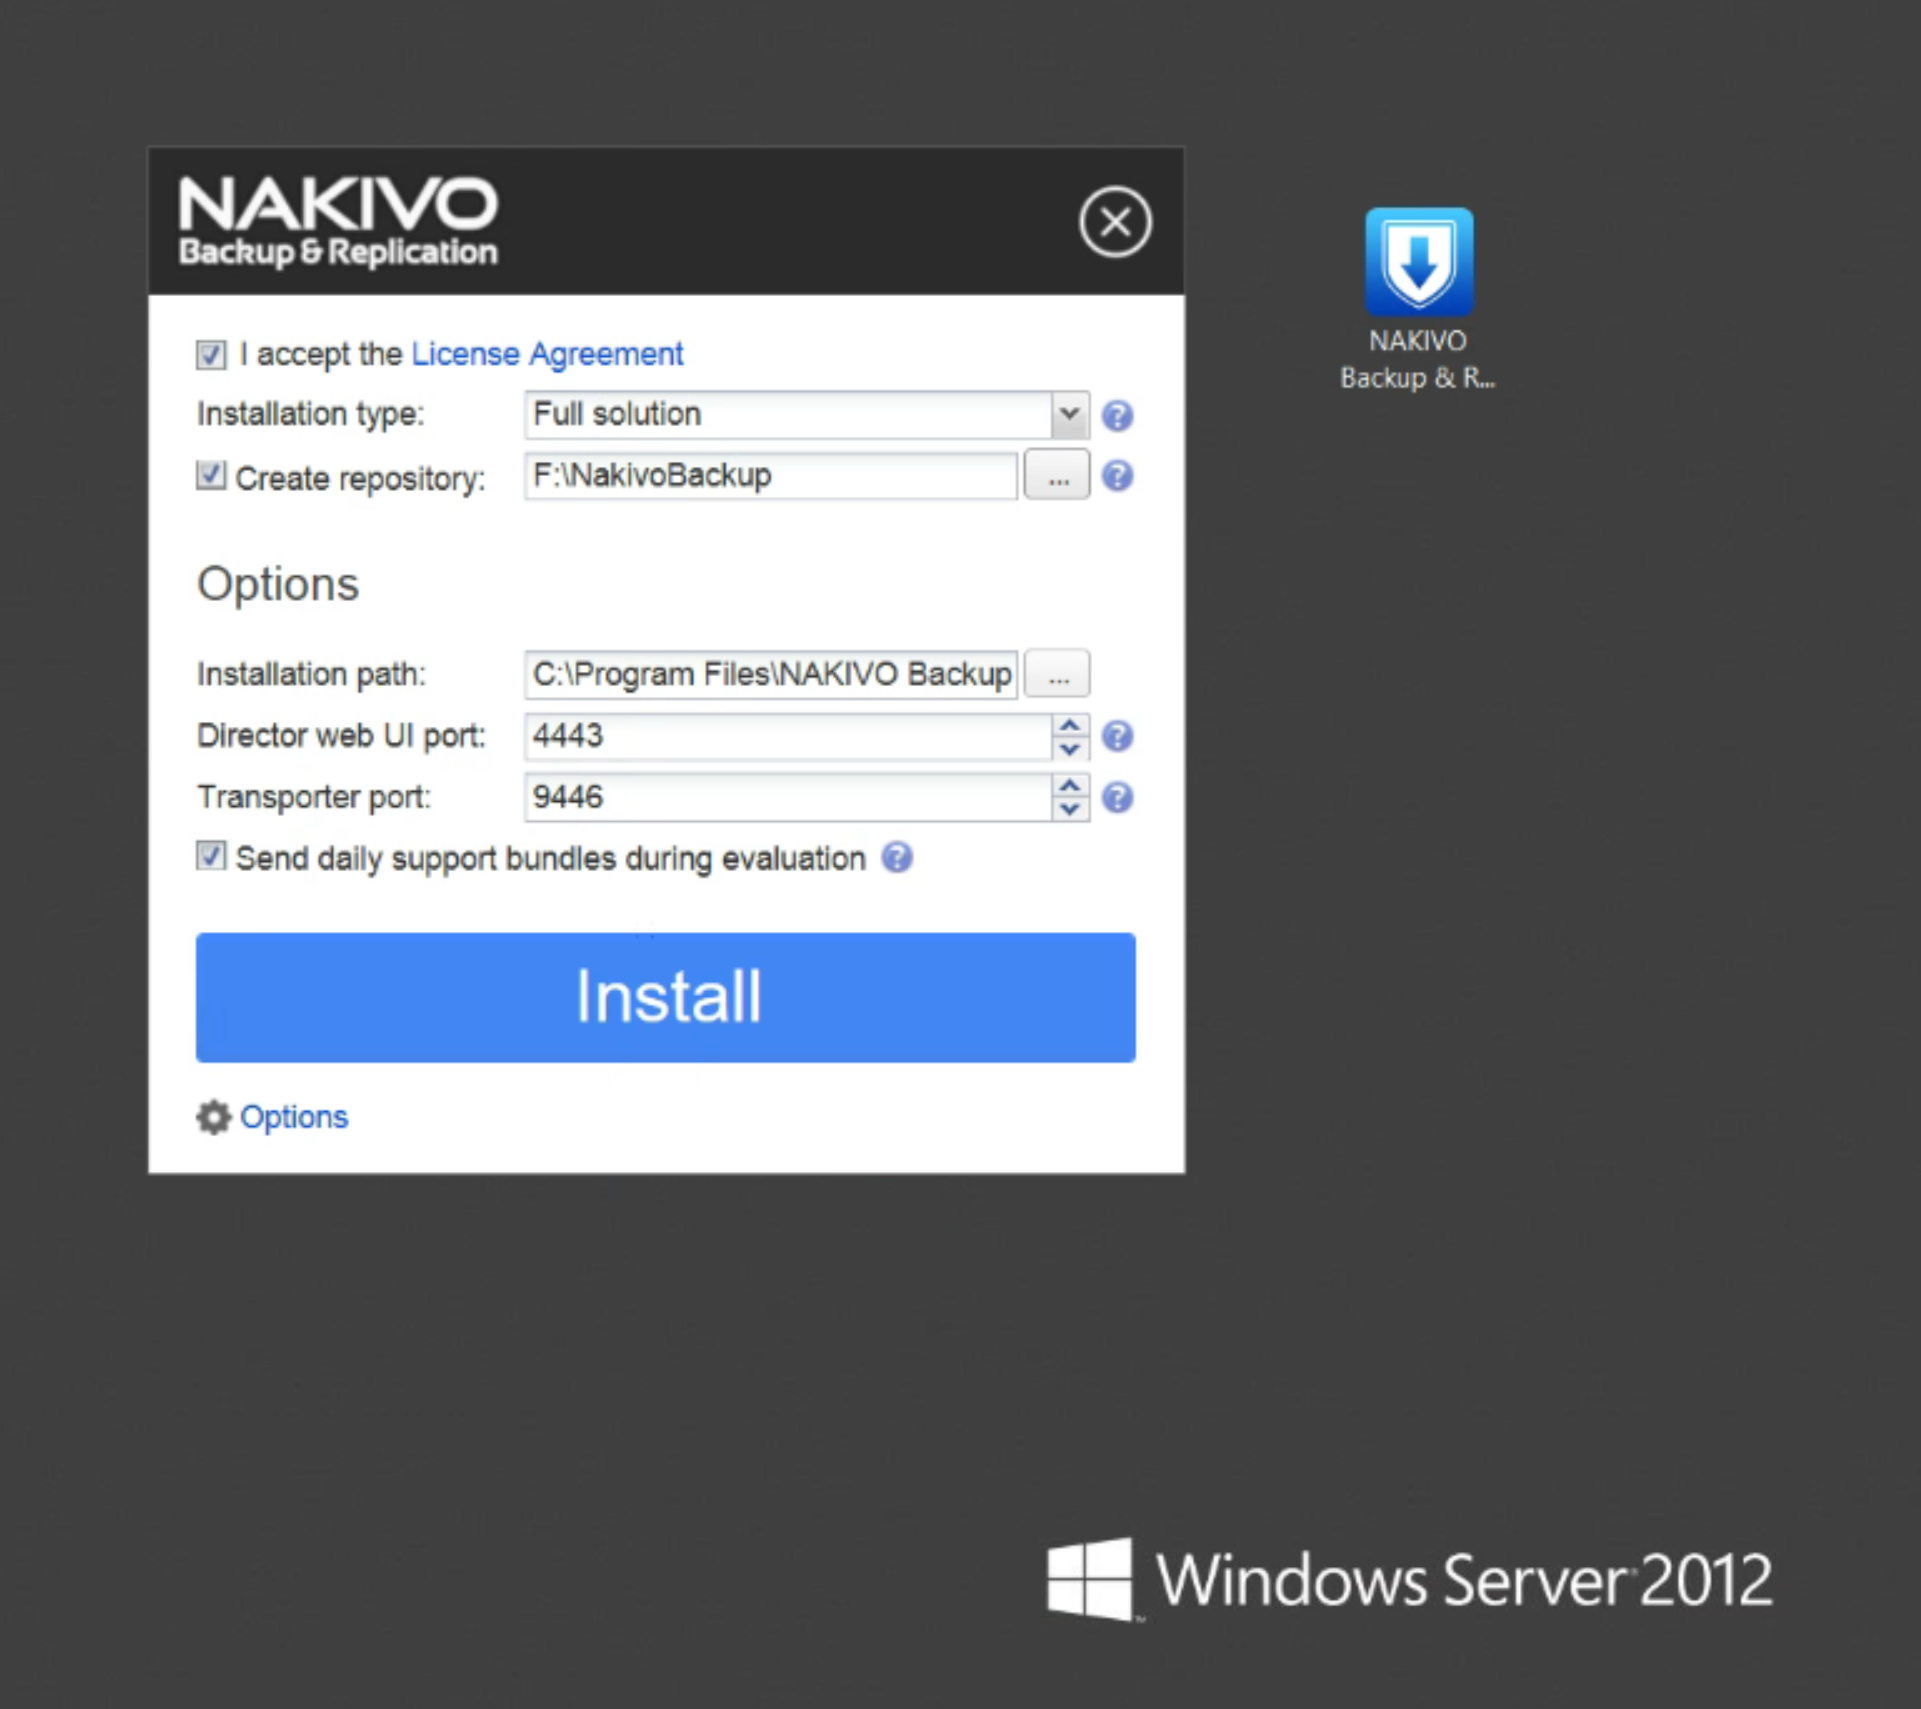
Nakivo Options
When the install is complete, click on the “Finish” button. If you’ve left the check box “Open NAKIVO Backup and Replication” selected, your default browser will open and prompt you to create your account.
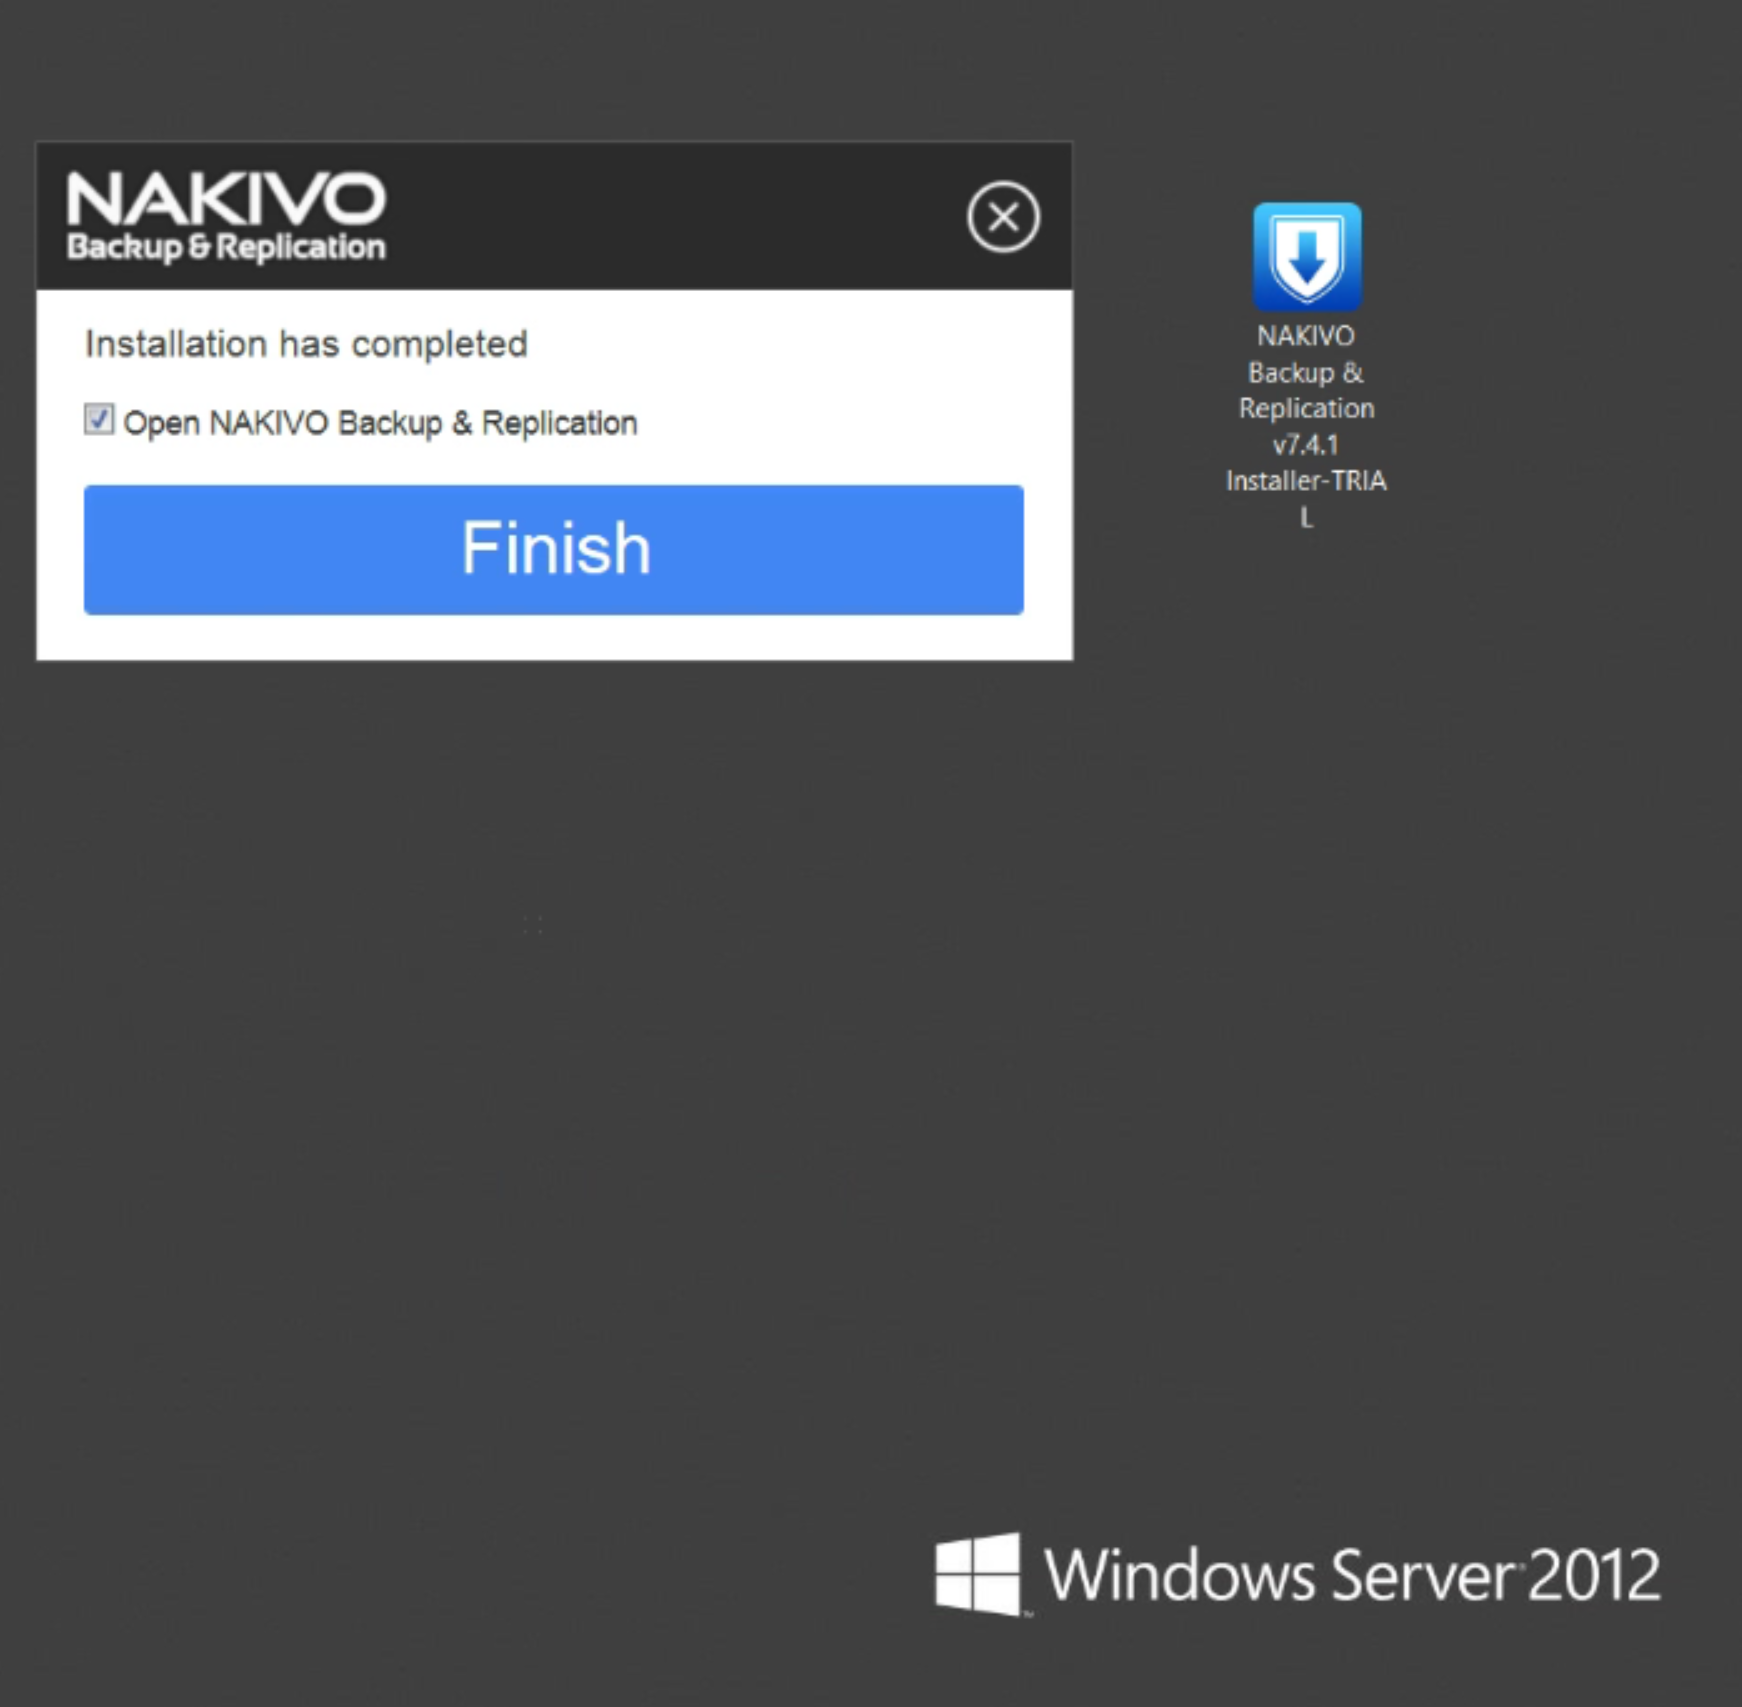
Install Finished
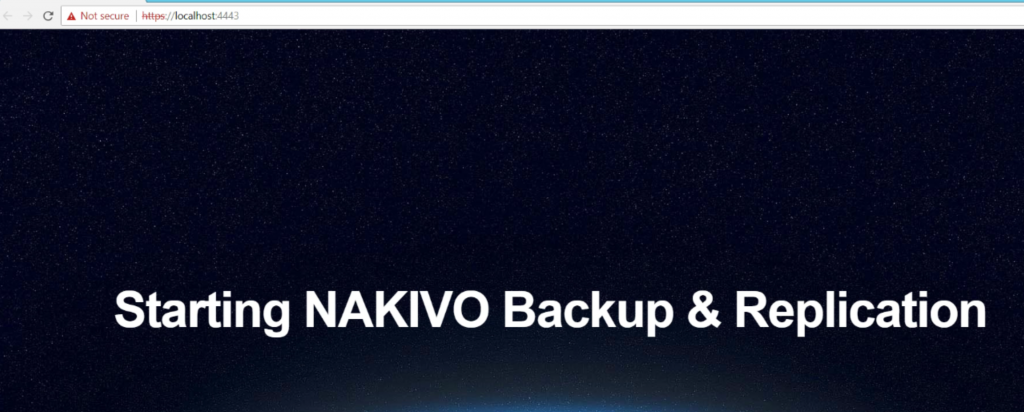
Your browser will launch and you will see Nakivo starting up.
Configuration
Here you can pick your username, password and email address. Pretty straight forward.
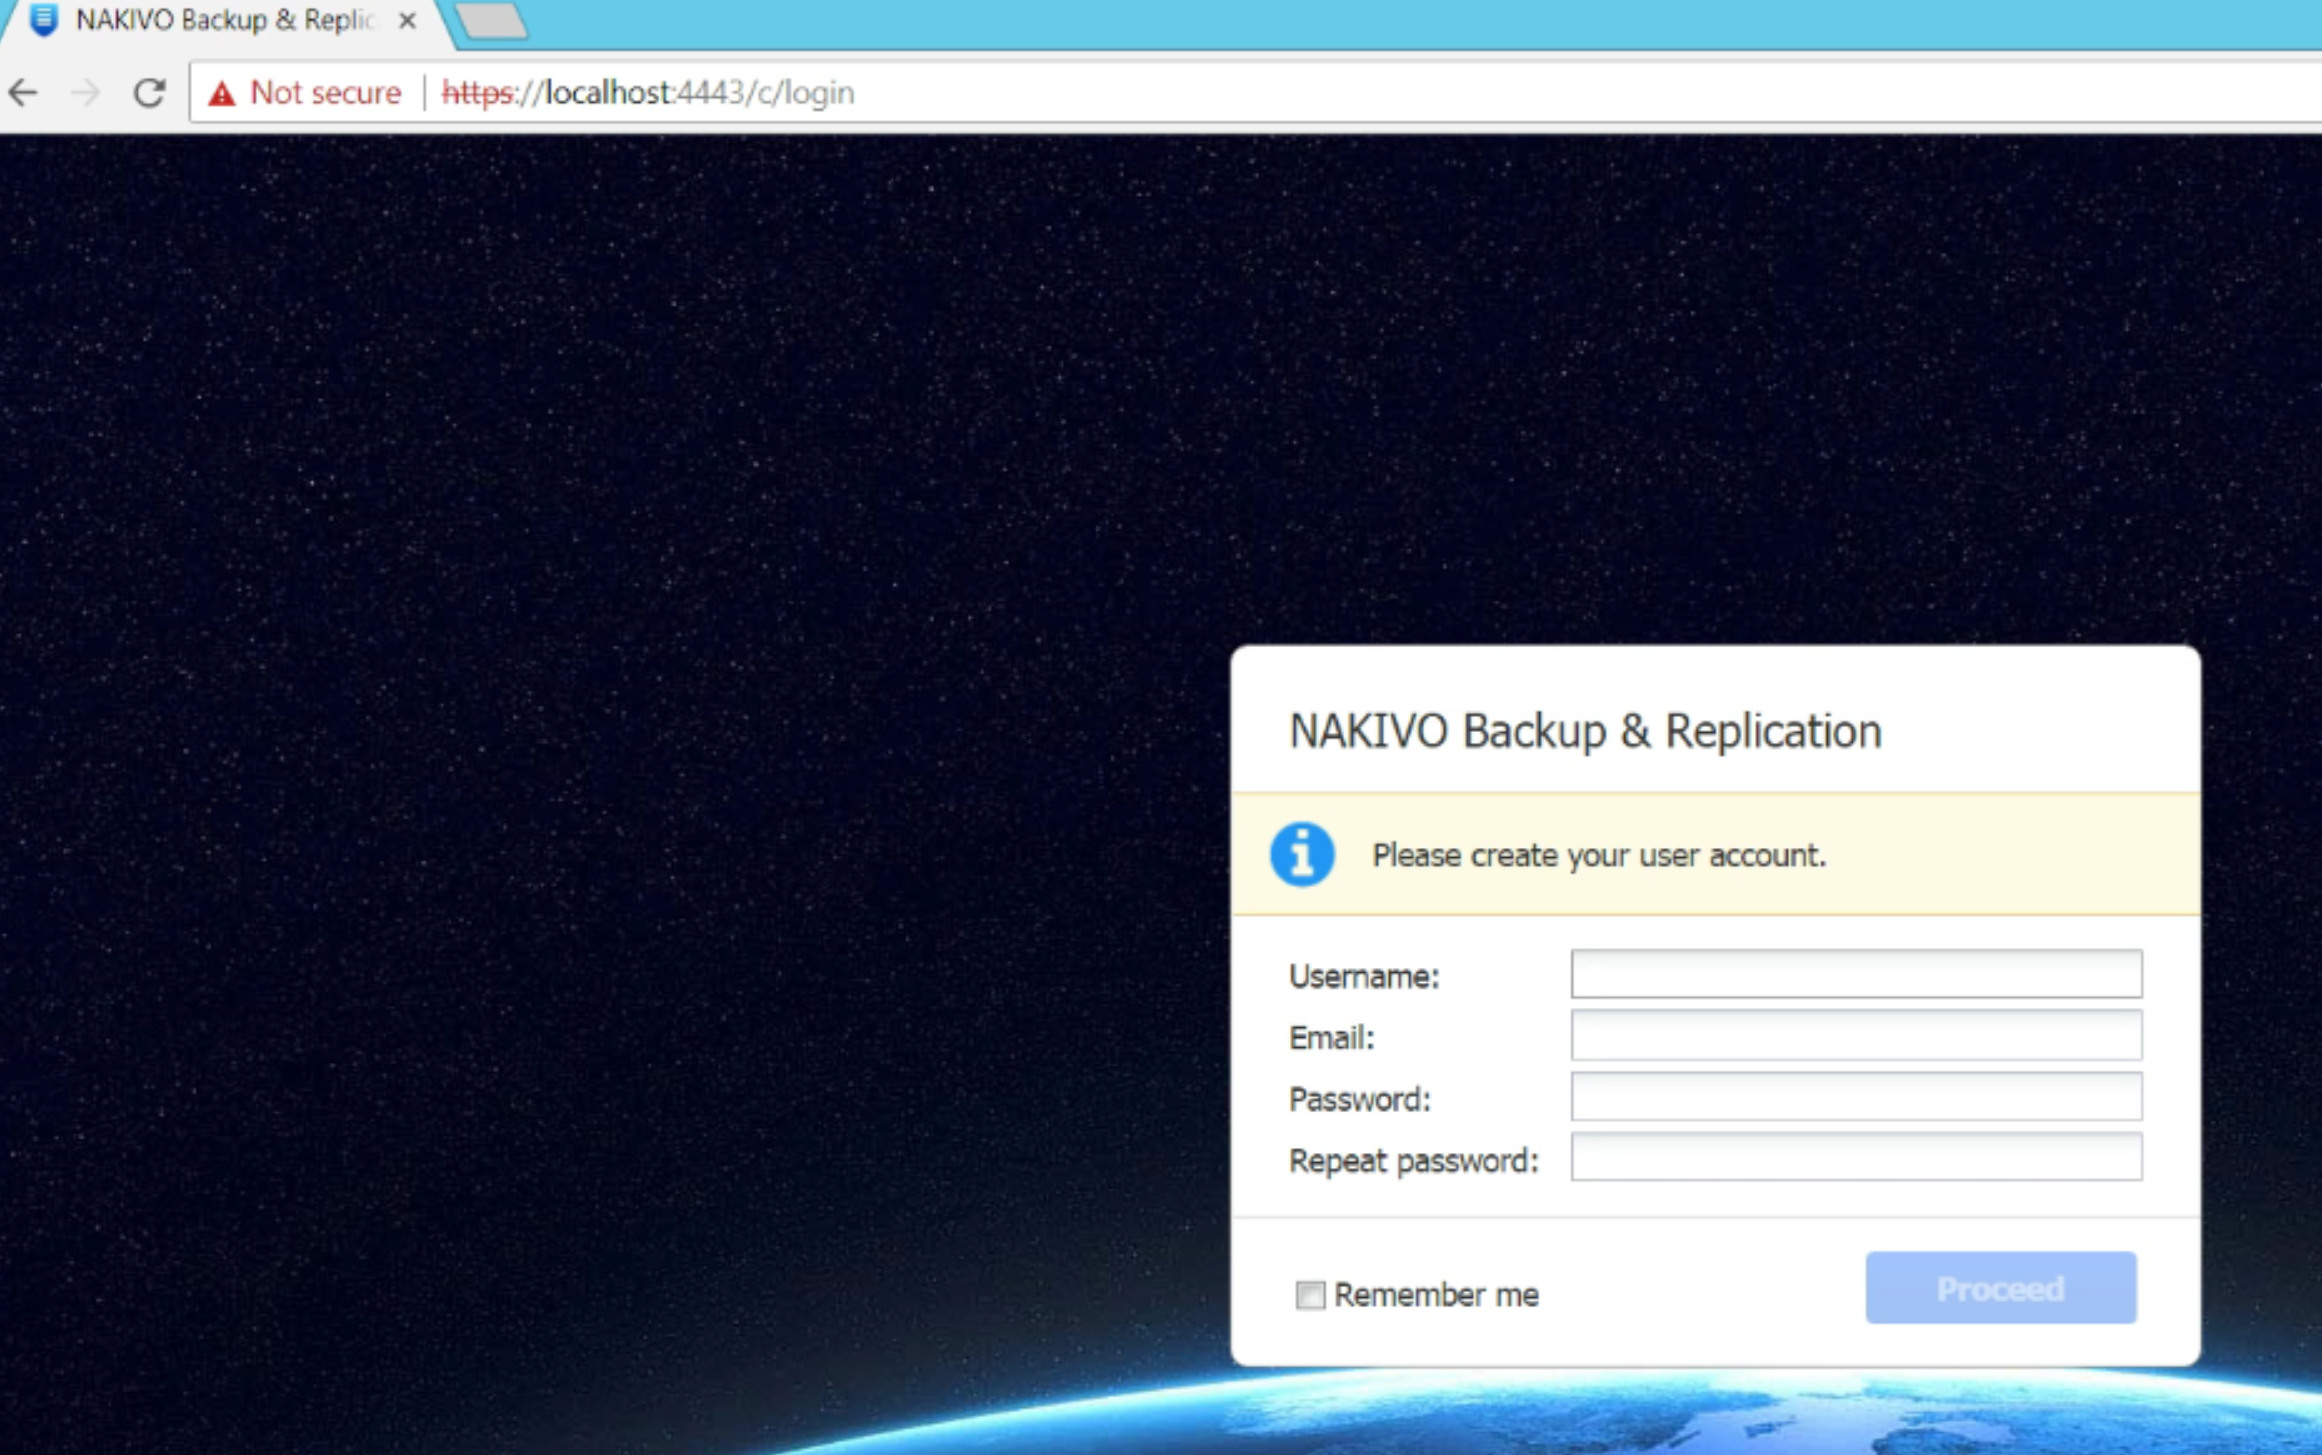
Creating a new account
Next we need to add a host to back up. In this case, I have VMWare vCenter running. For my home lab I opted to purchase the VMUG Advantage subscription. This costs around $200/year and is well worth it for those of us who want to learn VMWare at home. You get all of their offerings to try out in your home lab for $200/year. Great feature from VMWare.
So we will add the hostname, IP and the credentials to login to it. Then click the “Add” button.
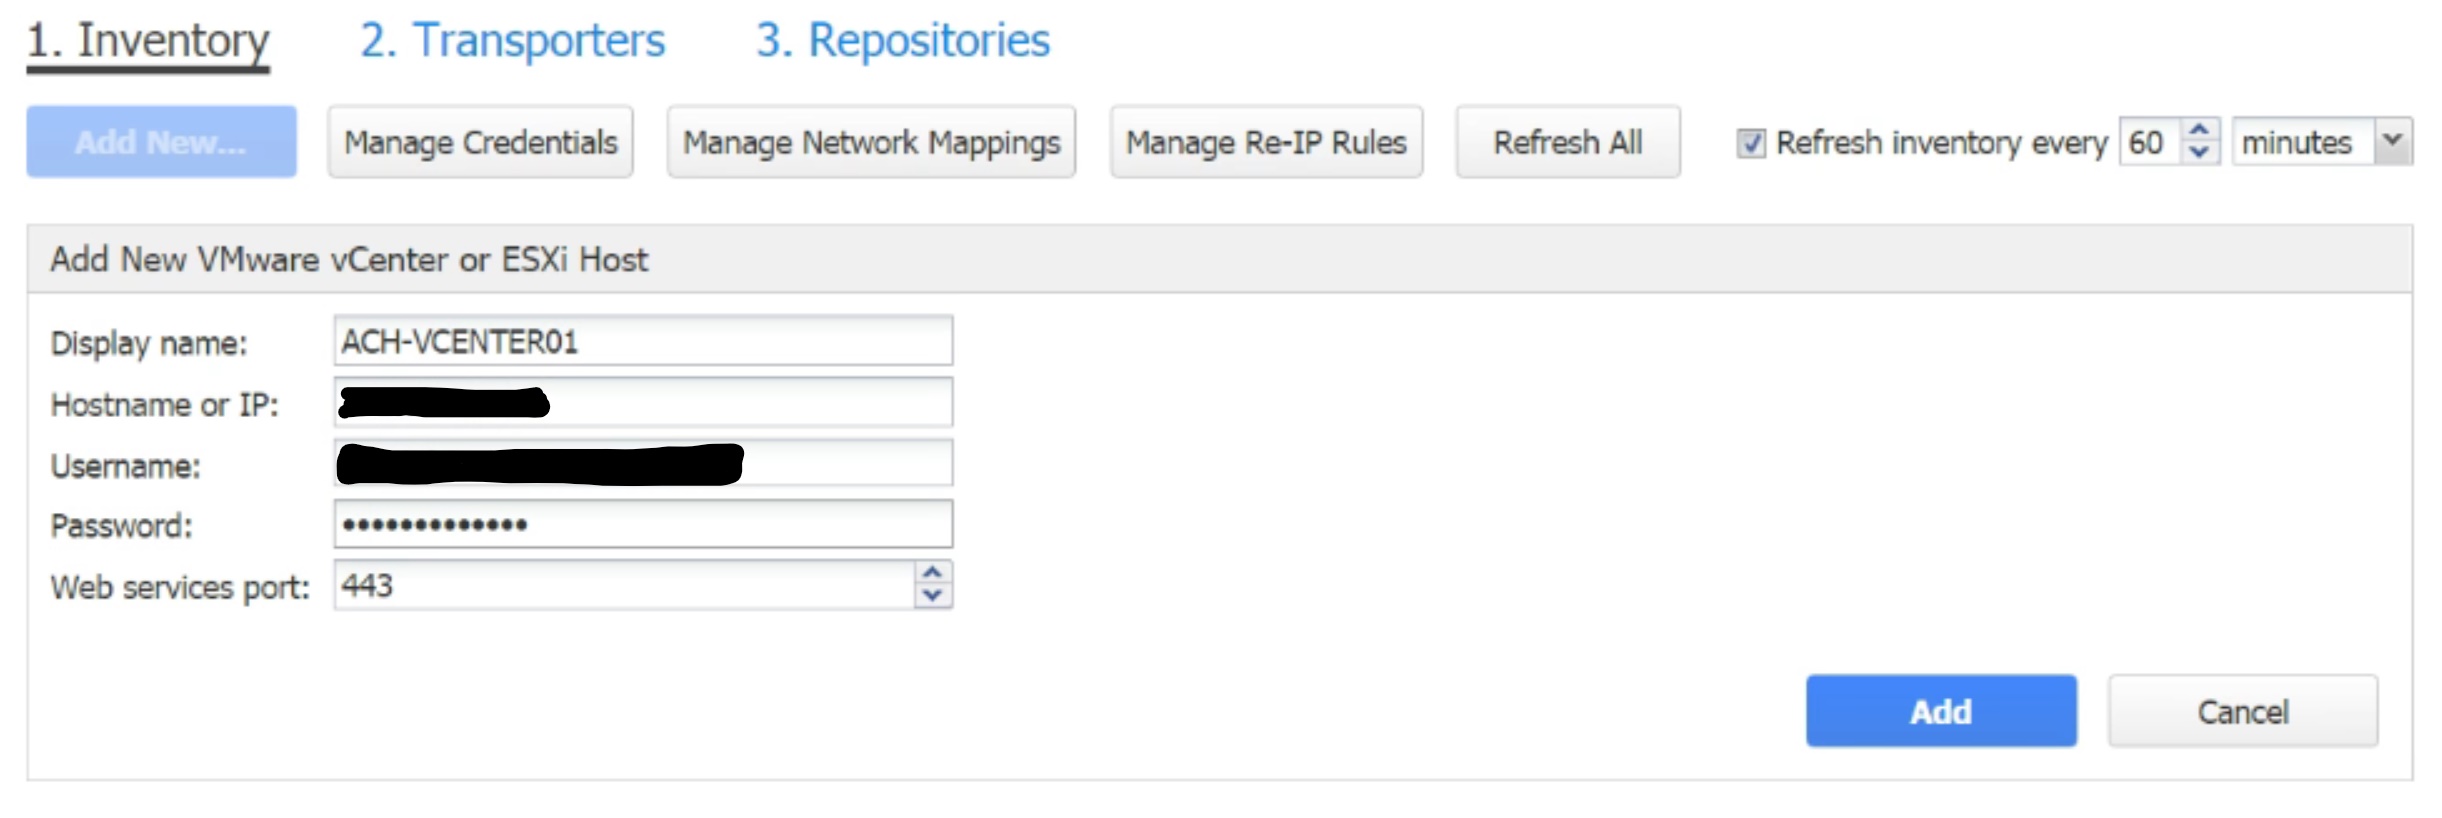
Nakivo Inventory
For my installation, I used the onboard transporter. I do not have anything off site at this time and for what I back up, the onboard transporter works well. Click “Next” here.
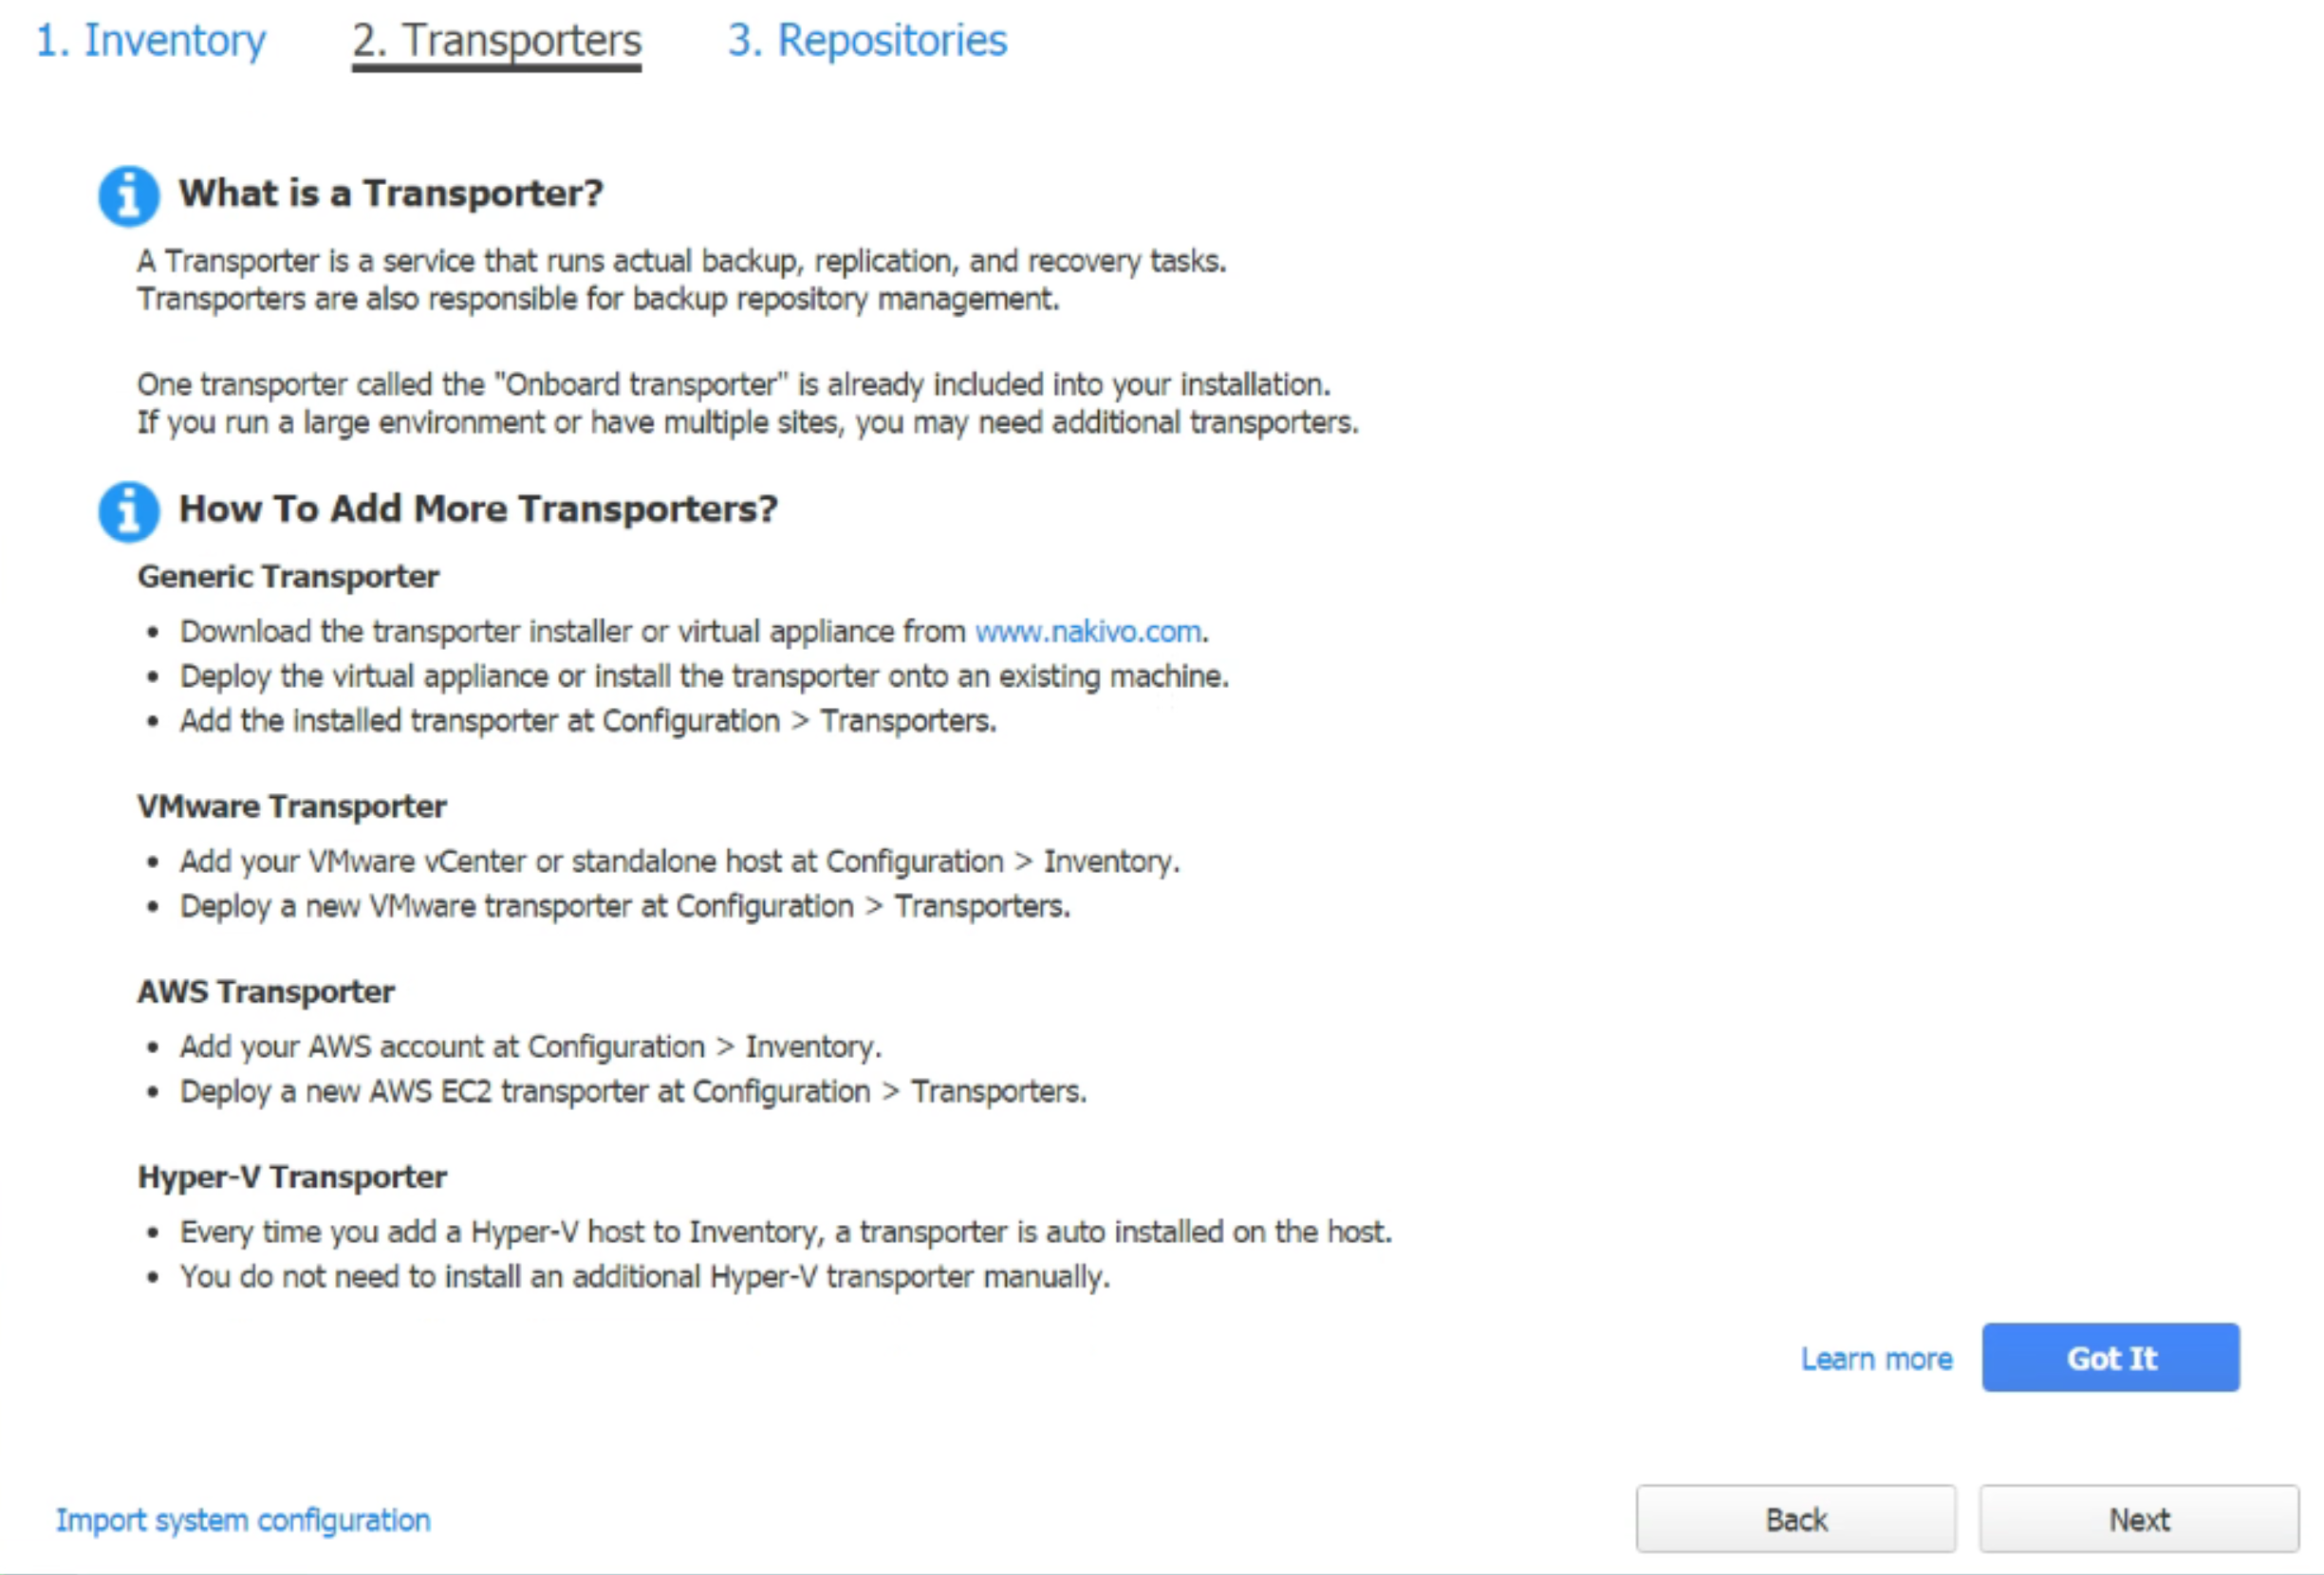
Nakivo Transporters
Now we need to tell Nakivo where to store your backups. In my case, for now, I will pick the 3TB drive in my Supermicro computer (I am currently lacking in storage and hope to upgrade shortly)
I accept all the defaults here and click “Finish”
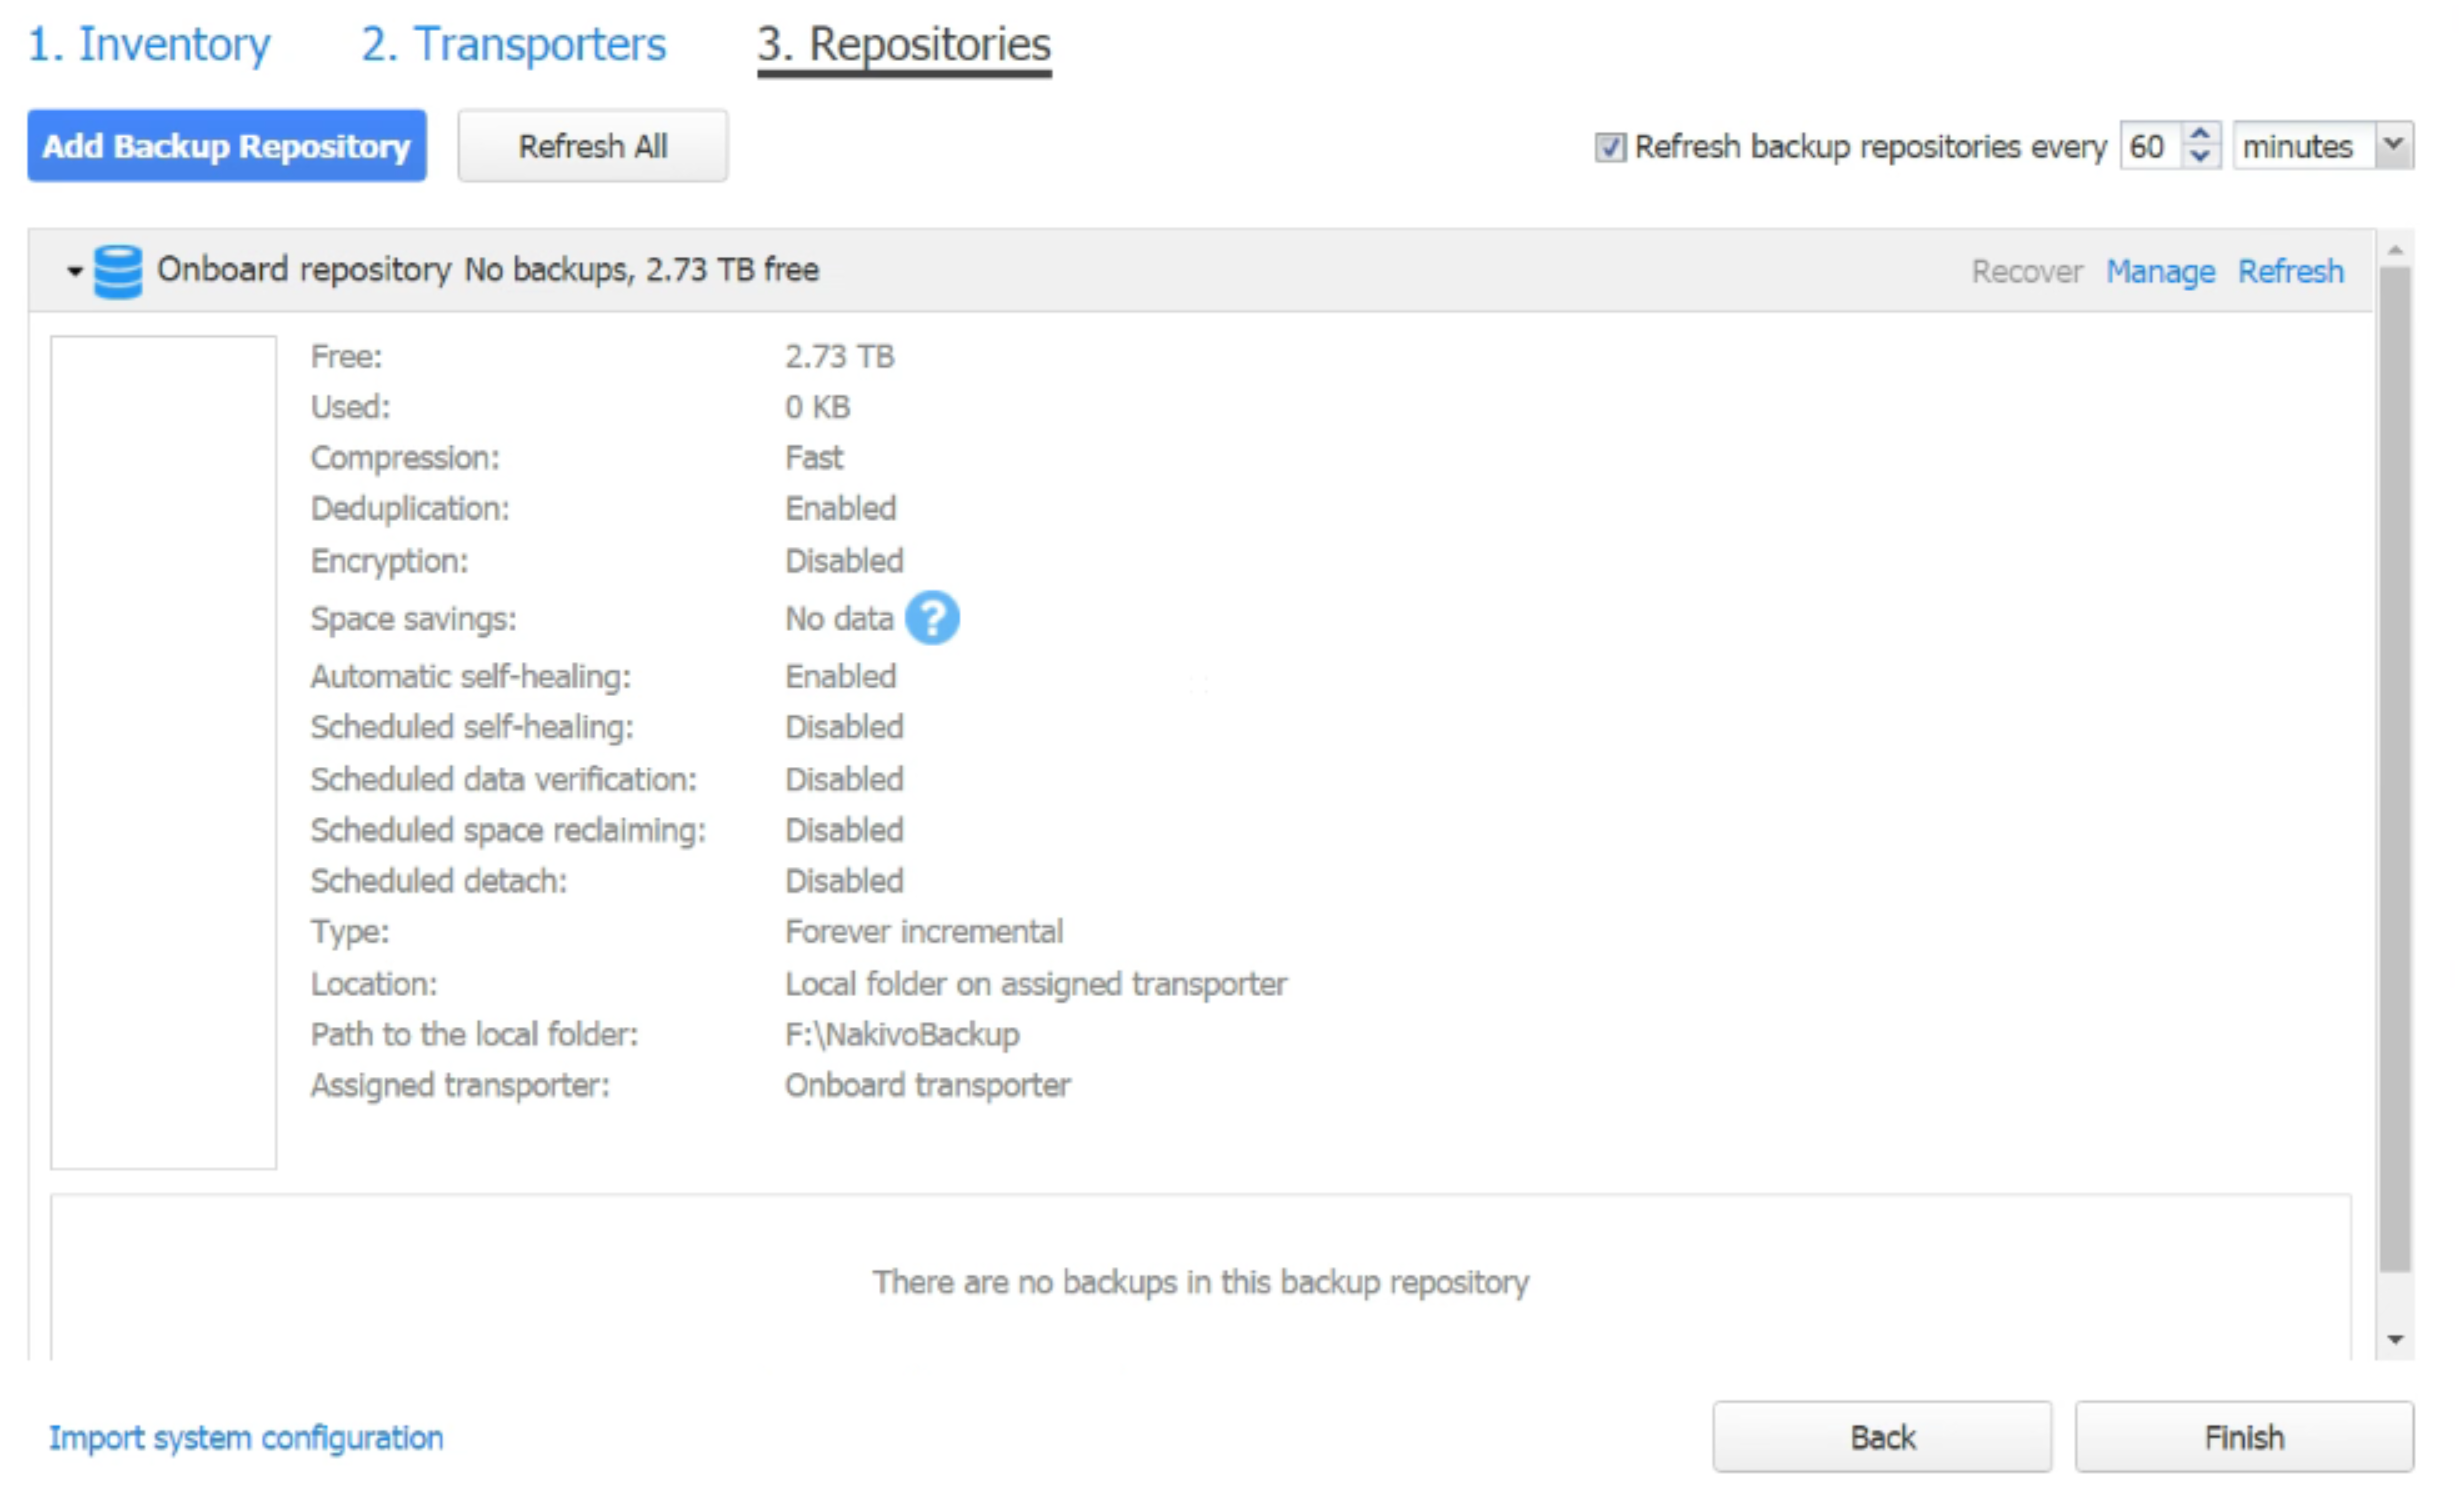
Nakivo Repositories
Now that we’ve installed Nakivo and added a host, it is time to configure a backup job.
Creating a Job
Creating a backup job with Nakivo is actually very easy. There is no agent to deploy or configure, it’s all done right from the user interface. First, select the “Create” button along the top of your console. Since I run VMWare in house, I am going select “VMWare vSphere backup job”

Create a job
Select the VMs you wish to backup with this job. I built out this job for my firewall and UniFi server. Don’t mind the two inaccessible VMs, those are old and I have yet to remove them.
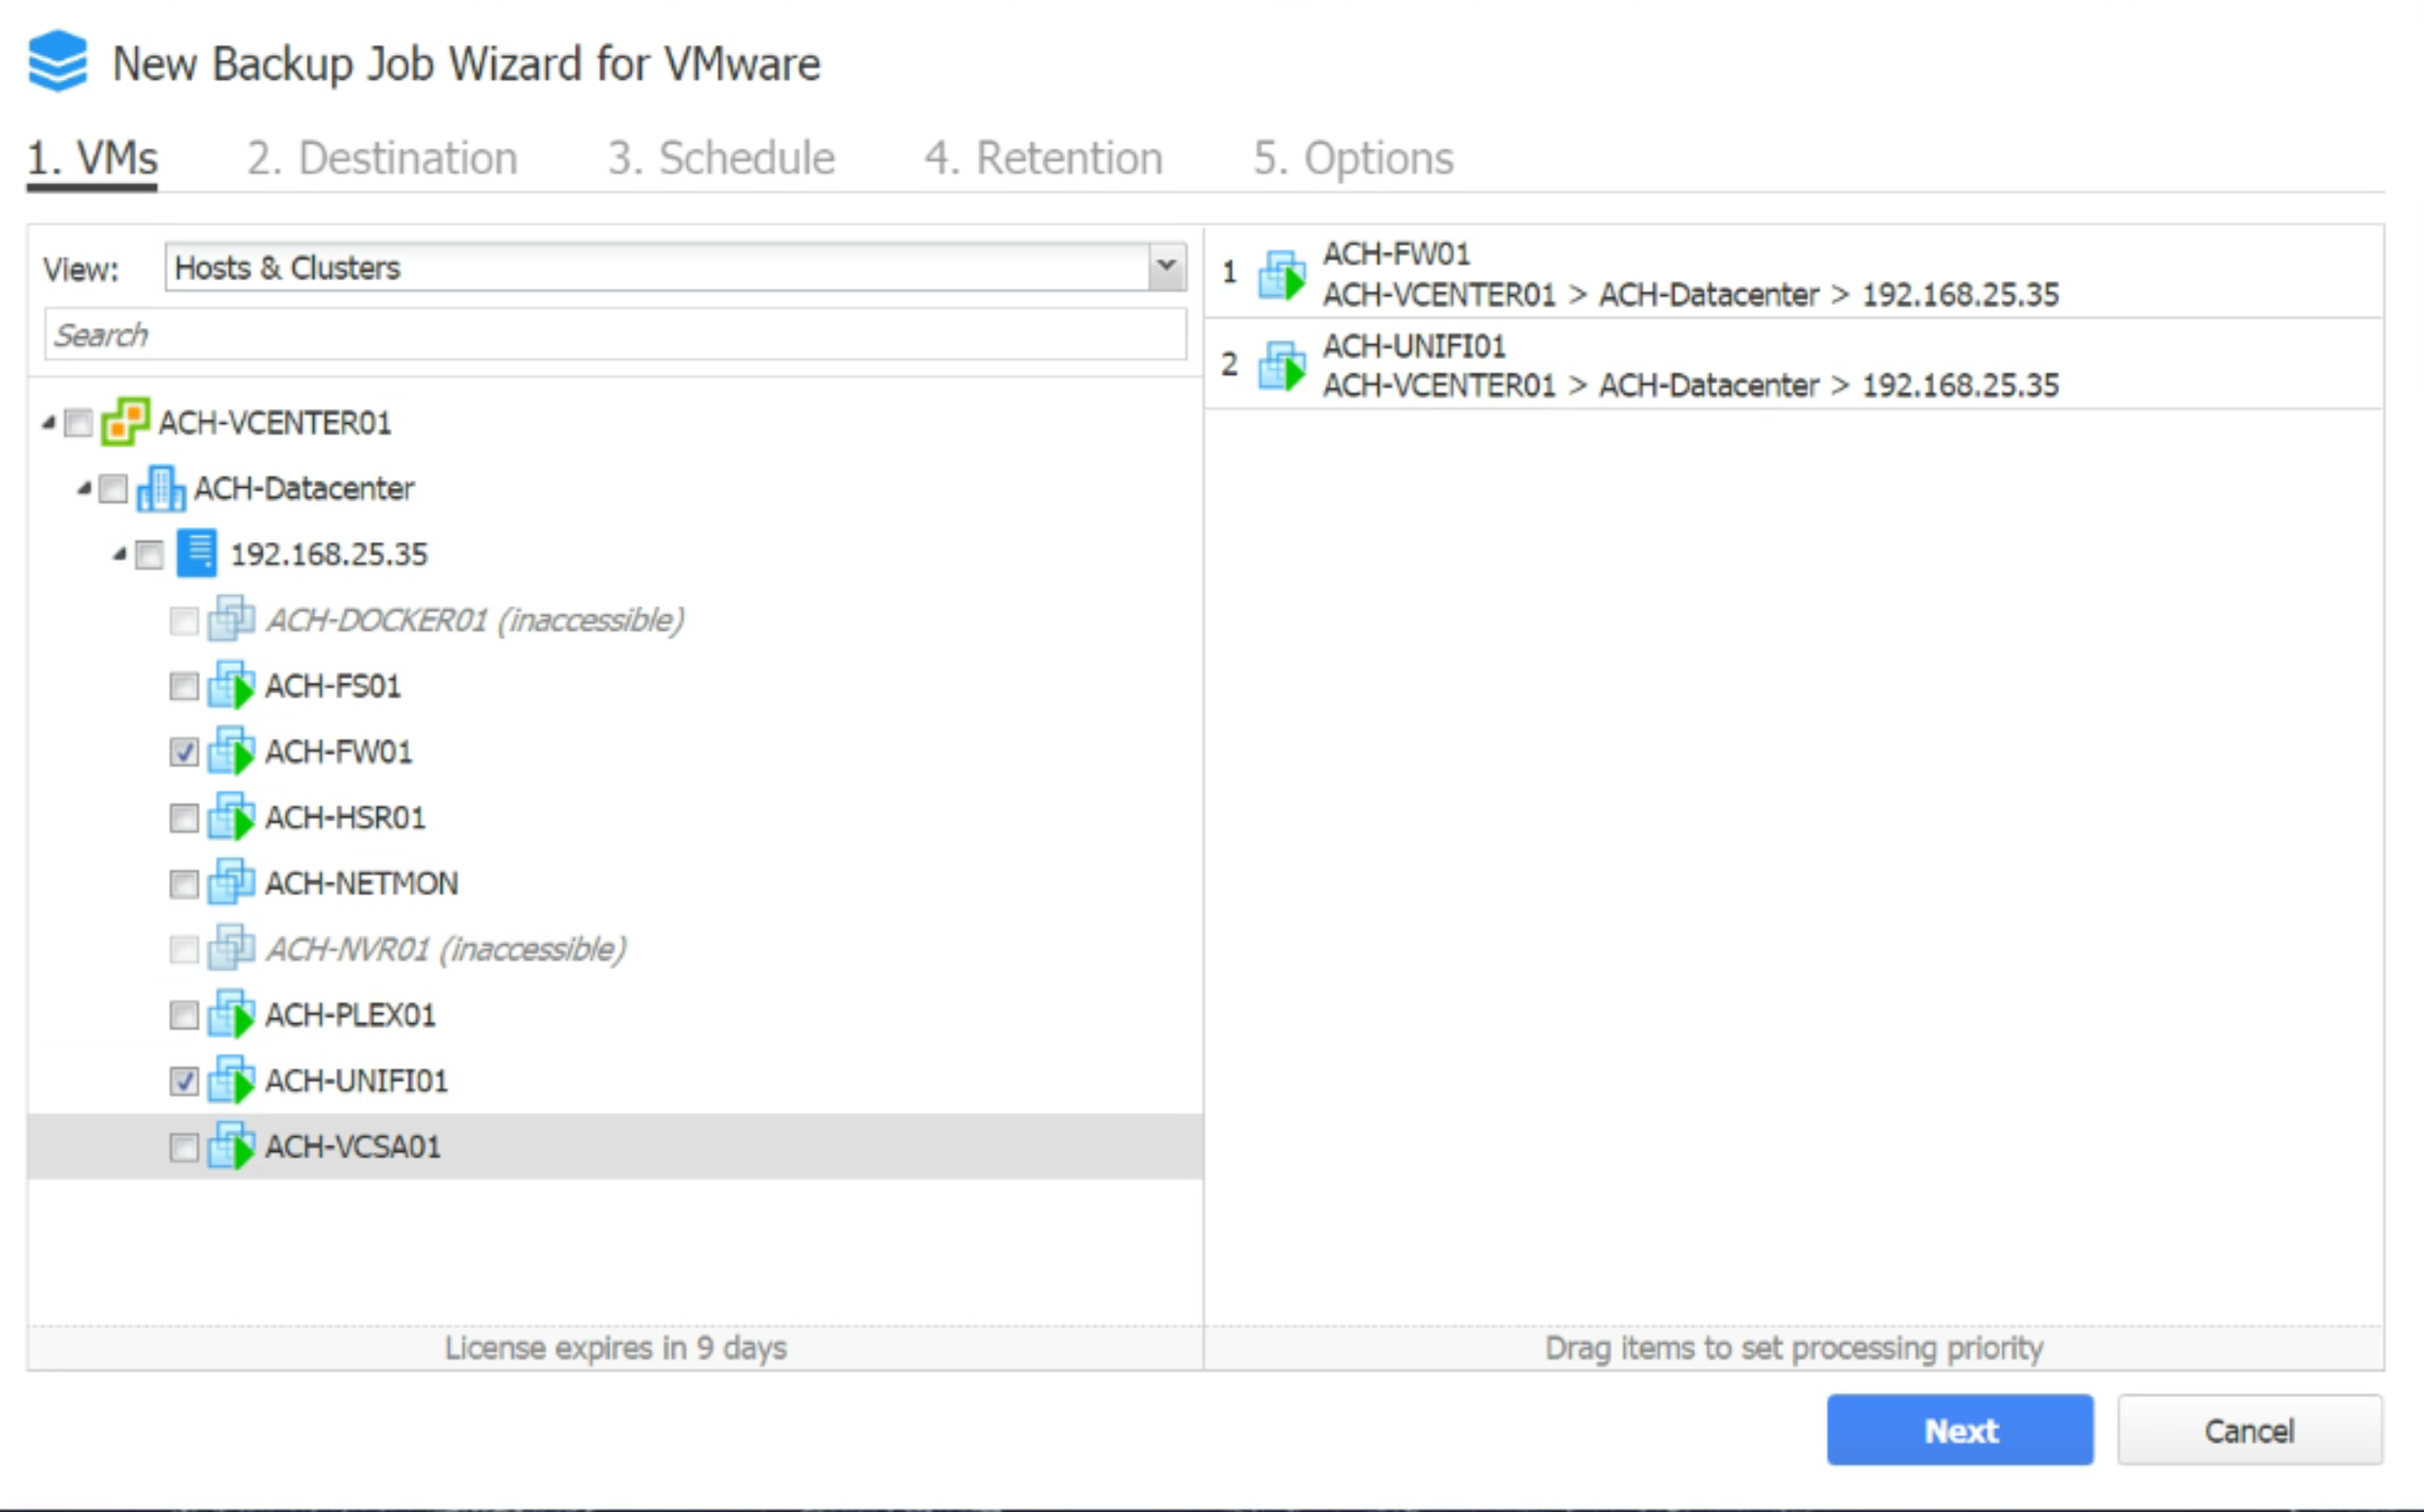
Select a VM
Once we’ve selected our VMs, we need to tell Nakivo where to send those backups. I am using the onboard repository, so that is what I will select.

Job Destination
Here you can schedule how often your backup actually runs. For now, I went with the defaults for this job. For the rest of my jobs, I will change the time at which the backup runs so they do not all run at one time.

Backup Schedule
Next, select your retention schedule. Again, for this job, I just left the default of keeping the last 10 recovery points.
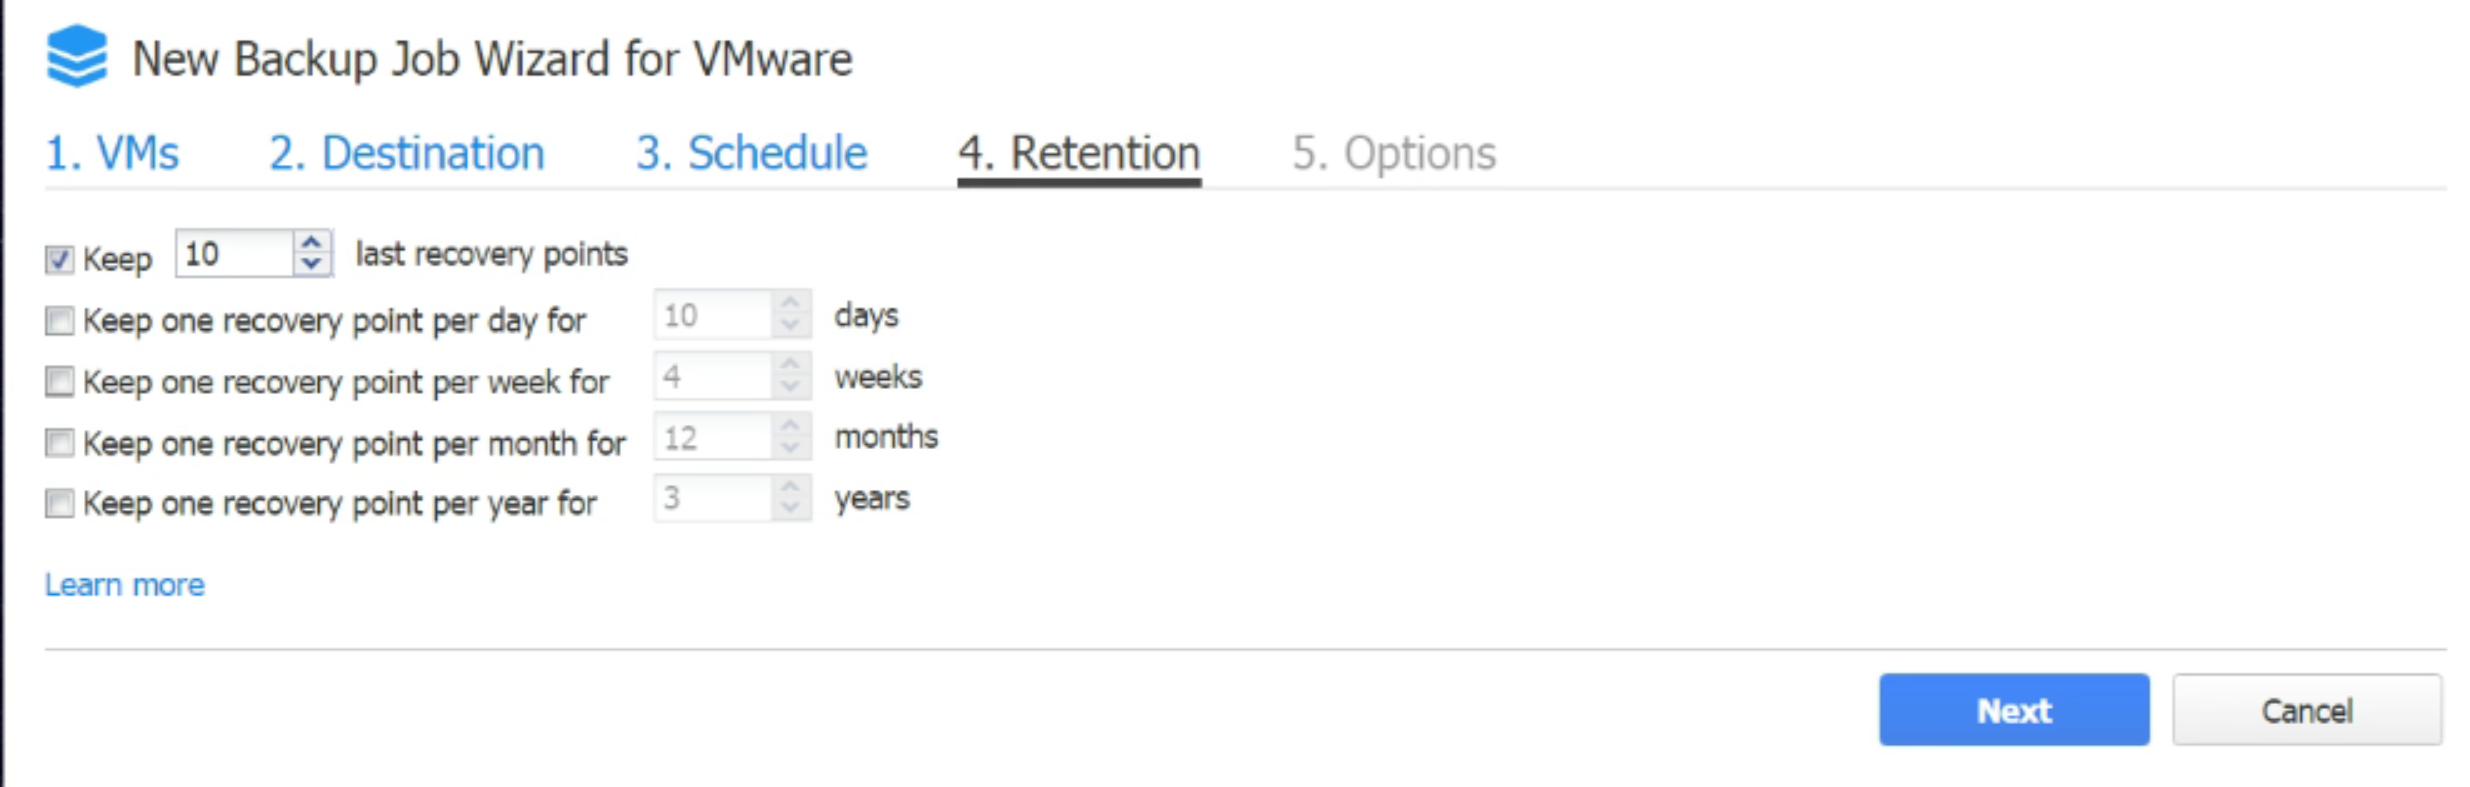
Job Retention
The final step to creating your first job is selecting options for the job. Again, I left most of this as the defaults.
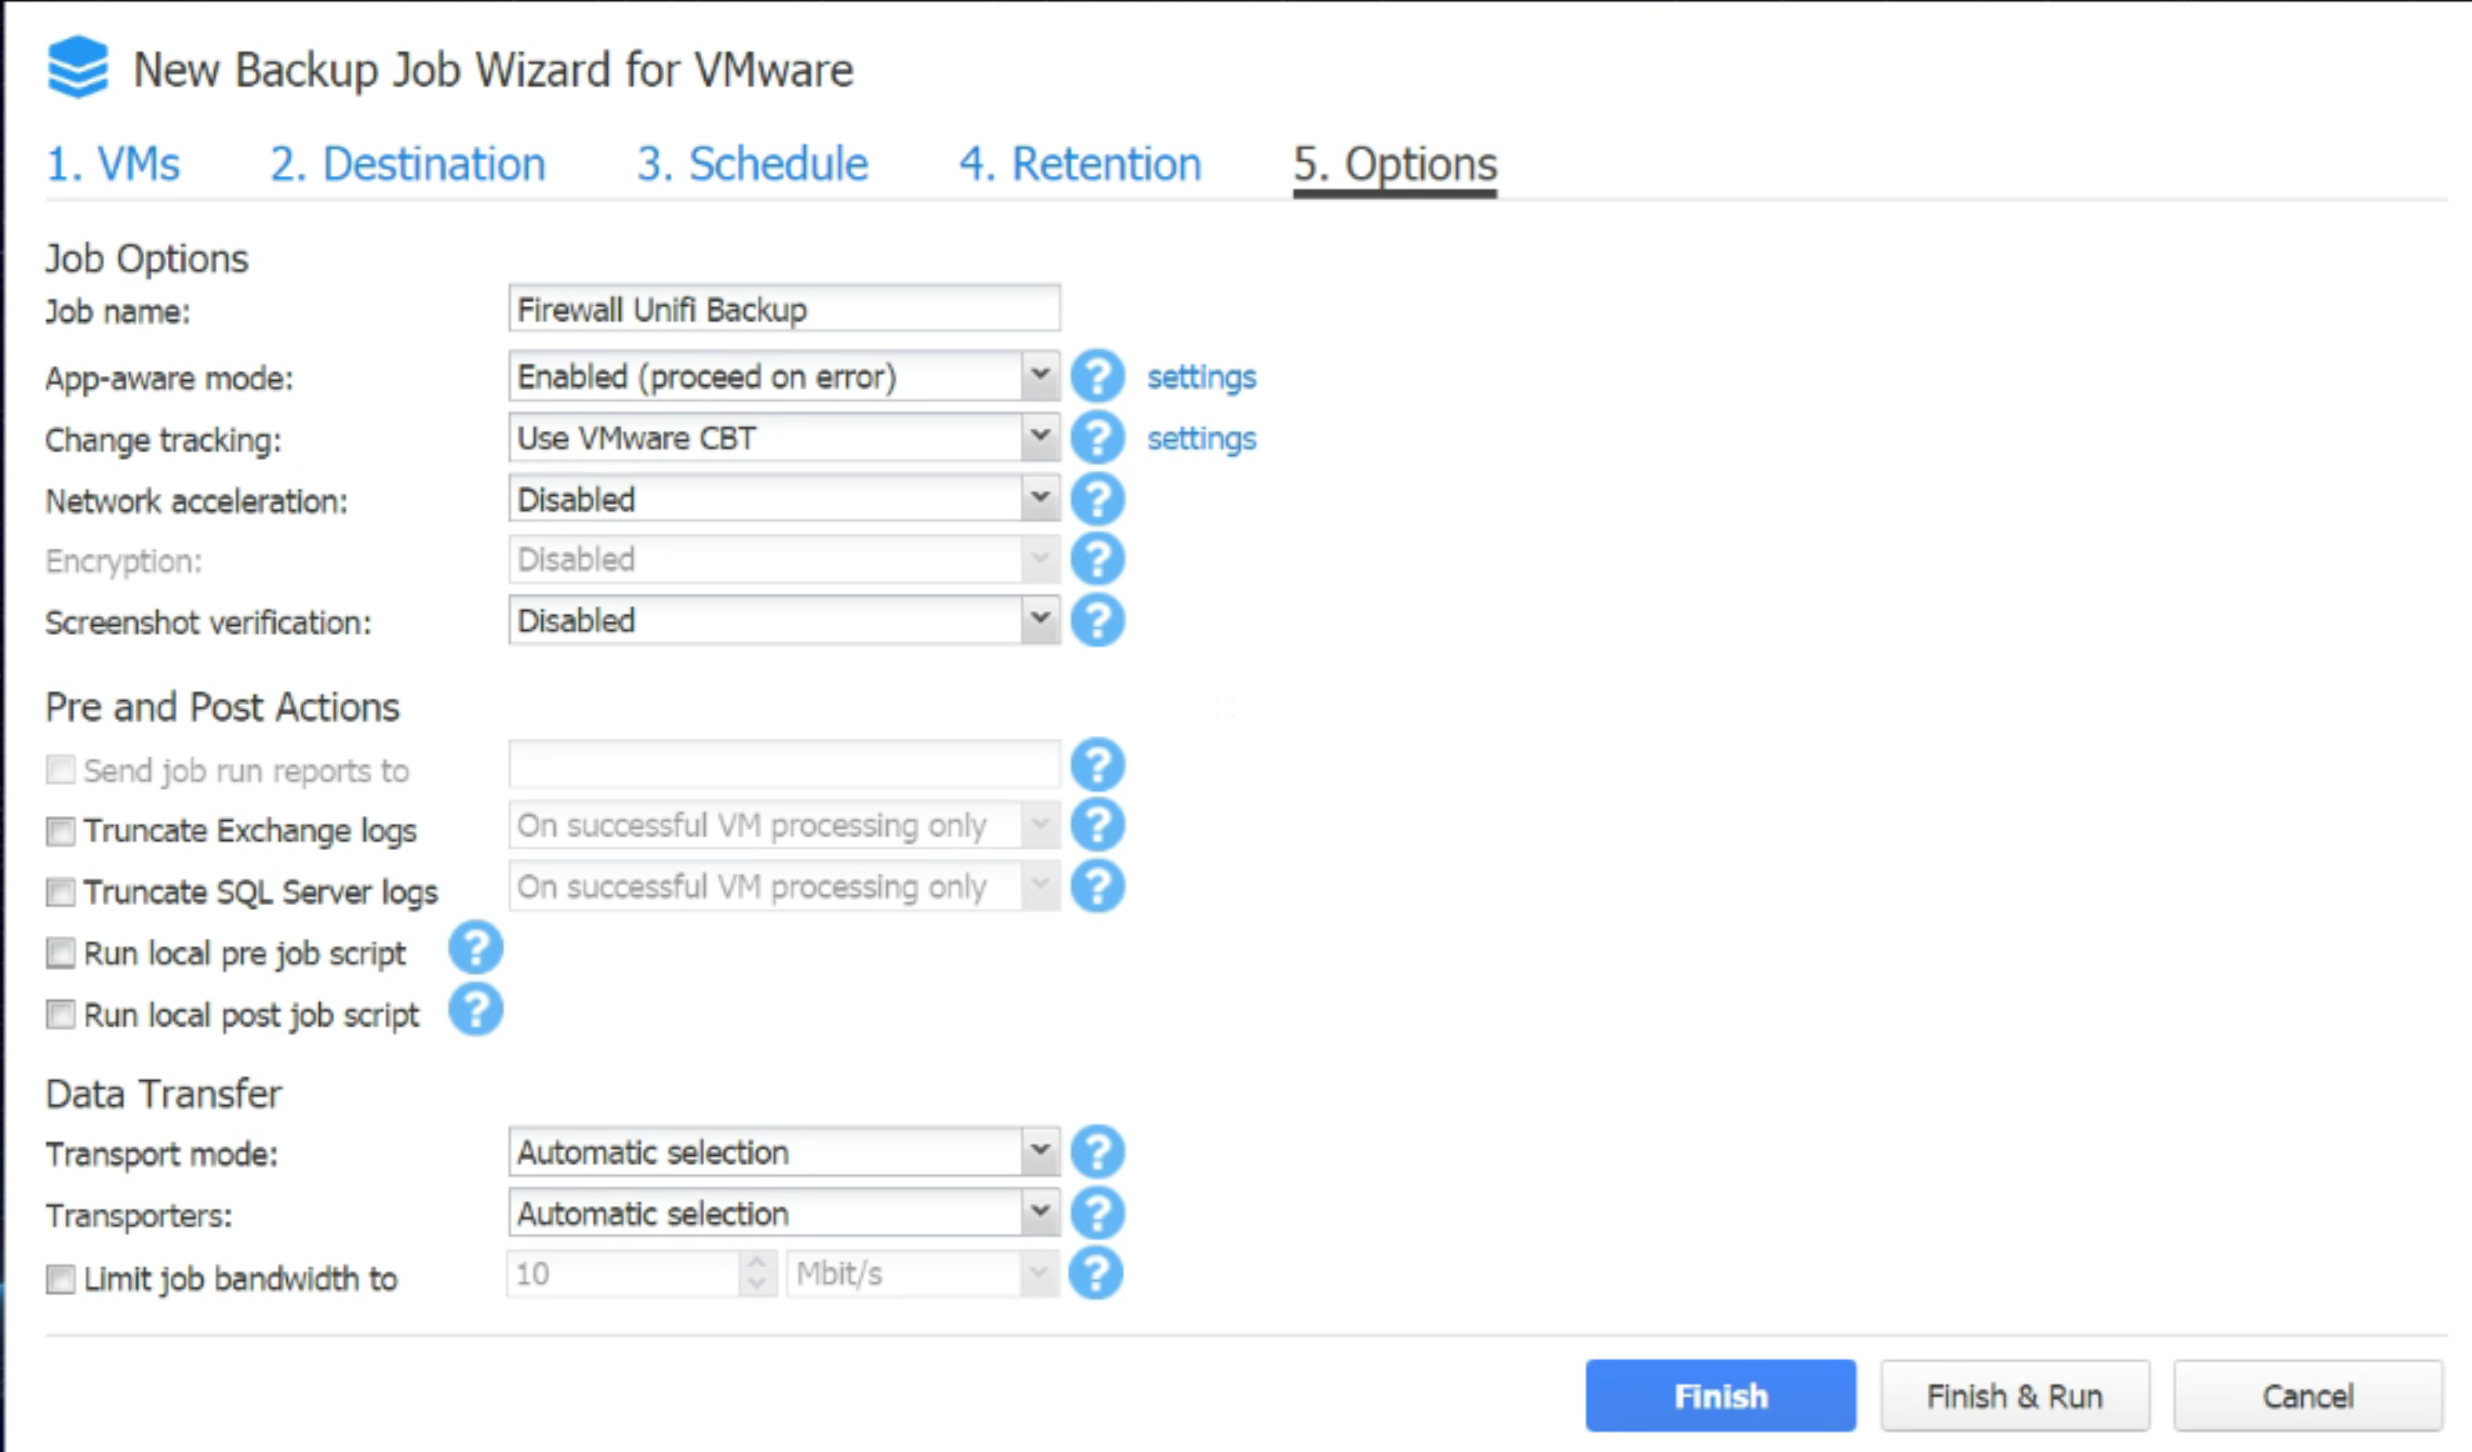
Backup Options
Click on “Finish & Run” and Nakivo will prompt you which VMs in the job that you want to back up.
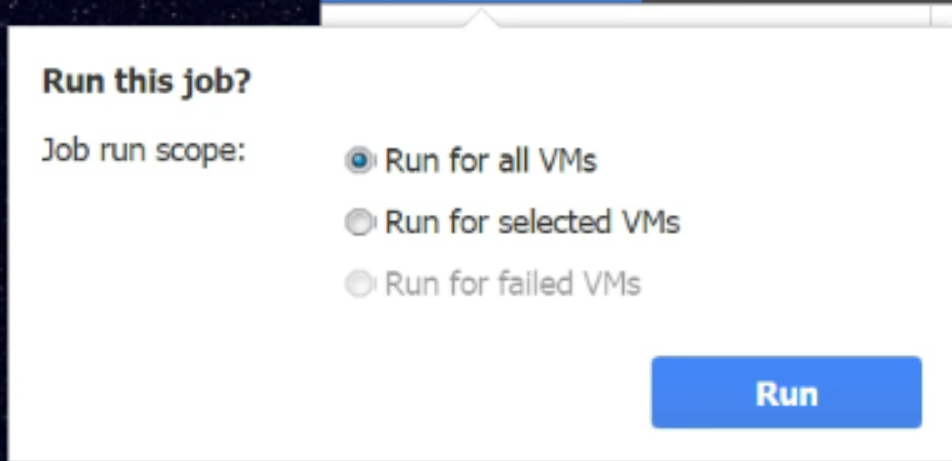
Run Job – All VMs
Click on “Run” and you will see on the main page that the job is now beginning to run.

Job Running
You’ve now successfully configured Nakivo Backup and Replication. Hope this helps some of my fellow homelabbers out. So far, I have Nakivo backing up my pfSense firewall, Unifi VM, Plex and File Server VMs and it is working well. My only downside at this time is slight lack of storage for my Supermicro. I am still on the hunt for a good option to backup a couple of my physical machines.