Dell PowerConnect 5524P Firmware Upgrade
Background
Upgrading the firmware on a Dell PowerConnect 5524p switch is a fairly simple task. For this tutorial, we are going to assume that you already have console and web access to the switch.
You can download the 5524’s firmware from Dell’s webpage located here: Dell Support
Steps to take
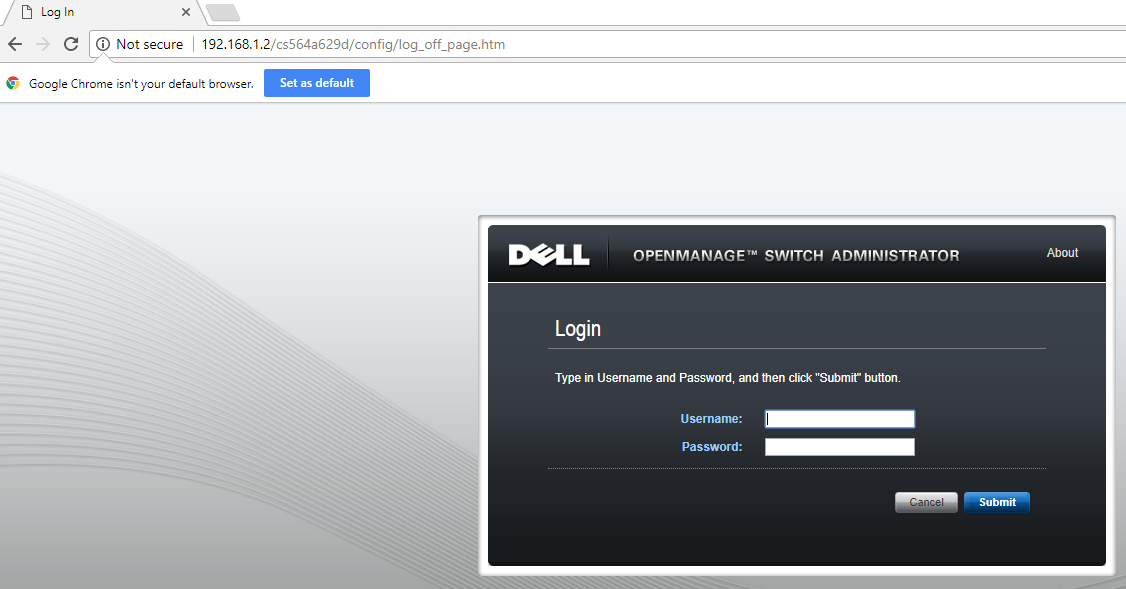
Login to the switch’s web interface.
Navigate to System > File Management > File Download.
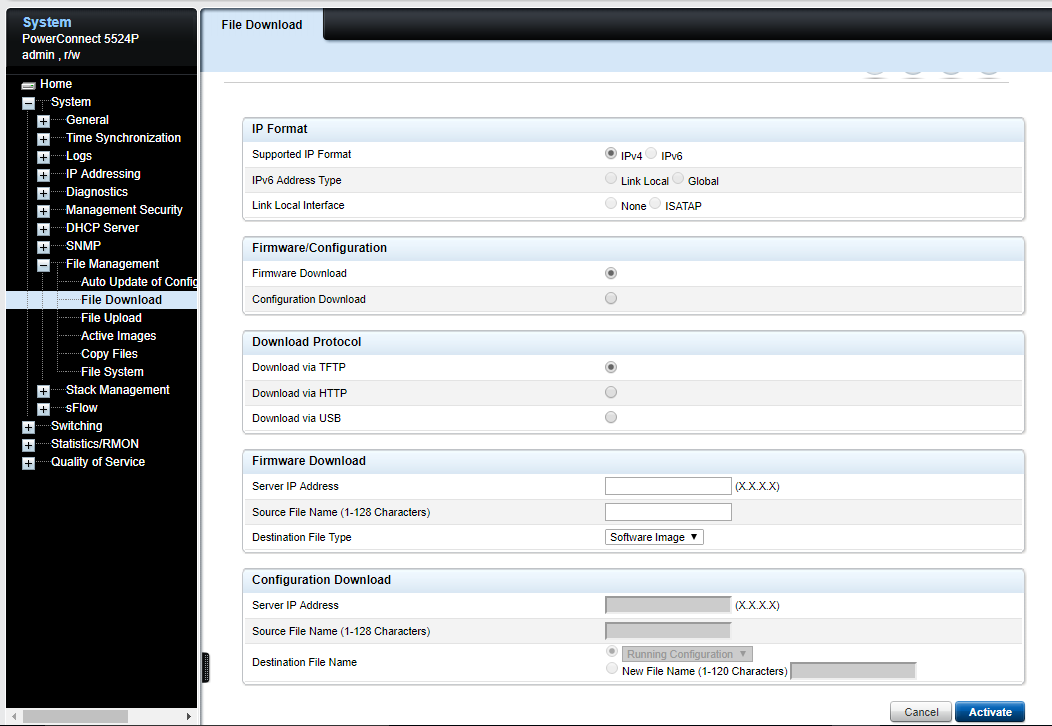
In the “Download Protocol” section of the page, select “Download via HTTP” – This is where it is a little confusing because you are actually uploading the firmware to the switch.

Software Image Upload
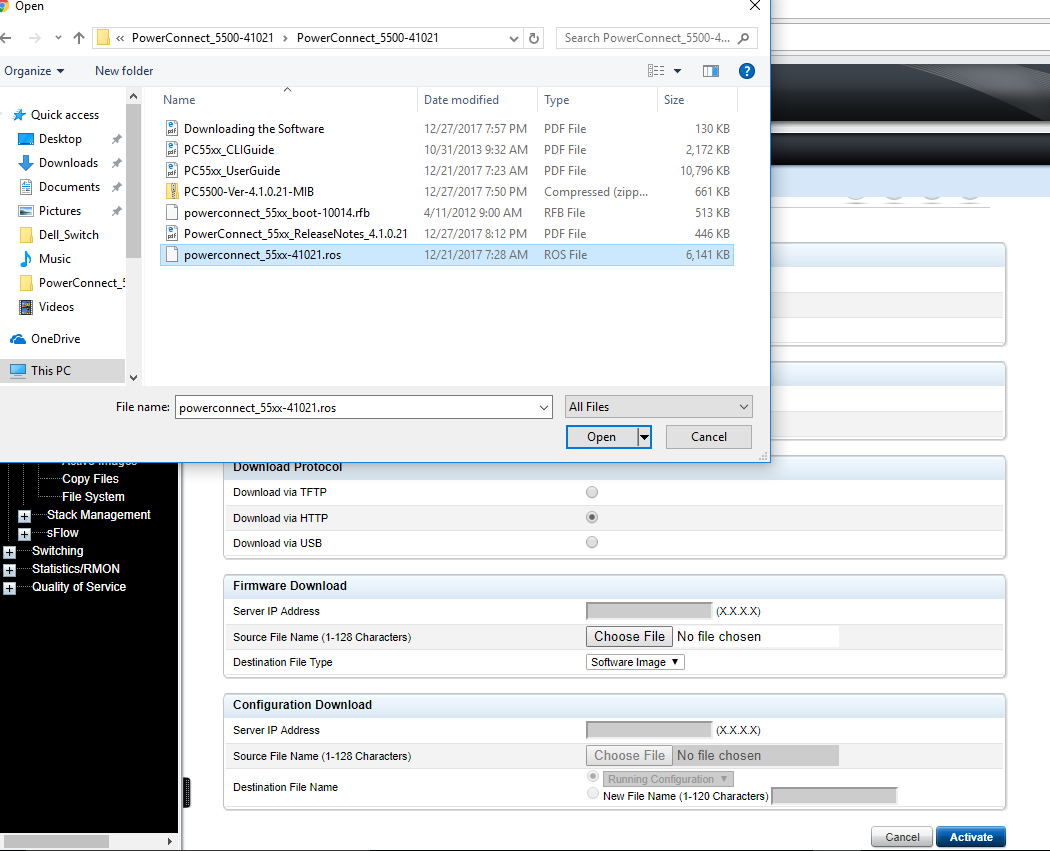
Within the “Firmware Download” section, you should now see a “Browse” button. You can click this and navigate to the location you have stored your Dell firmware. There are two files to this procedure. The first one is the “Software Image” or the .ros file. Select the .ros file, hit the “Open” button on the dialogue box, then click “Activate” on the browser window.
Once the .ros file has completed it’s upload, you will see the following screen:
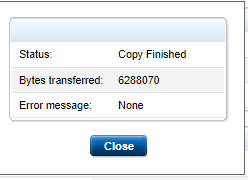
Click close and refresh the page. *NOTE* If you try and upload the second file without refreshing the page first, you may see a error stating “Invalid Image” or “Invalid File Type” – I ran into this on 2 separate 5524p switches that I have updated recently.
After refreshing the page, re-navigate to System > File Management > File Download. Re-select “Download via HTTP”
Boot Code Upload
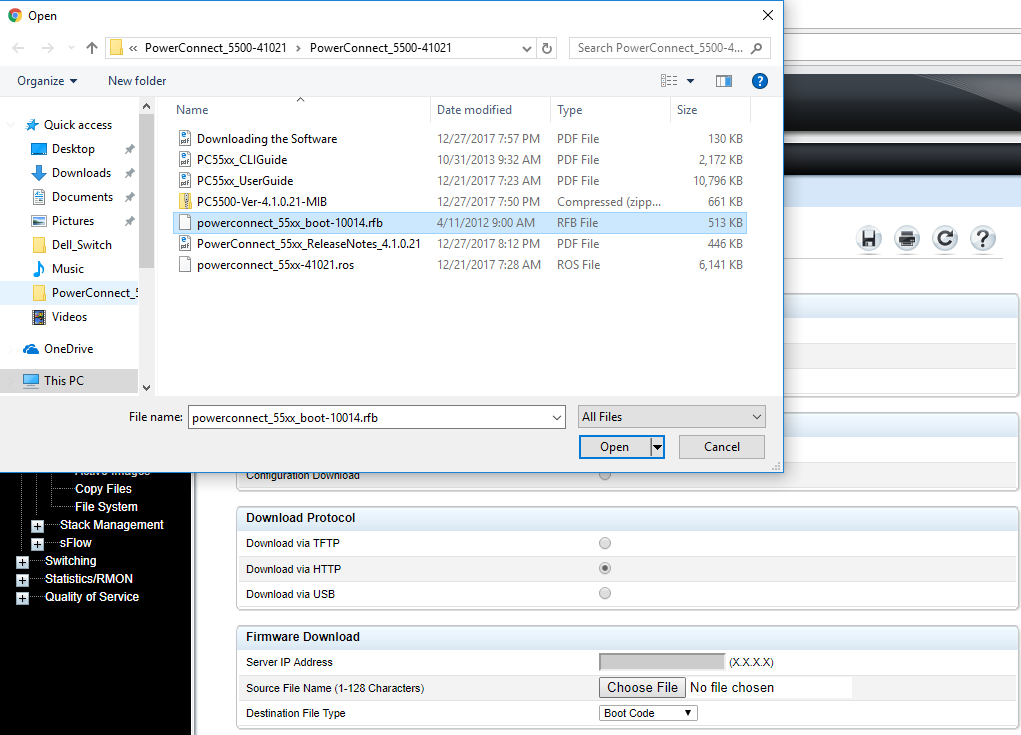
In the “Firmware Download” section, click the drop down for “Destination File Type” and change it to “Boot Code” – This is the .rfb file we will be uploading. Then click on the browse button, navigate to where you have stored your Dell firmware files and select the .rfb file. Click “Open” on the dialogue box, then click “Activate” on the browser window.
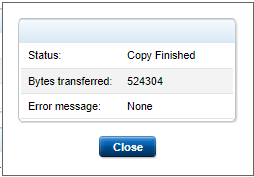
You will see a box that says “Copy Finished” – Click Close
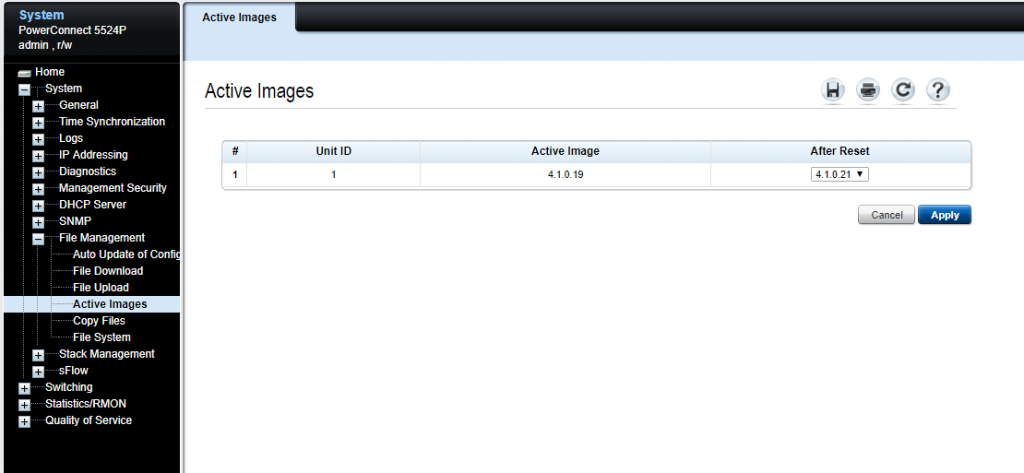
Navigate to System > File Management > Active Images. Here we will select which image to use after a reboot. This will display the current image being used by the system. Under the “After Reset” drop down, select the image which you just uploaded. Click on the “Apply” button.
Once you click “Apply” a green box will appear that says “Success” 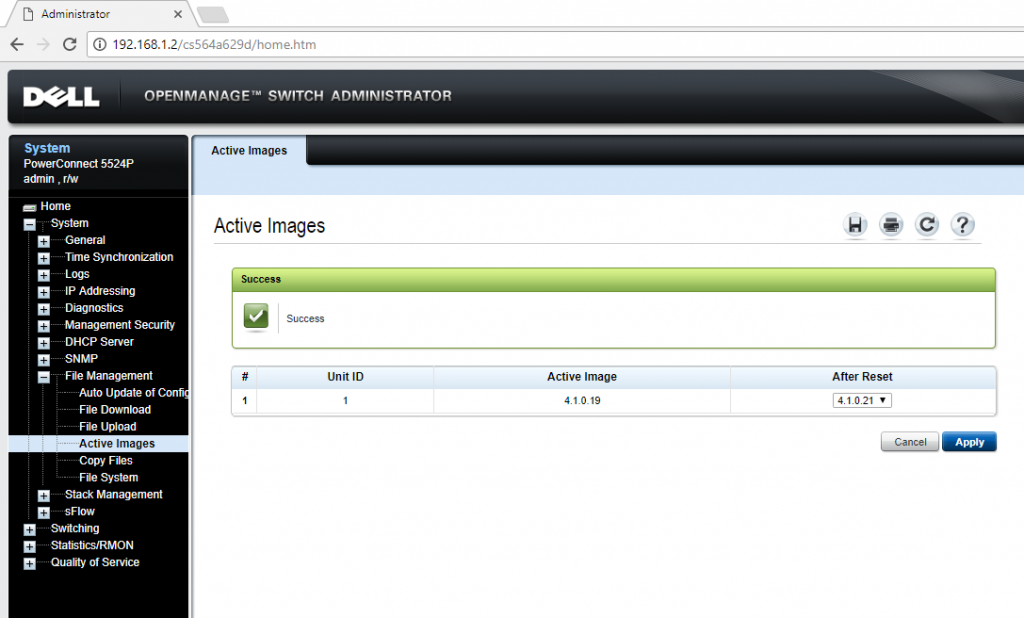
If you are in the console of the switch that you can issue the “Reload” command to reboot the switch.
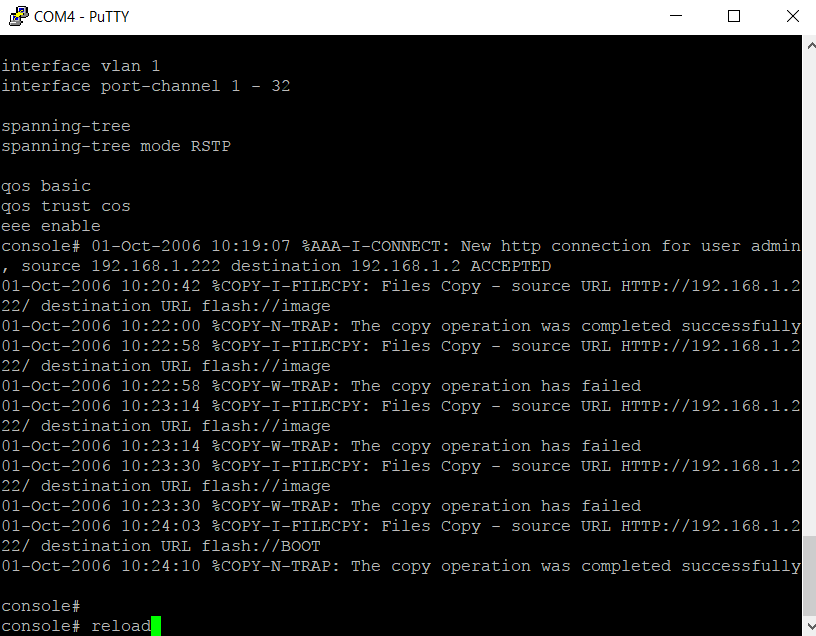
Upon reboot, you can issue the command “show version” and see that the switch is using the new firmware version.

I hope this helped you out, thank you for reading my first blog post! Check out my links page for some awesome resources

1 pings
[…] This process should work for adding just about any MIB to Ubuntu. You can see my post titled “Dell PowerConnect 5524P Firmware Upgrade” to learn how to obtain the Dell […]