
Installing Server 2019 – A How to Guide
The installation of Microsoft Windows Server 2019 mirrors that of a Microsoft Windows 10 Installation. At least, graphically. In this case we are installing Windows Server 2019 on a VM running on an ESXi host. First, we need to acquire the ISO for Windows Server 2019.
For this tutorial, we will visit the Microsoft Evaluation Center and download our selected ISO:
https://www.microsoft.com/en-us/evalcenter/evaluate-windows-server-2019
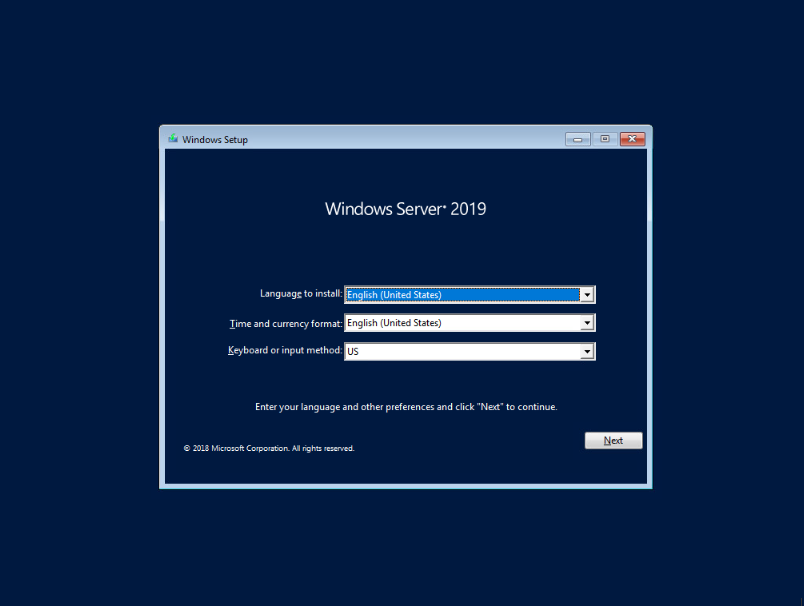
Once you VM is created and your ISO is loaded, the first screen we will come to is the language screen. Select your language, time and currency format along with keyboard type. Then click next.
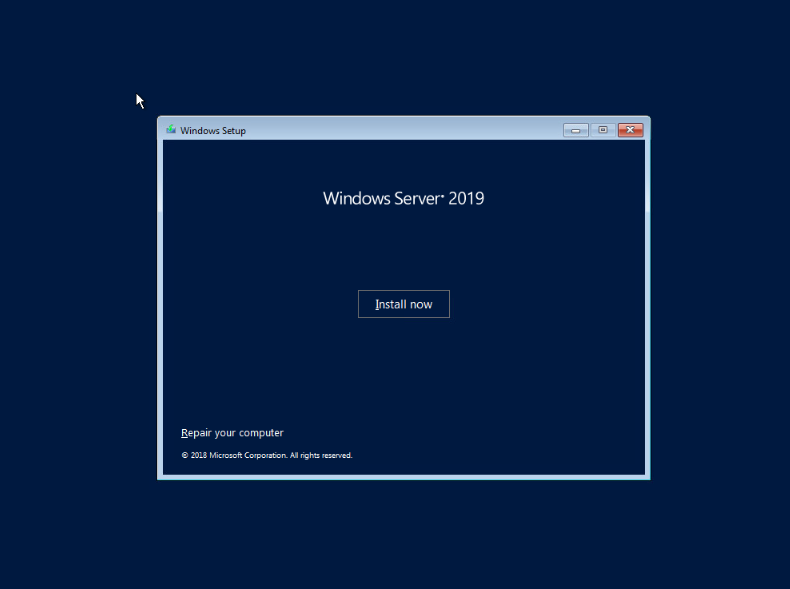
Once you select your languages and click next, you will be brought to the below screen where you will be prompted to “Install Now”
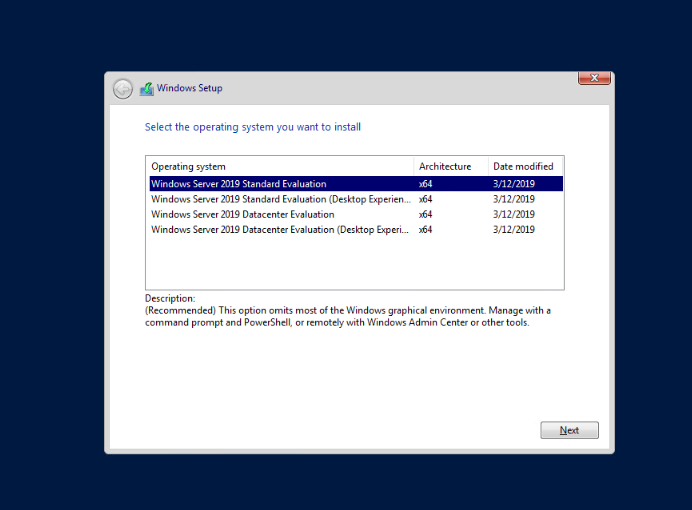
You will now need to select which version of Server 2019 to install. You have options of Standard and Datacenter. Choosing one of those options with (Desktop Experience) will install the traditional Windows GUI. Choosing one of the options without (Desktop Experience) will give you a CLI to use.
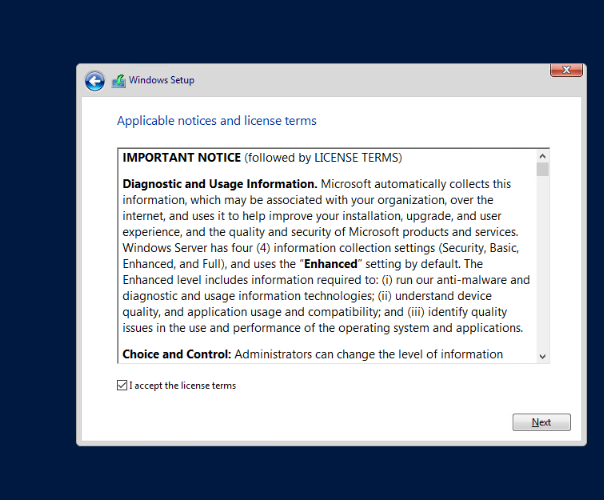
Accept the EULA by clicking on the check box and click next
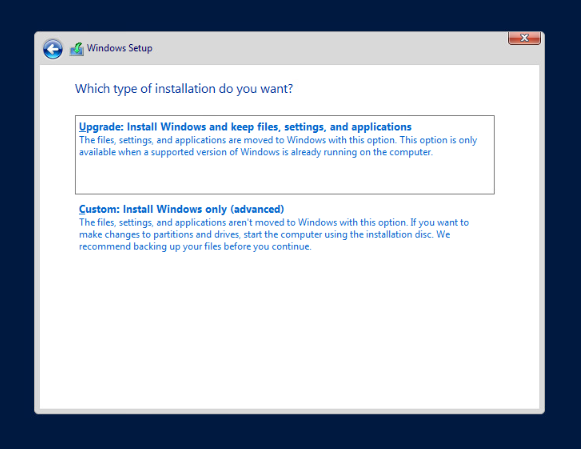
Once you accept the EULA, you will be prompted to select the type installation you wish to perform. In this case, since it is a new VM, we will choose Custom Install.
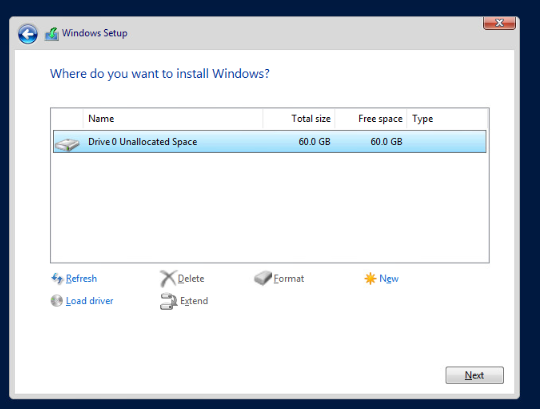
Select the drive you are going to install Windows Server 2019 onto. For this tutorial, we only have one VHD in our virtual machine. Highlight it and hit the new button.
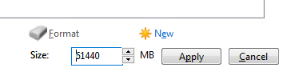
Enter the size you want the drive to be. We are using the full drive in this instance. Click the apply button.
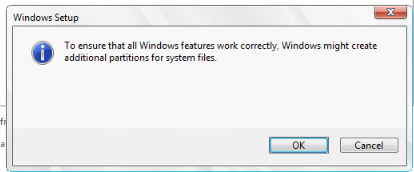
You will receive notice that Windows will create additional partitions. Click ok.
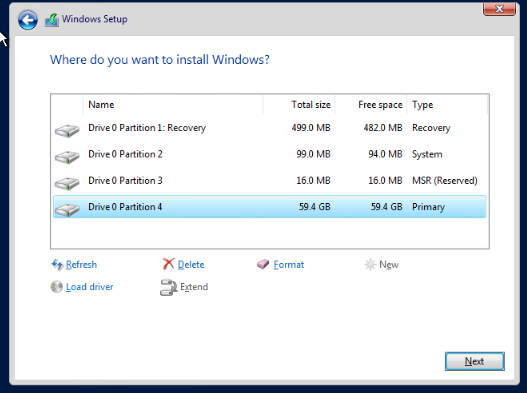
To continue our installation after partitioning, select the largest partition to install Server 2019 onto. Then click next.
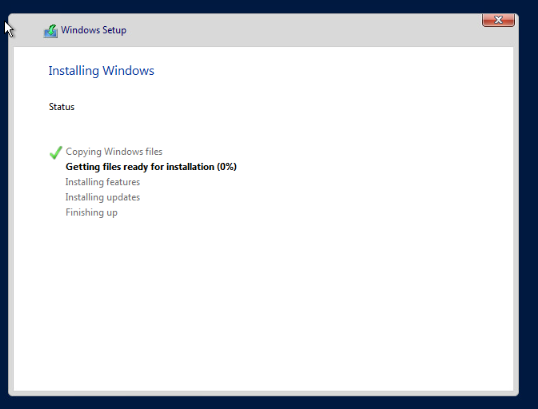
Windows will begin the installation process. This may take several minutes to complete. The system will reboot when it has completed.
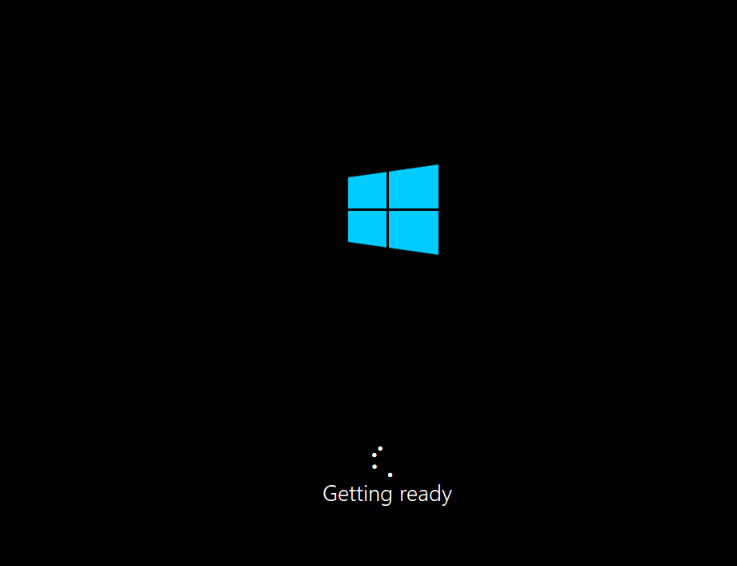
Upon reboot, you will see this screen stating the system is getting ready.
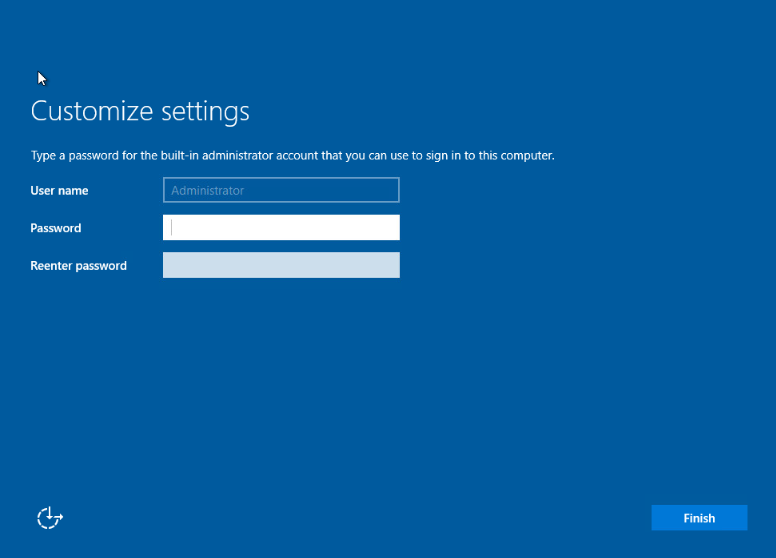
Once the system reboots, you will be prompted to set a local administrator password. Set the password and confirm it and click finish.
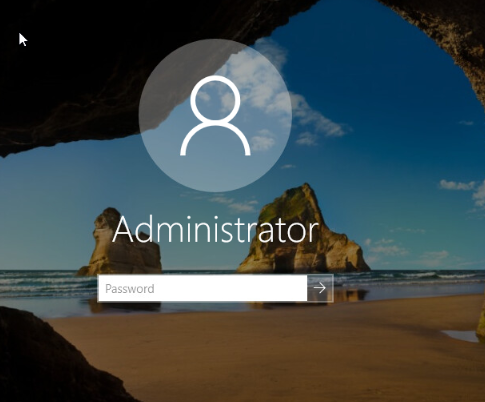
You will be brought to the lock screen. Hit the control, alt and delete keys.

Enter your newly created password and hit enter.
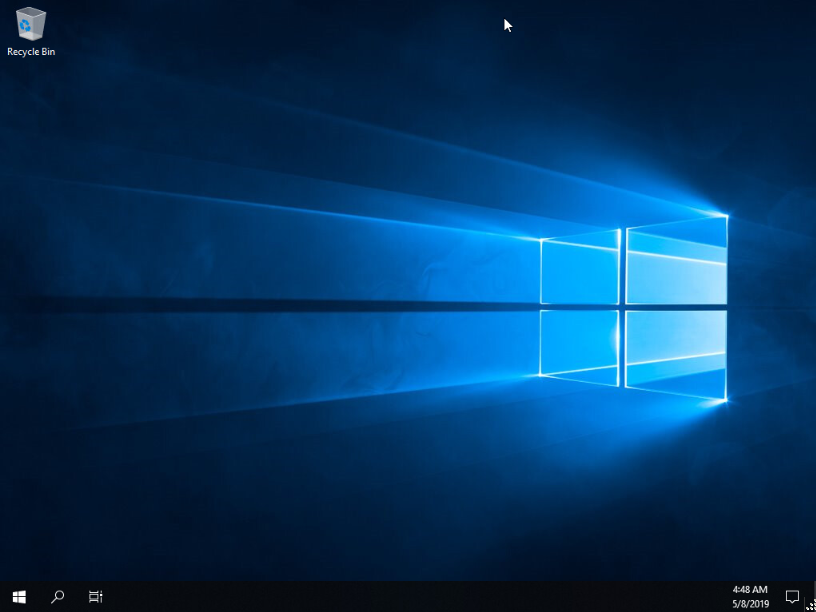
You are now at the desktop and can continue configuring your new server.
Hope this helps someone out, it is a very basic guide to installing Microsoft Windows Server 2019.