
In an Active Directory environment you have five FSMO roles.
Those role are as follows:
– Schema Master
– Domain Naming Master
– Infrastructure Master
– RID Master
– PDC Emulator
FSMO (Pronounced FIZ-MO) stands for Flexible Single Master Operations.
At some point, it might become necessary to move these roles from one Domain Controller to another. Accomplishing this is pretty straight forward. Before we begin, lets use some basic commands to verify were our FSMO roles are located and that replication is working. We want to make sure all systems are go before take off. This will help us should any trouble arise during or after the migration of the FSMO roles.
You need to start off on the target Domain Controller. What this means is, you need to be logged onto the Domain Controller that you wish to move the FSMO roles to.
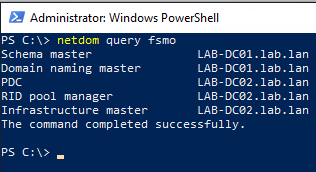
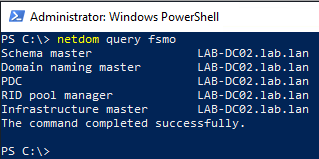
In our lab environment, that will be our LAB-DC02 VM. Login to your target Domain Controller and open a Powershell window. Issue the command: netdom query fsmo
This will query Active Directory to see who has the FSMO roles. It will return an output like this: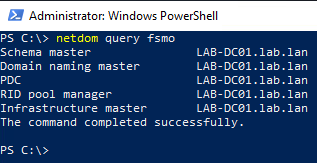
This shows us that currently, LAB-DC01 holds all five of the FSMO roles. Upon completion, this will show that LAB-DC02 holds all five of the FSMO roles.
Now, let’s take a look at our replication summary. Back in Powershell, issue the command: repadmin /replsummary
This will show you an overview of the present replication status. In this view, you will see both Source and Destination DSA and both of our Domain Controllers are listed under each heading. This is because updates can be sent to any of the Domain Controllers within the Domain.
You can also see the amount of replications, the largest replication delta (This means the longest gap of time between replication links) and if there are any failed replication attempts.
Your output should look similar to this if everything is working correctly: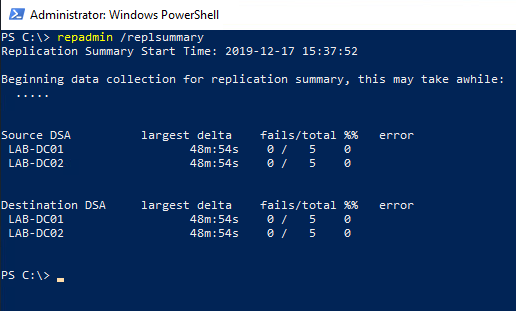
One last system check before we engage on this endeavor, again, back in our Powershell window, issue the command: repadmin /showrepl
This will show you further details of the replication than the above /replsummary command will. It will show you the status of each source Domain Controller for each destination Domain Controller that has an inbound connection.
Your output should look similar to this:
Troubleshooting Active Directory Replication is not what this article is about, however, I wanted to give you some guidance as to what you should see prior to migrating your FSMO roles. If something looks out of the ordinary or states failure, you should troubleshoot and resolve those issues prior to migrating the FSMO roles.
When you are satisfied with the replication results, lets jump into Active Directory Users and Computers. The first three roles we will move are, RID, PDC and Infrastructure.
Once in ADUC, right click on your lab.lan (or your domain) and click on “Operations Masters”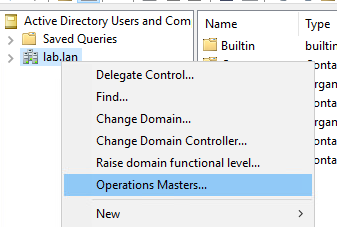
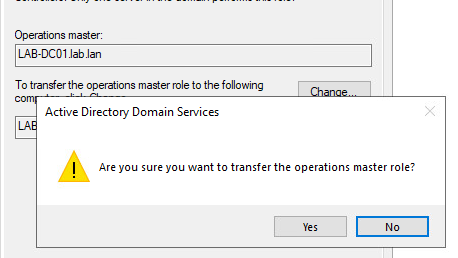
Change the RID Master from LAB-DC01.lab.lan to LAB-DC02.lab.lan by hitting the “Change” button:
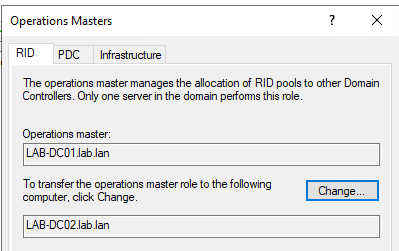
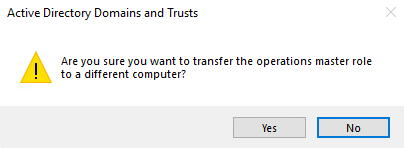
You will be prompted “Are you sure you want to transfer the operations master role?” – hit the “Yes” button to transfer it.
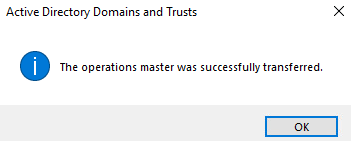
If successful, you will see a dialog box stating the transfer was successful.
![]()
Continue this process for the PDC and Infrastructure roles. Once you have transferred the RID, PDC and Infrastructure role, open up Powershell and issue the command: netdom query fsmo
You should now see that three of the five roles have changed from LAB-DC01 to LAB-DC02.
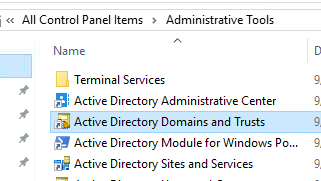
Continue on to the Domain Naming Master role. This will be our fourth role of five total. Open up Control Panel > Administrative Tools and Double Click “Active Directory Domains and Trusts”
Once the console opens up, right click on “Active Directory Domains and Trusts” in the left hand column. Select “Operations Master”
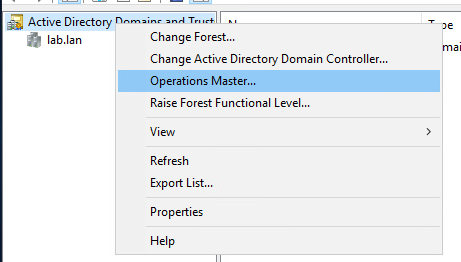
This follows the same procedures as the above three roles. Hit the “Change” button.
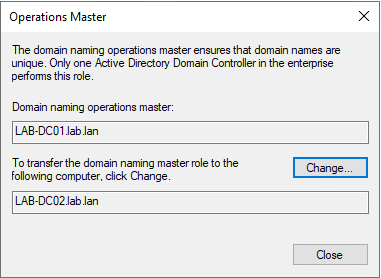
Again, you will be prompted, are you sure? Hit “Yes”
If it changed successfully, you will see a dialog box stating that the transfer was successful.
We can move onto the final role, the Schema Master. This role is a little bit different to get to than the previous four were.
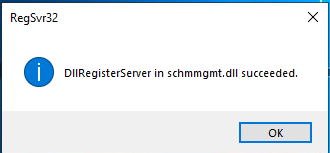
Before we can transfer the role, we need to register the Schema Master Mgmt DLL file. To do that, open up a run box and type “regsvr32 schmmgmt.dll” and hit enter.

Once you hit enter, you should be prompted with the message “DllRegisterServer in schmmgmt.dll succeeded.” – you can hit “ok”
Go back to your run box and type “mmc” to open a blank Microsoft Management Console.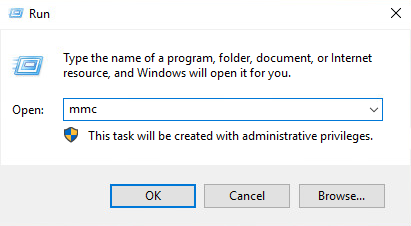
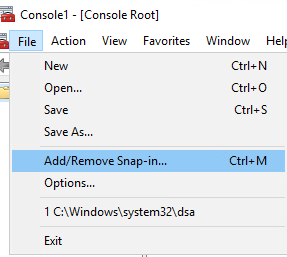
Go to “File” and select “Add/Remove Snap-in”
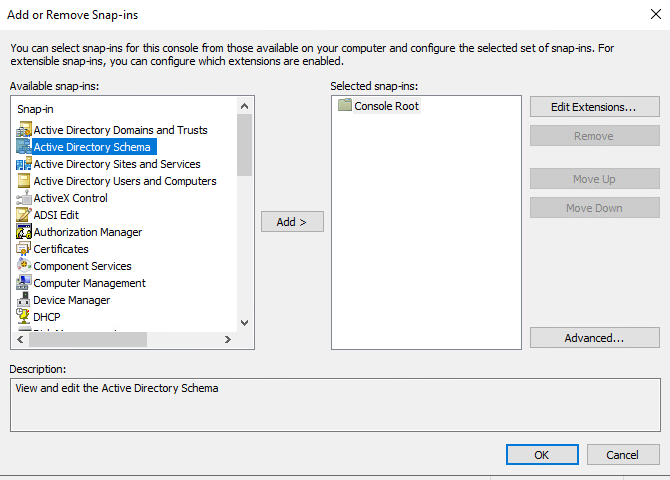
Select “Active Directory Schema” and hit the “Add” button. Then hit “ok”
When in the Schema MMC, if you hover over “Active Directory Schema” you will see that it is connected to LAB-DC01 as that is our current Schema Master. We need to connect to LAB-DC02, or our target Domain Controller, to transfer the role. 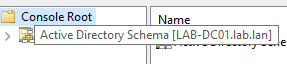
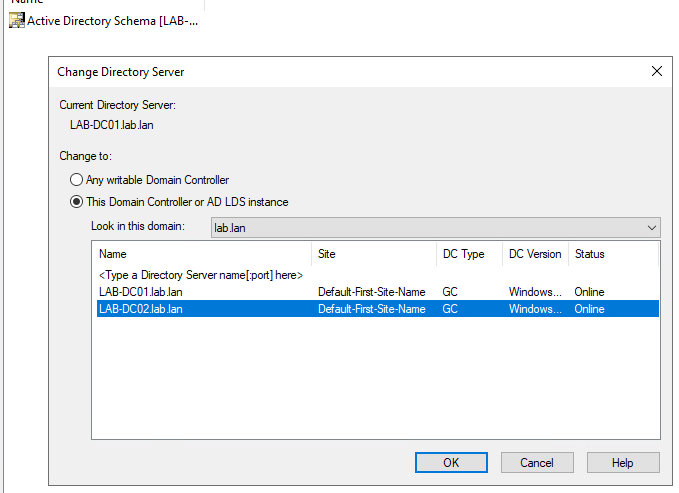
You can do that by right clicking on “Active Directory Schema” and selecting the option “Change Active Directory Domain Controller” – Select LAB-DC02 from the list and click “ok”
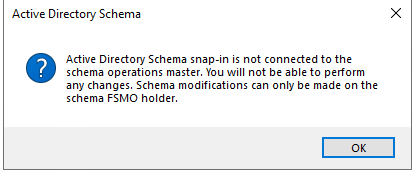
You will receive a warning stating “Active Directory Schema snap-in is not connected to the schema operations master. You will not be able to perform any changes. Schema modifications can only be made on the schema FSMO holder.” This is ok.
If you again hover your mouse over “Active Directory Schema” in the left hand column, you will see it has changed from LAB-DC01 to LAB-DC02. This is what we want to see.

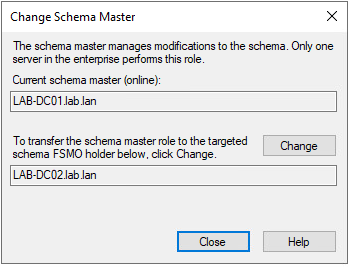
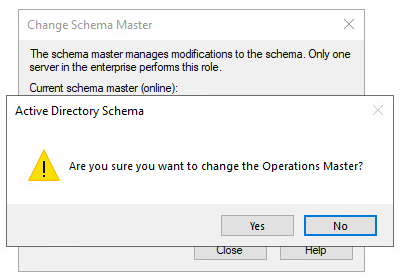
Right click on “Active Directory Schema” and select “Operations Master” – The same dialog box that we are familiar with from the first four roles will appear. Click on the “Change” button and it will prompt “Are you sure you want to change the Operations Master?” Click “Yes”
You will get a final dialog box that says “Operations Master successfully transferred.”

Finally, you can check your results by going back to Powershell and issuing the command: netdom query fsmo
You should see all the FSMO roles being held by LAB-DC02 (or your target Domain Controller)
You are now done moving the five FSMO roles from one Domain Controller to another. I hope you enjoyed this tutorial. Please check out my YouTube Channel for more IT related videos