
CentOS Minimal Installation Tutorial
This tutorial will show you how to install CentOS minimal on a Hyper-V virtual machine. We will also focus on getting network connectivity.
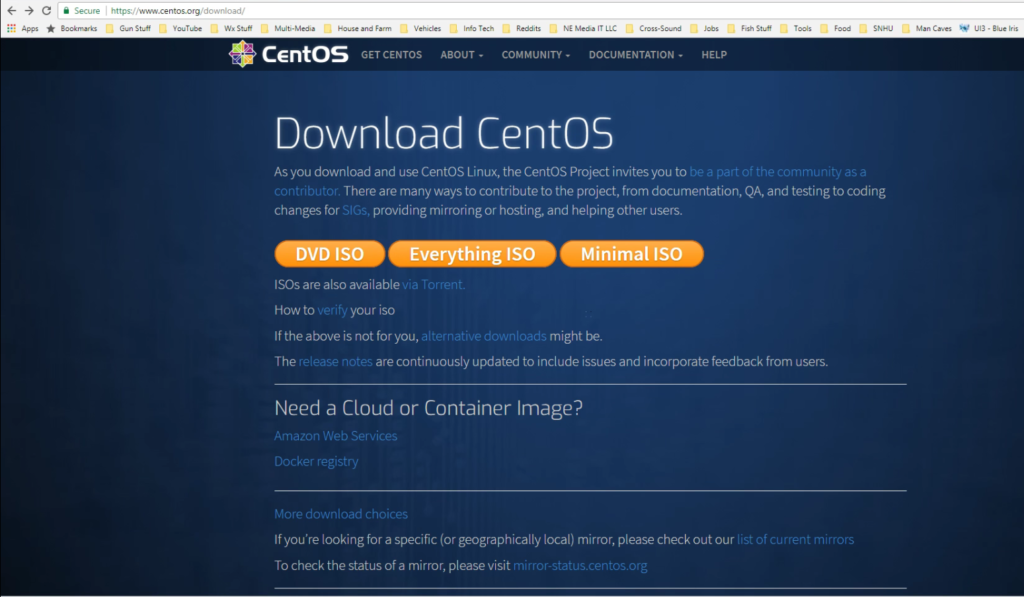
Before we begin this tutorial, please head over to centos.org and grab a copy of the latest ISO of CentOS Minimal, link below.
Creating the virtual machine:
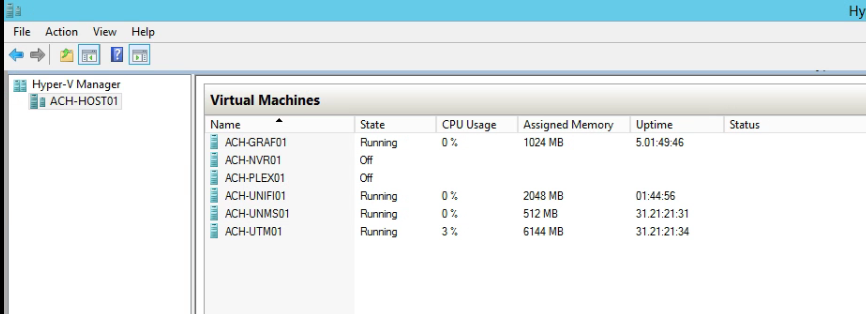
Once you’ve downloaded your ISO, on your server or workstation running Hyper-V, launch the Hyper-V management console.
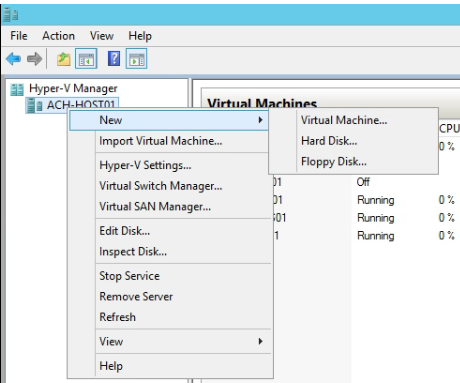
Within the management console, right click on your server, and select “New” and then “Virtual Machine”
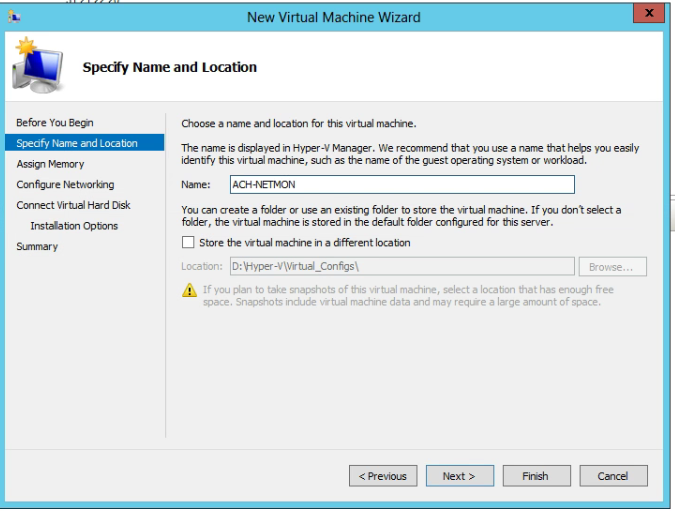
Give your new VM a name and instruct Hyper-V on where to store the config files.
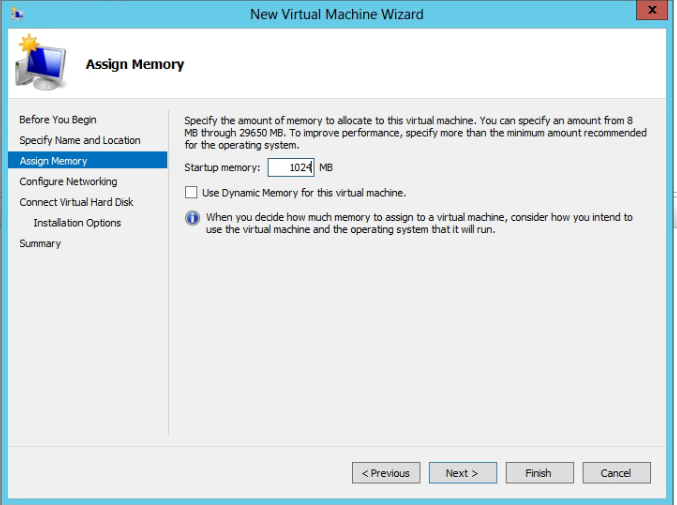
Select the amount of memory you want your virtual machine to have. In my case, I have chosen to give mine 1024mb or 1gig.
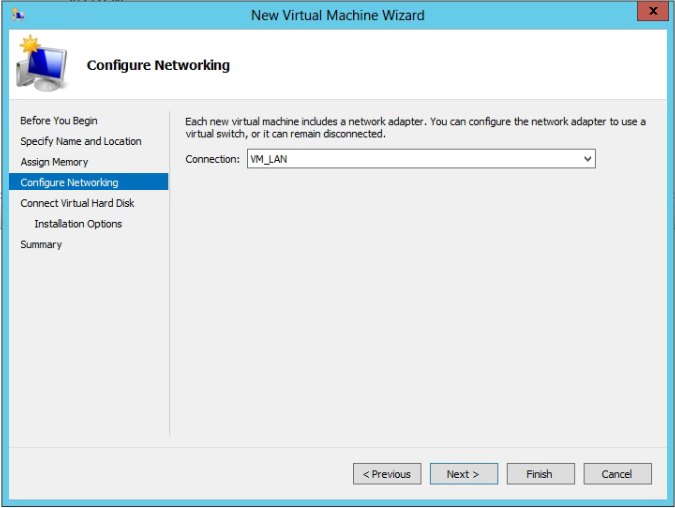
Pick your network connection (this is your virtual switch) and click “next”
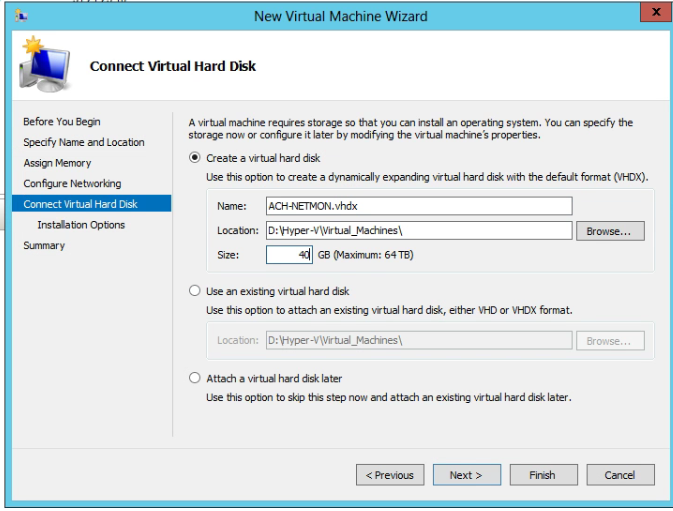
Once you’ve assigned your new VM a network connection, you need to create a virtual hard disk for it. Select “Create Virtual Hard Disk” from the menu, give it a name, select the location you wish to save it in and the size.
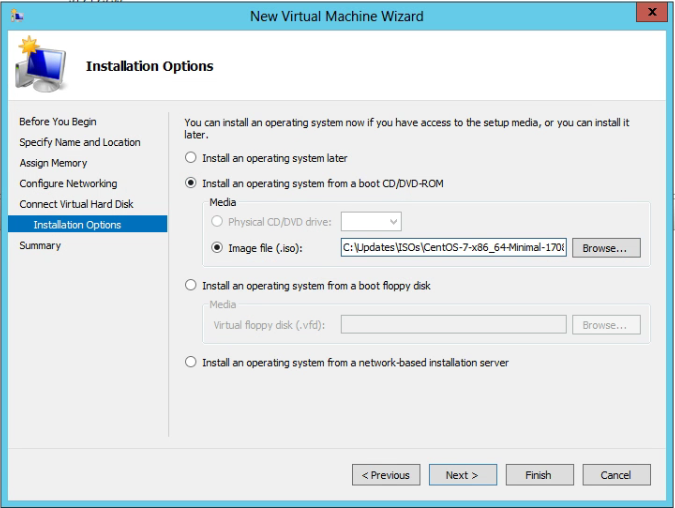
Now we must tell Hyper-V where to find the CentOS ISO that we downloaded. Select “Install an operating system from a boot CD/DVD-ROM” pick the “Image File (.iso)” option. Click on “Browse” and locate the ISO. Then click “Next”
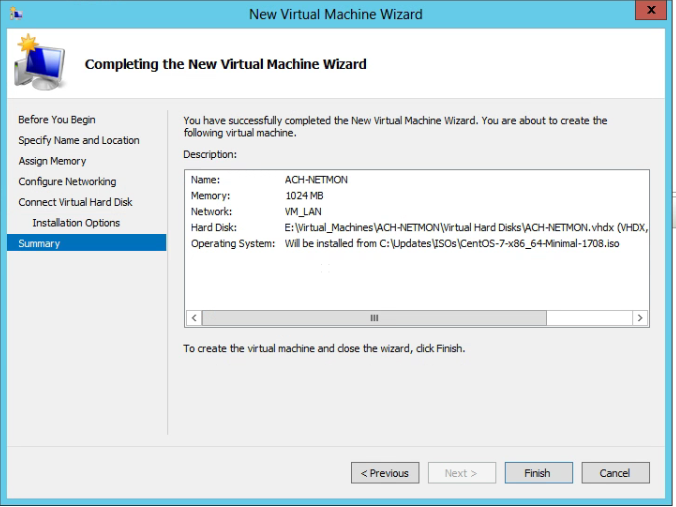
Finally a summary page will be displayed. This will tell you all of the options that you selected for your virtual machine. At this step, please click on “Finish.” Clicking “Finish” will bring you back to the Hyper-V management console.
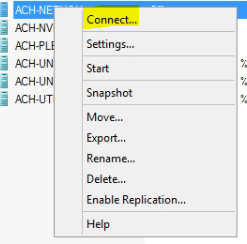
In the Hyper-V management console, find your newly created virtual machine, select it and right click. Click on the “Connect” option that appears.
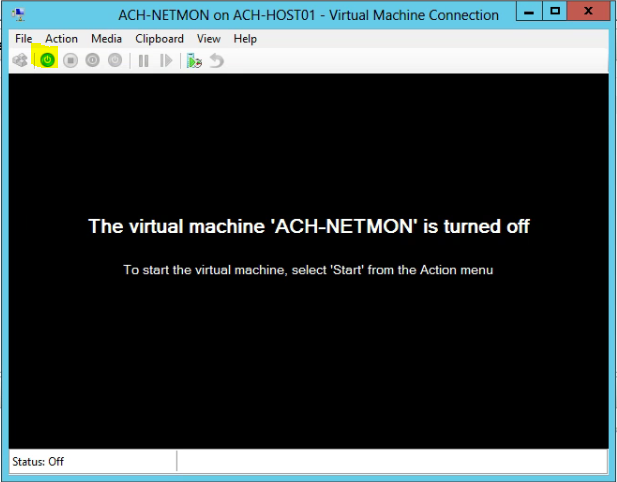
Go ahead and click on the green power button to fire up your VM.
Installing CentOS on your Virtual Machine
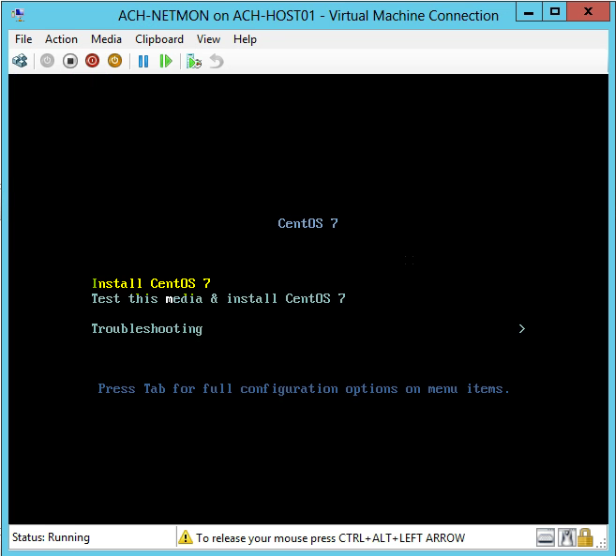
Your virtual machine will now begin to read the ISO inserted into it’s virtual optical drive. Using the arrows on your keyboard, highlight the “Install CentOS 7” and hit the enter key.
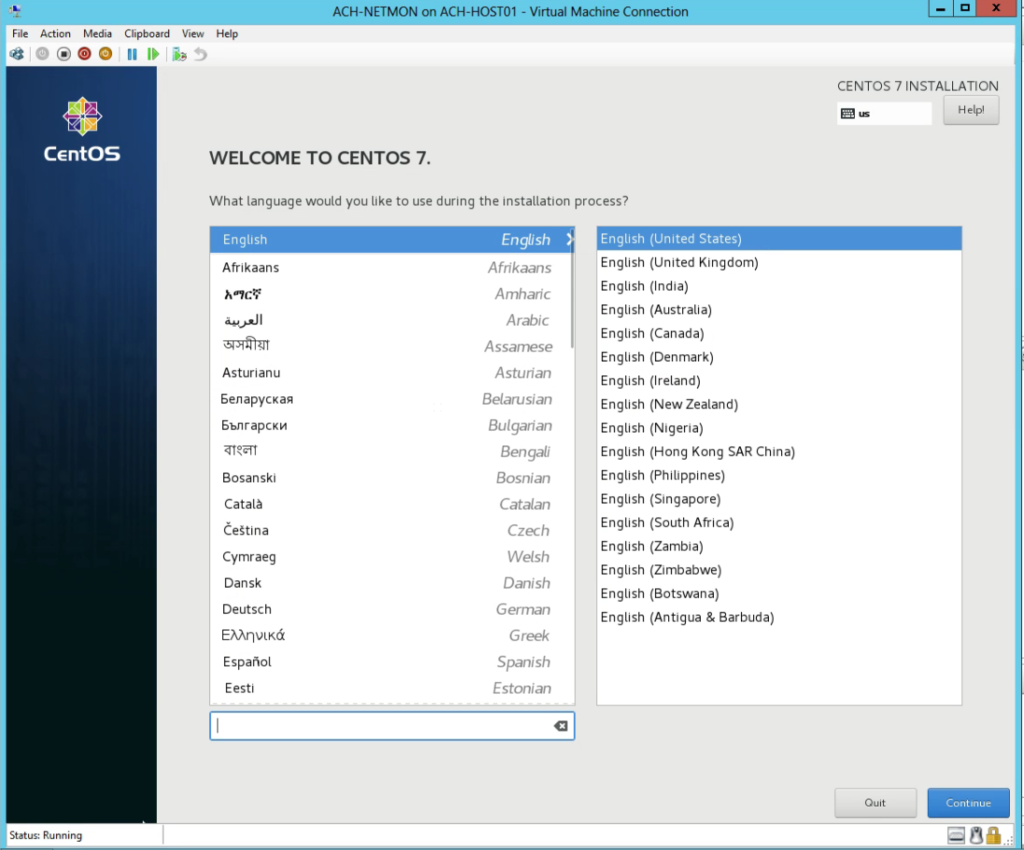
Select your language. In my case, I left it as the default of English. Then click continue.
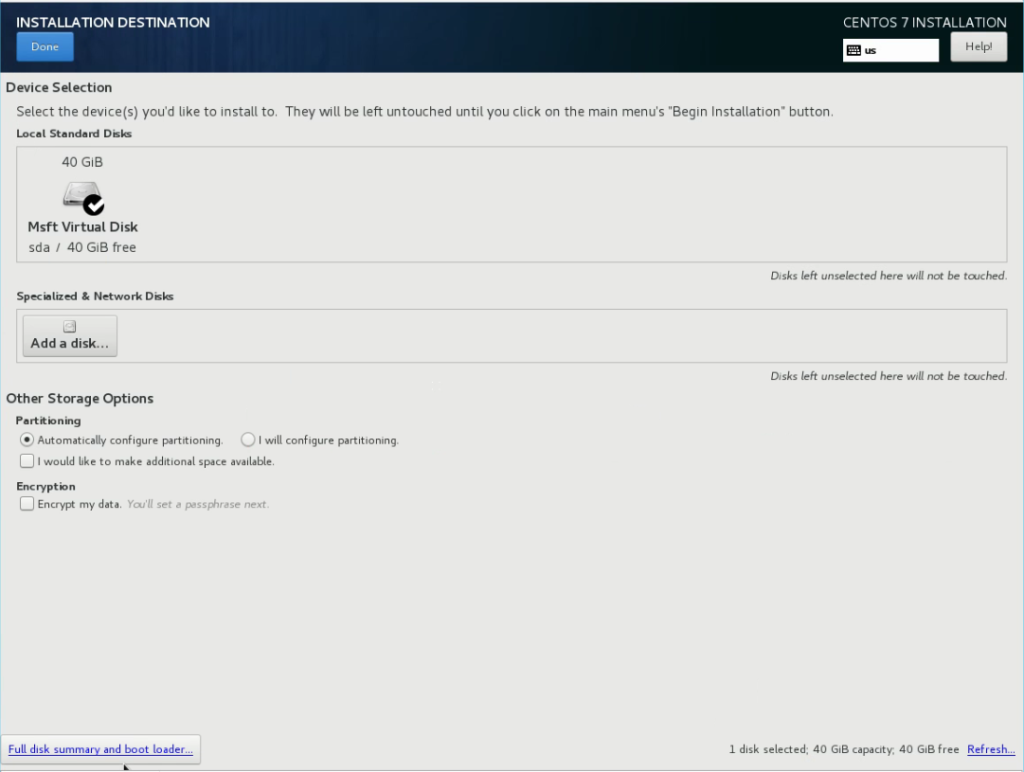
Select the disk on which you wish to install CentOS. I typically allow CentOS to use the automatic partitioning feature. Then click “Done”
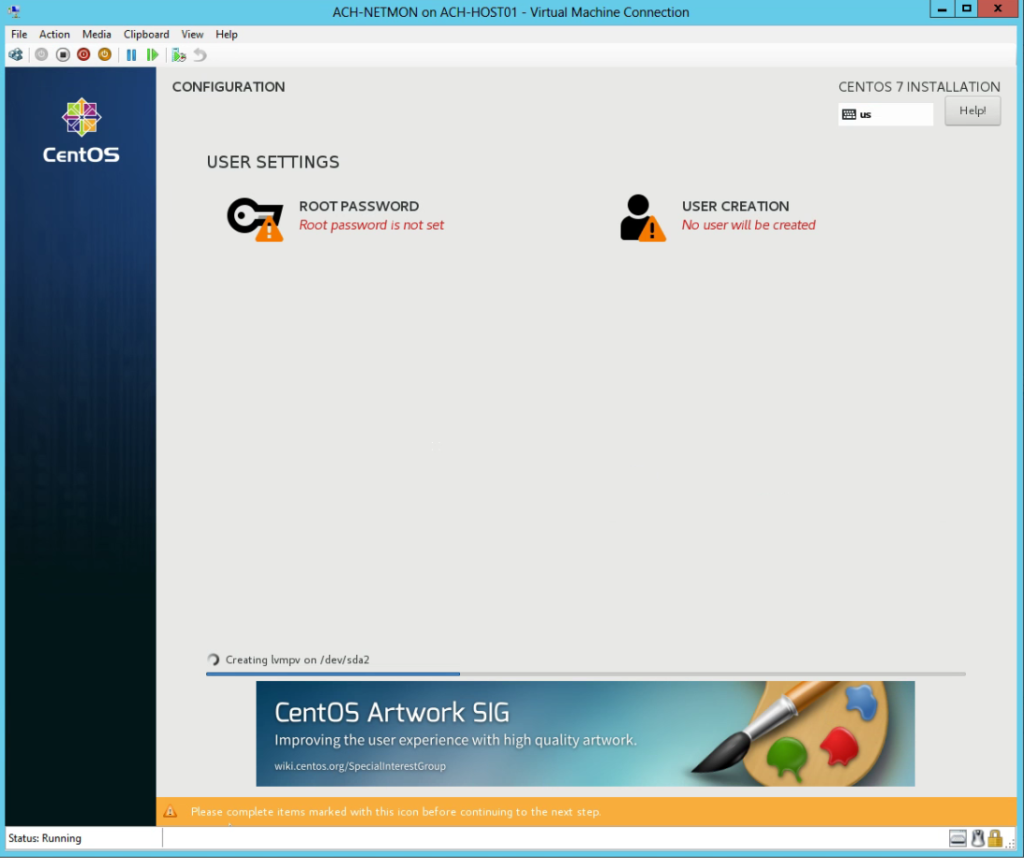
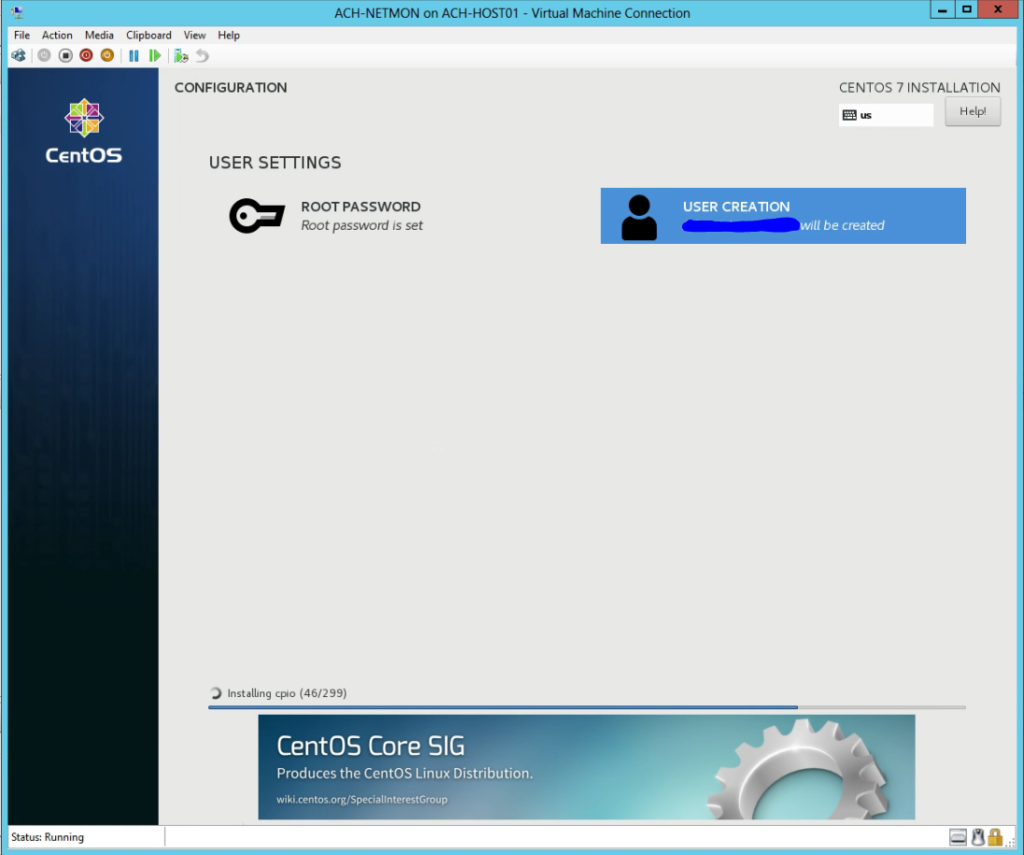
During the installation, you are asked to set a root password and/or create a user. I have chosen to do both. You may click each icon and assign a password and create a user. CentOS will then set these during it’s installation.
Allow CentOS to complete it’s installation process. Once this step is complete, the virtual machine will reboot. Once it has rebooted, you will see the following prompt. Here you can login with either your root user or the user you had CentOS create during installation. CentOS is now installed.

Gaining Network Access
CentOS minimal out of the box on Hyper-V will not get an IP Address. You can verify this by logging in and issuing the command “ip addr”
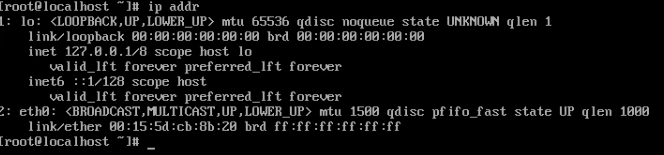
If you get an IP address, you should see it listed under “eth0” – in this case we do not see an IP address. This is because CentOS does not go out and try to grab an IP on boot. In order to change this, you must issue the command, “vi /etc/sysconfig/network-scripts/ifcfg-eth0”![]()
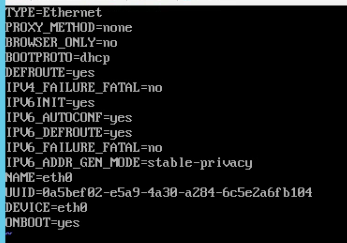
To change this config, hit the “i” key to switch vi into insert mode. Arrow down until you get to the last entry, “ONBOOT”, you must change this from “no” to “yes” – when you’ve changed this, hit the : key and type wq to write the changes and quit vi.
Restart your network interface by issuing the command “systemctl restart network” – CentOS will hang for a moment and then restart the network adapter.
![]()
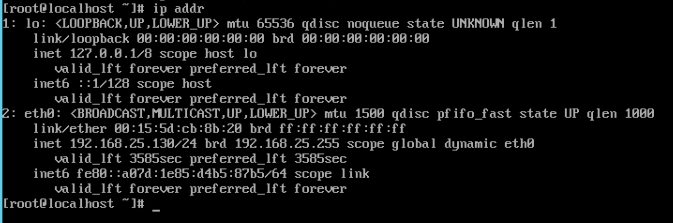
Now you can issue the command “ip addr” again and you should see an IP address listed for interface eth0.
You now have a base CentOS Minimal install with network connectivity. This will give you a great base to install Nagios. I will be writing a tutorial shortly on the installation and configuration of Nagios Core on CentOS.
Check out some of my other blogs on Hyper-V!
1 ping
[…] a new virtual machine. If you need help creating a virtual machine, please see my post titled “CentOS 7 Minimal Installation on Hyper-V”or click on the link to take you there. The only difference with this virtual machine will be the […]