Overview
Hi all – Welcome to my channel, I’m Alex Hubbard, I’m a Senior System Administrator and Cybersecurity Engineer. If you’re new to the channel, please subscribe below. If you’ve been here before, welcome back. Be sure to check out my Instagram @ach_sysadmin or Facebook @achsysadmin.
If you’re looking to add a little extra security to your homelab or home network, this is a great way to do so. We’re going to leverage Duo’s free tier of MFA products, Duo MFA, to add another layer of protection to our homelab. Even if you needed to bump up to one of their commercial plans, Duo is a fairly cost effective solution with products ranging from $3-9 per month per user. They even provide a free version that is good for up to 10 users. That is what we will be looking at today.
Keep in mind, I am not affiliated with Duo in any way shape or form, I’ve used their products in the past and have recently discovered their free tier
Duo Sign Up and Subscription
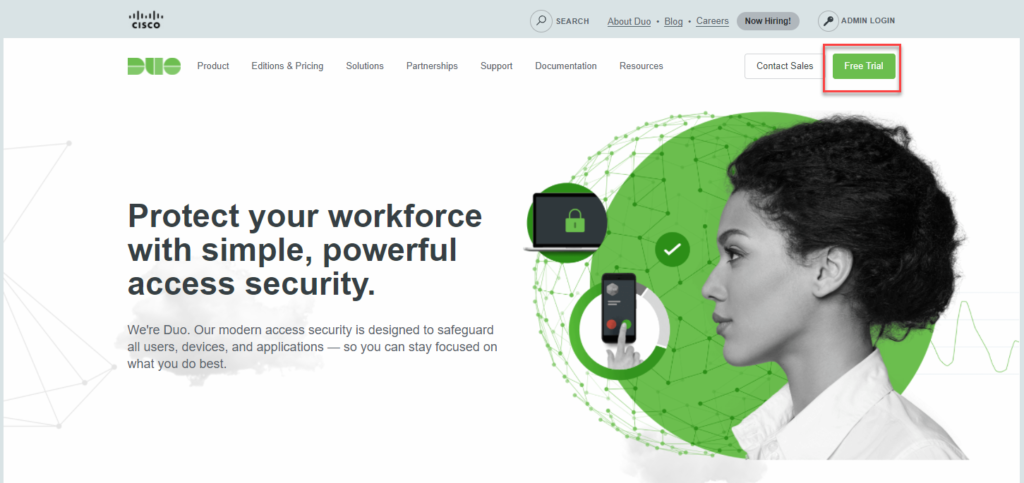
Hop on over to Duo’s website, duo.com. Click on the Free Trial button.
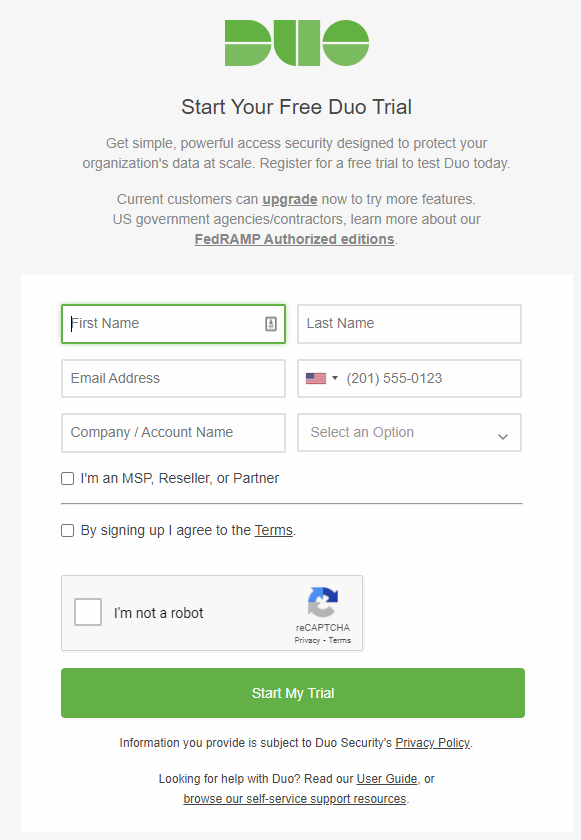
Run through the requested information and click on start my trial.
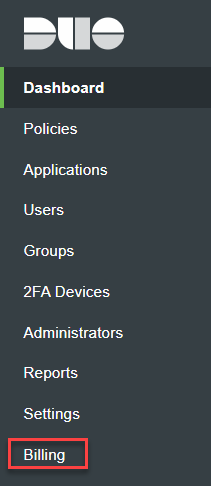
By default, they will start you on a free trial of one of their paid, more optioned plans. We need to change this over to the free version. Once you’re logged in, find the billing section in the left hand column.
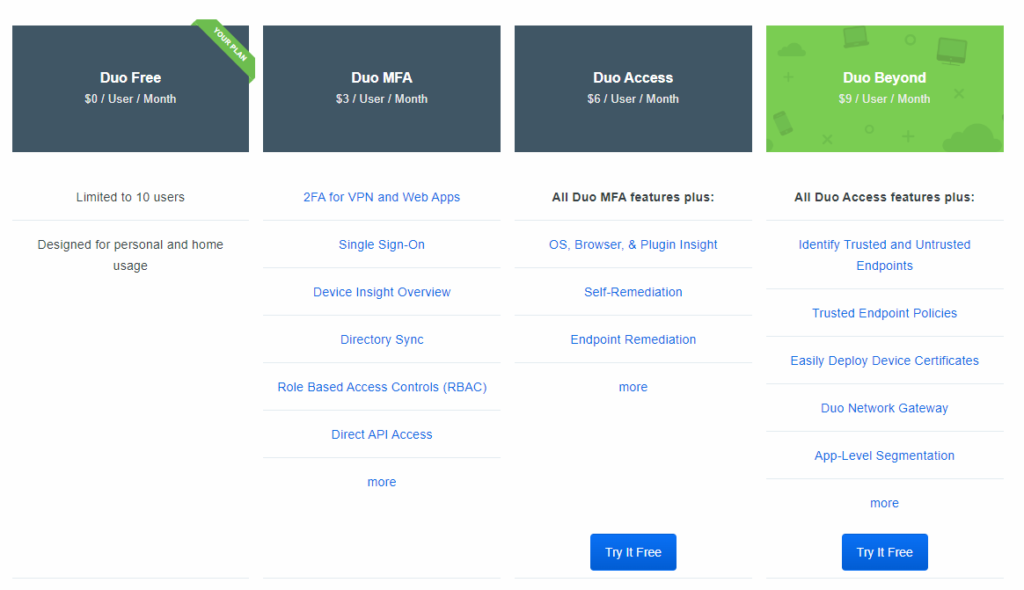
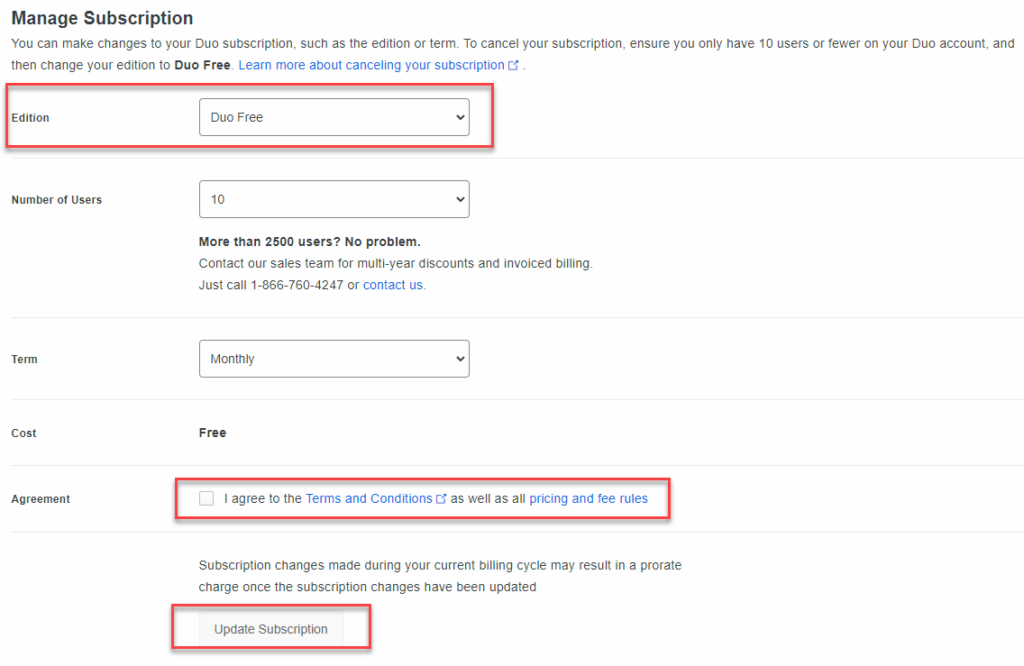
Once in the billing section, you can see all of Duo’s offerings. Note that while they show the per user per month cost, they sell them in blocks of 10. So if you needed 1 or 2 Duo MFA users, you’d have to buy a block of ten. IE: $30/m vs $6. For now you can ignore this unless you want to test out or buy one of their more advanced plans. For the purpose of this tutorial, we are going to leverage Duo Free. Scroll down until you find the Manage Subscriptions section.
Under the Edition drop down, select the plan “Duo Free”. Make sure you check off the box that states you agree to Duo’s terms and conditions. Then you can click the Update Subscription button. The page will briefly reload and you will now be on the free plan. Great.
Duo Group Creation
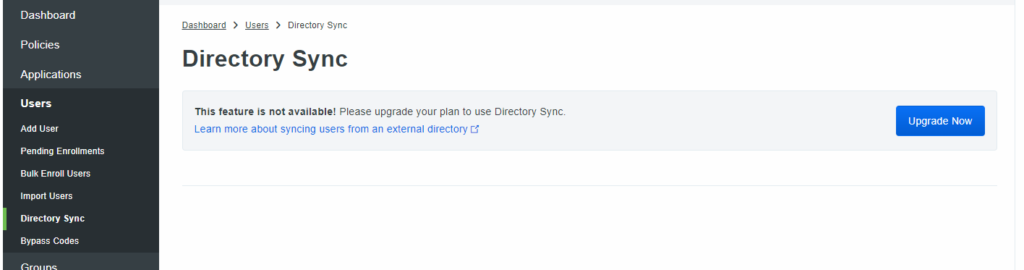
Before we can work on securing our Windows servers (or desktops) we need to add users to our Duo console. One caveat to Duo’s free service is that Directory Sync is unavailable. This means we will need to manually create our users. No big deal.
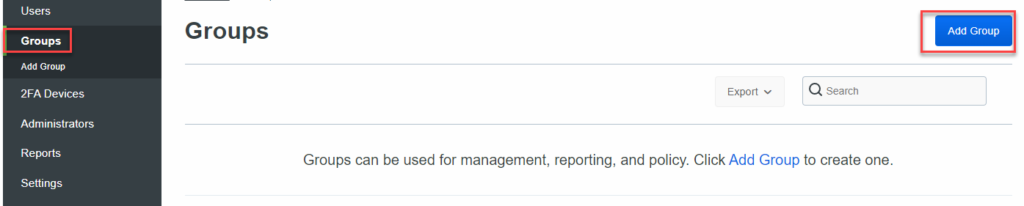
Let’s start with adding a group for our users. Again, given that we are working with the free version, there are some limitations to this. Find Groups in the left menu column and hit the Add Group button.
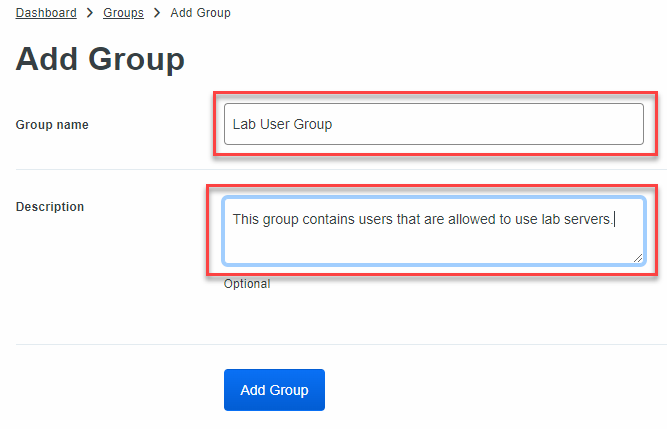
Enter a name for your group. I am going to call mine “Lab User Group” – Always be sure to add a good description. This goes for anything, not just Duo. That way you or another administrator later on down the road can understand what the group does. Once you’ve entered both a name and description, hit the Add Group button.
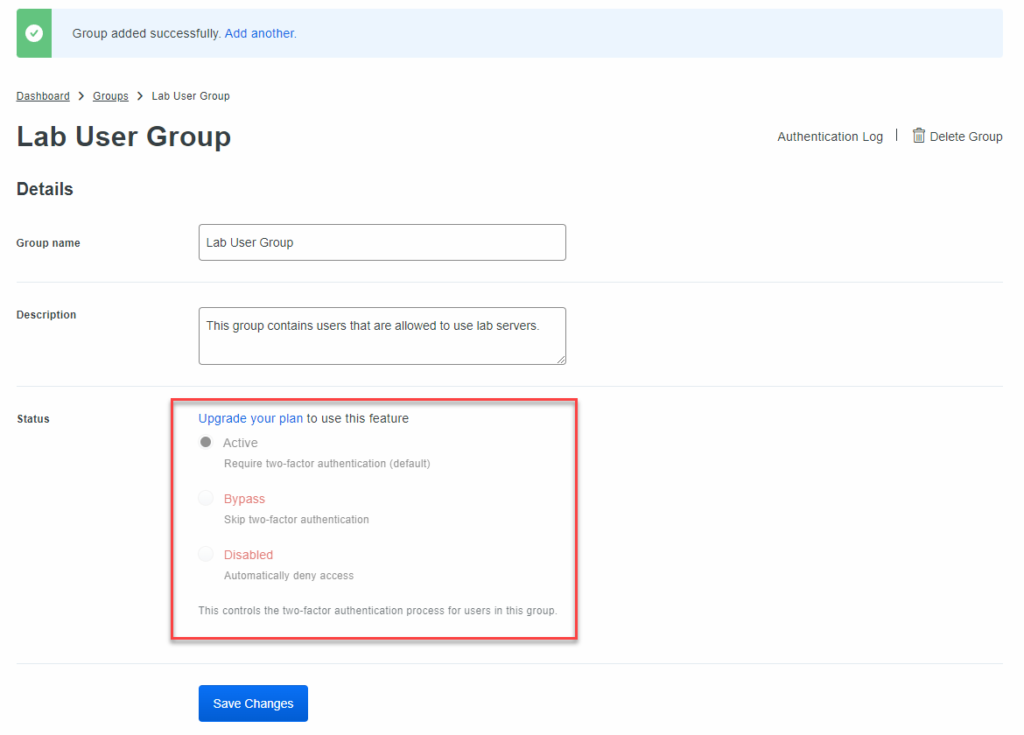
Like I stated before, there are some limitations to the free version, and, rightfully so. The limitation to groups is that you cannot disable 2FA, so there is no way to bypass it. You could certainly get away without groups for a small environment, but I am someone who likes to be organized and felt it was something I wanted to show. You can skip this if you’d like.
Duo User Creation
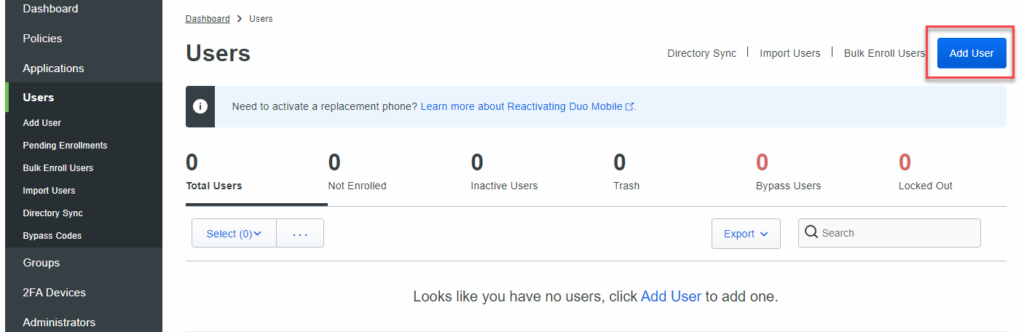
Once your group is created, we now need to manually create a user so that we can secure our environment. Users must have an email address in order to be enrolled. Find the Users section and click the Add User button.
Enter your user’s name. Since I do have a domain setup in my lab, I am going to enter their user logon name found in Active Directory. You can find this by going to Active Director Users and Computers on your Domain Controller or RSAT tools, and locating the user. Go to the Account tab and find the User logon name as highlighted below.
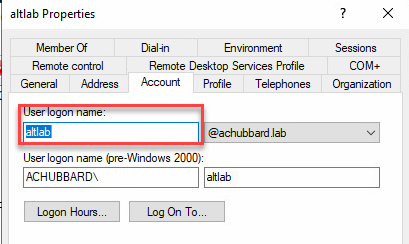
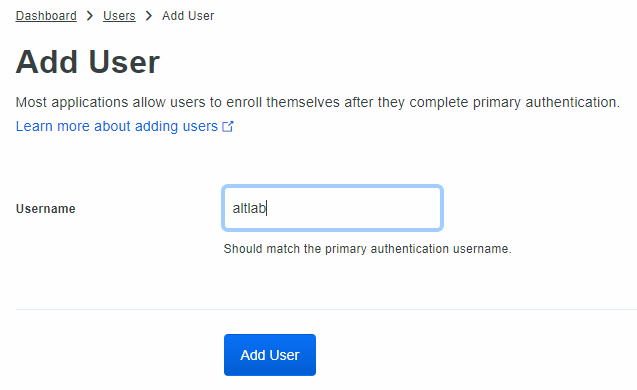
Back in Duo, enter the User logon name you found in Active Directory. In this case, the user is altlab. Click the Add User button.
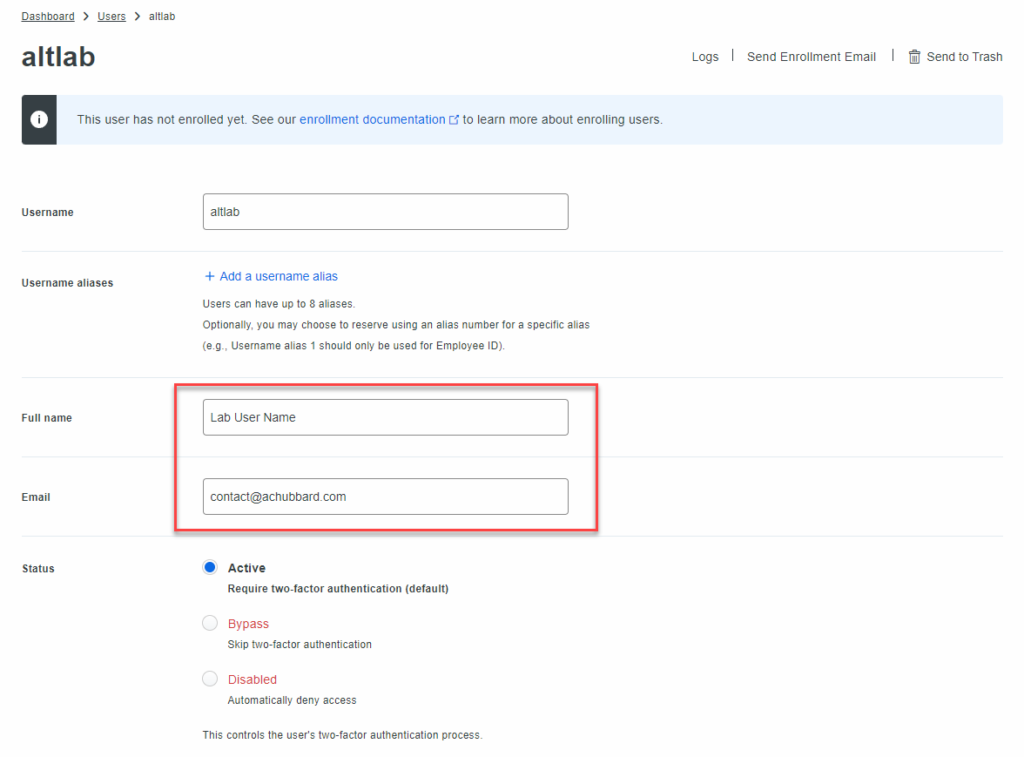
Now we need to fill in the pertinent information to get this user rocking and rolling. Fill out the user’s name and email address.
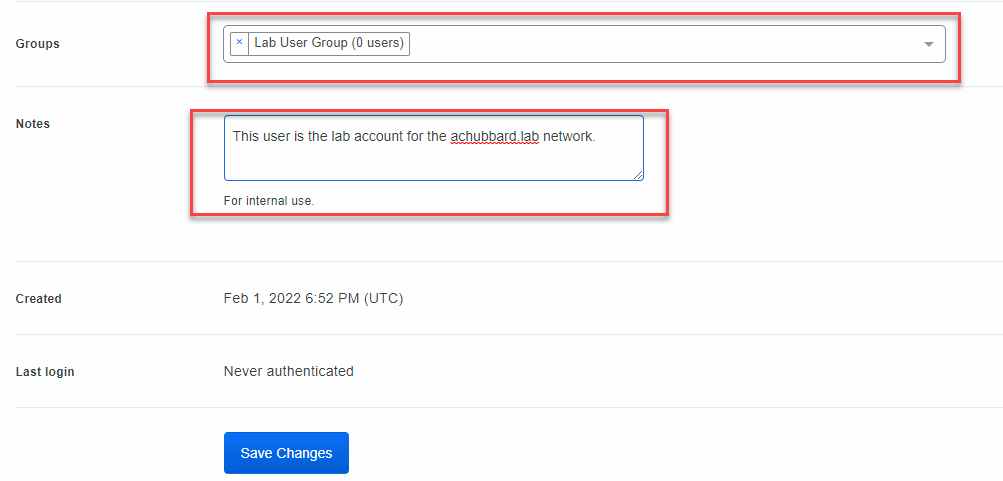
Scroll down and add our lab user, altlab, to the Lab User Group. Enter a note or description for the user. Click on Save Changes.
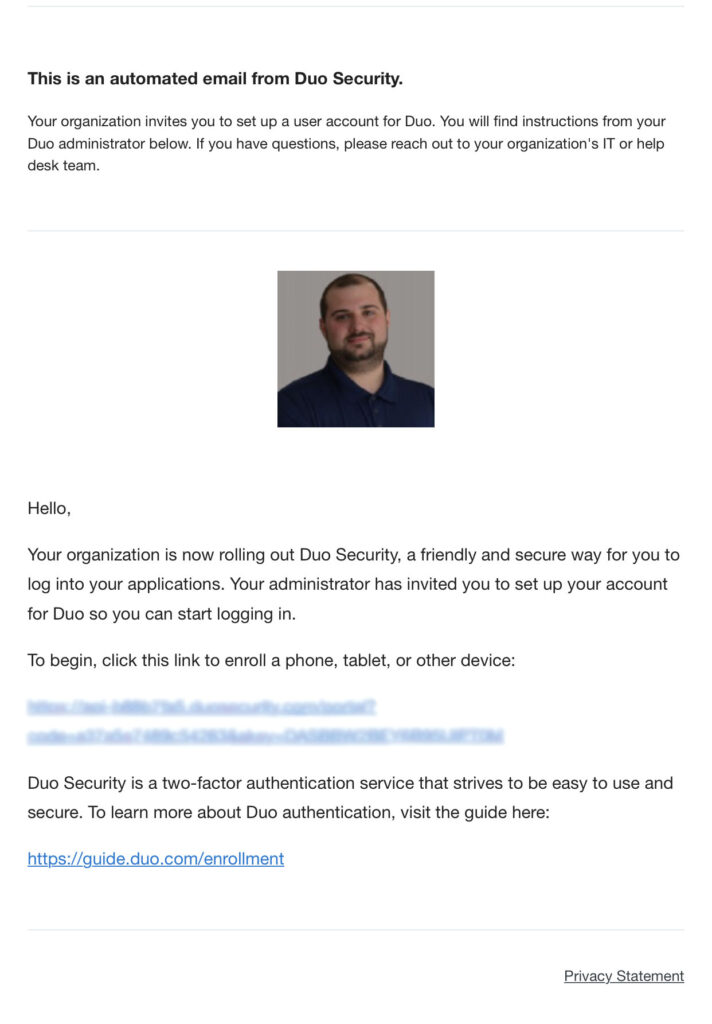
Once your changes have been saved, scroll back to the top and find the Send Enrollment Email link. Click this link and the user will then receive, in their email, a link to download Duo and activate it.
Duo Mobile Device Setup
From your mobile device, click the link in the enrollment email and follow the steps to get Duo configured. You may need to download and install Duo from either the Apple App Store or the Google Play Store depending on what type of device you have.
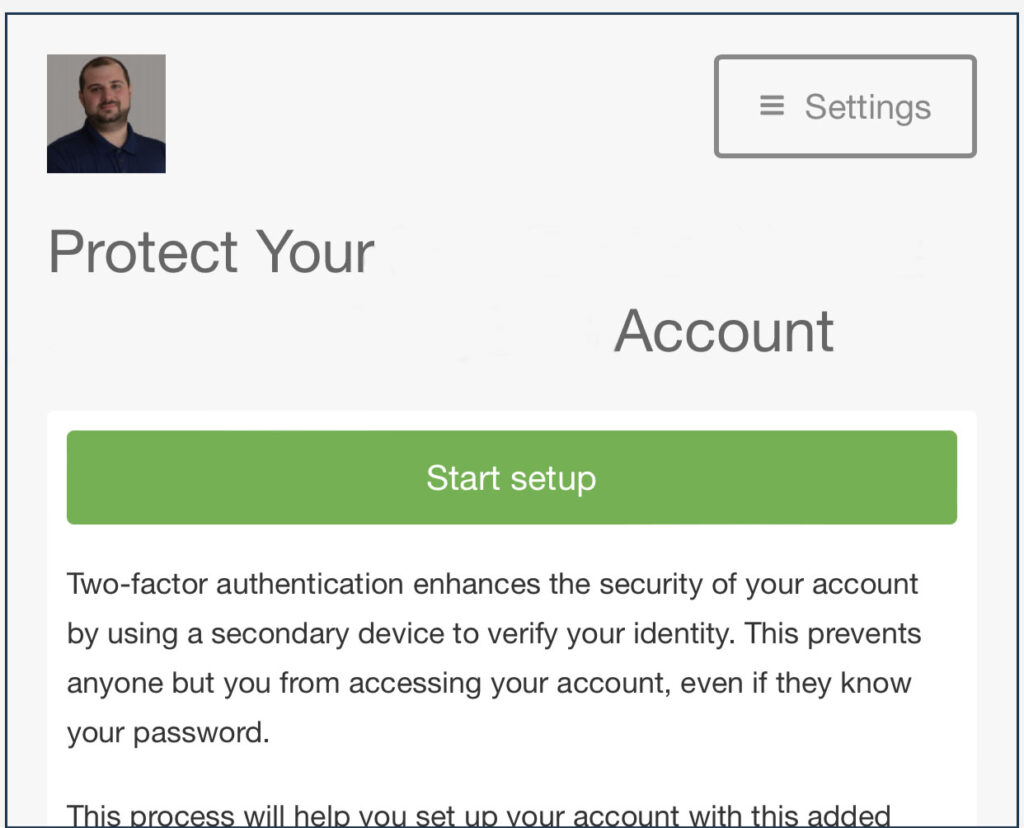
Click on the Start Setup button.
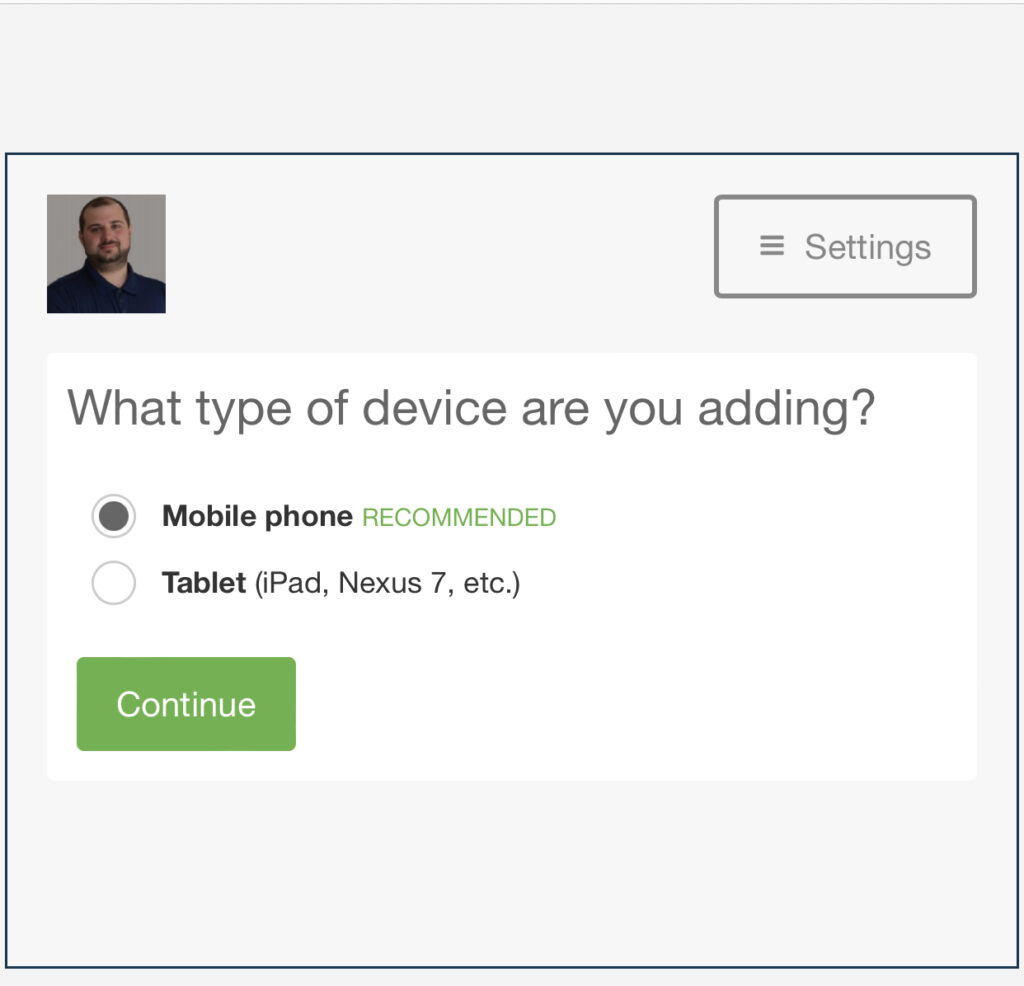
Select what type of device you have.
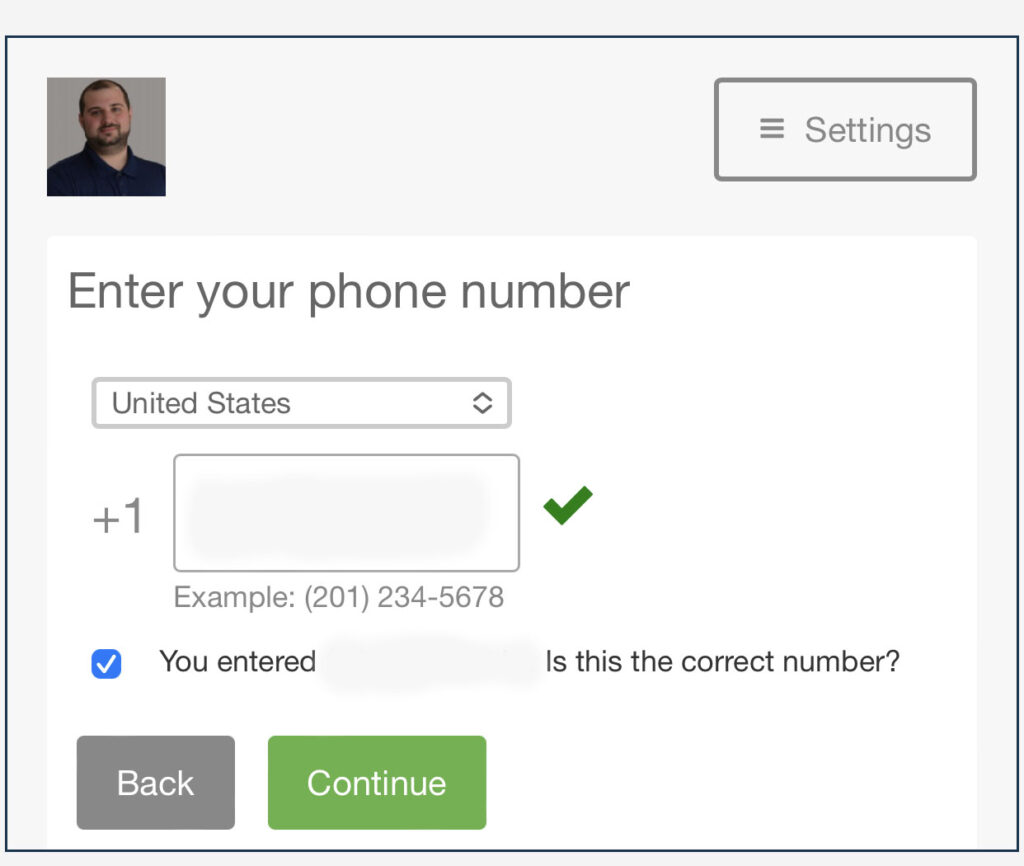
Enter your phone number, check off the check box to verify your phone number and click the continue button.
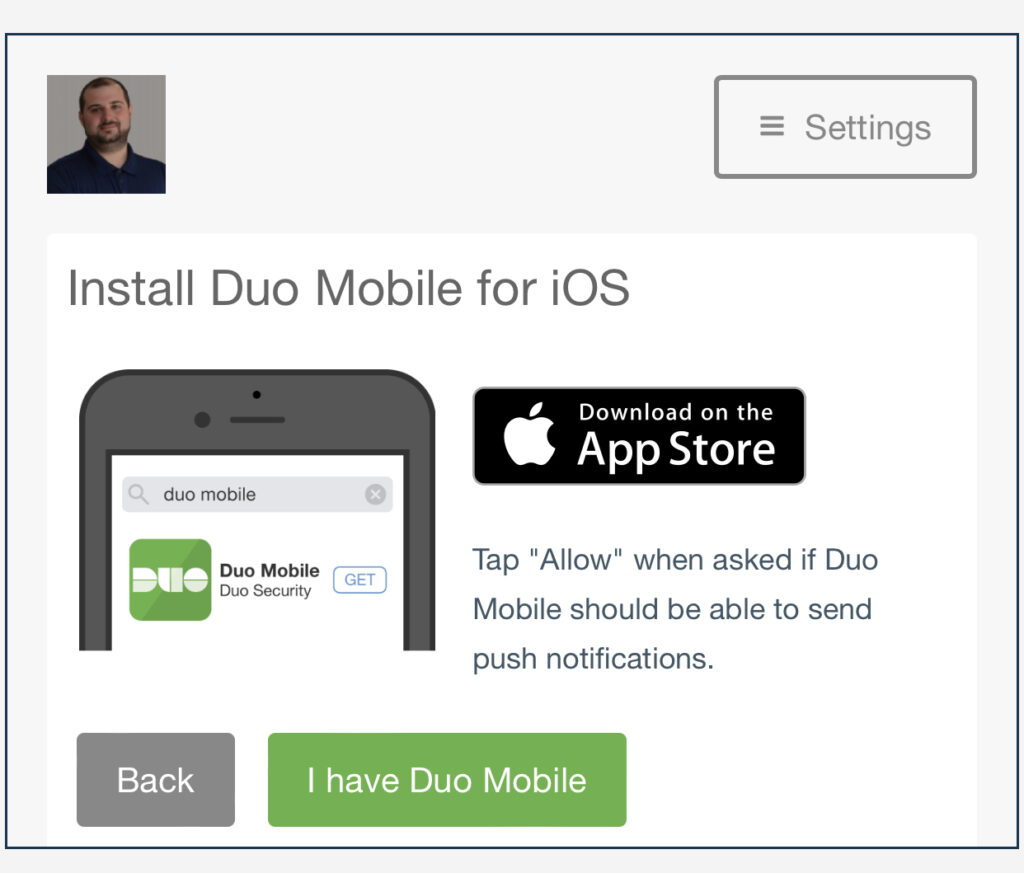
I already have Duo installed on my smartphone, so I am going to click the “I have Duo Mobile”- Again, you may need to install it if you do not have it installed already.
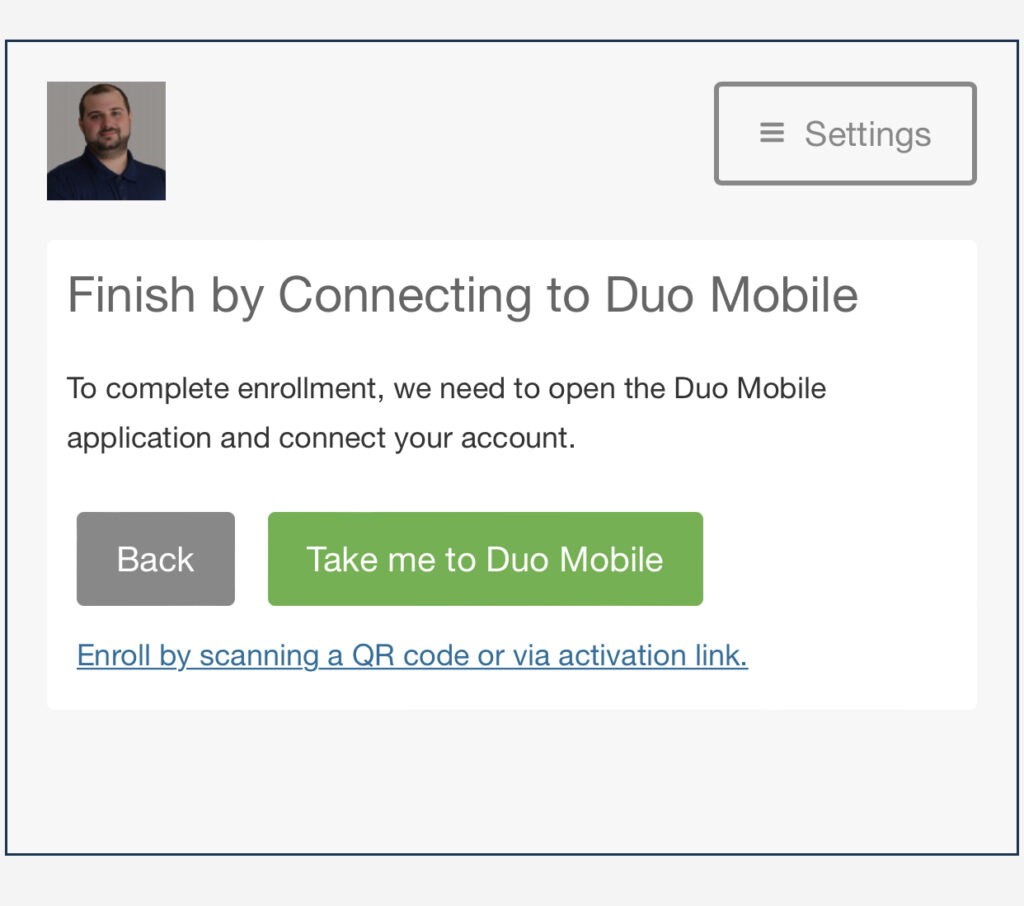
Press the Take me to Duo Mobile button.
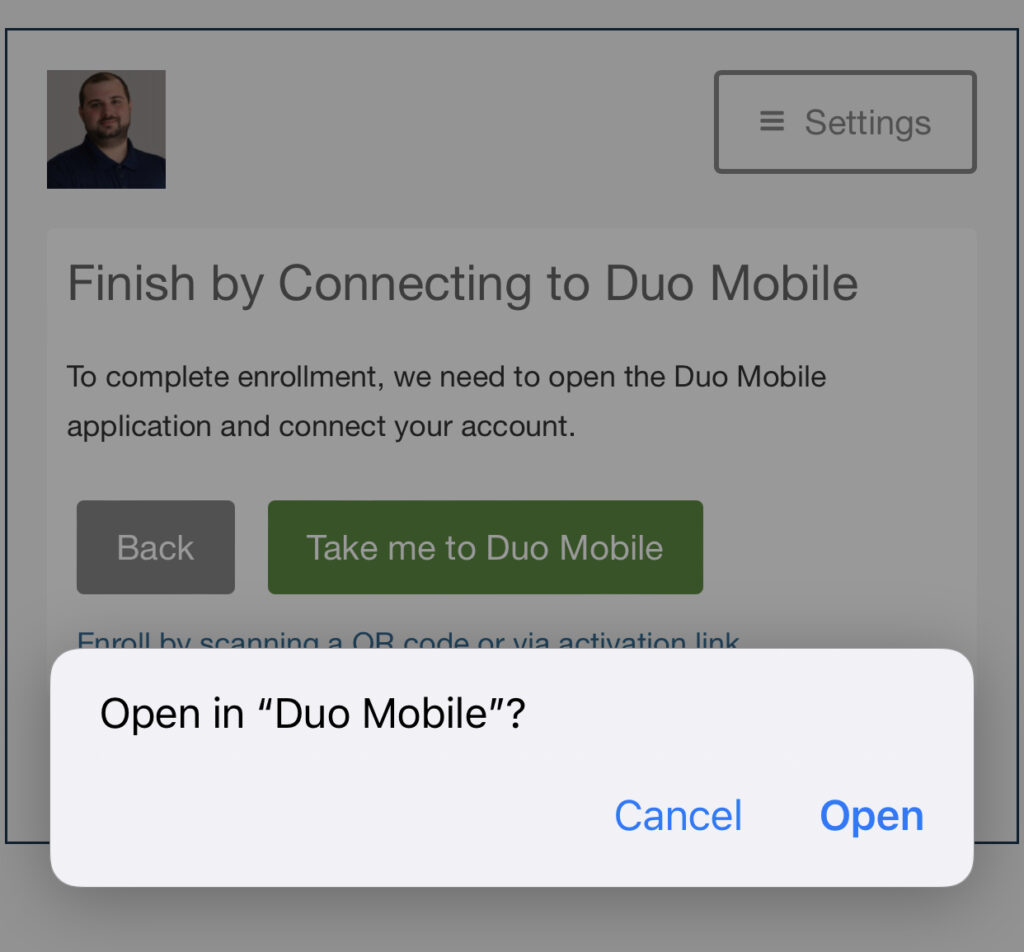
Your phone will prompt you if you want to open Duo Mobile. Hit the Open button.
Give the account a name so that when you look at the Duo Mobile app, you know what you are looking at.
You’ve now added your account to Duo Mobile. Now we need to go configure an application, which, in this case will be RDP.

Duo Application Configuration
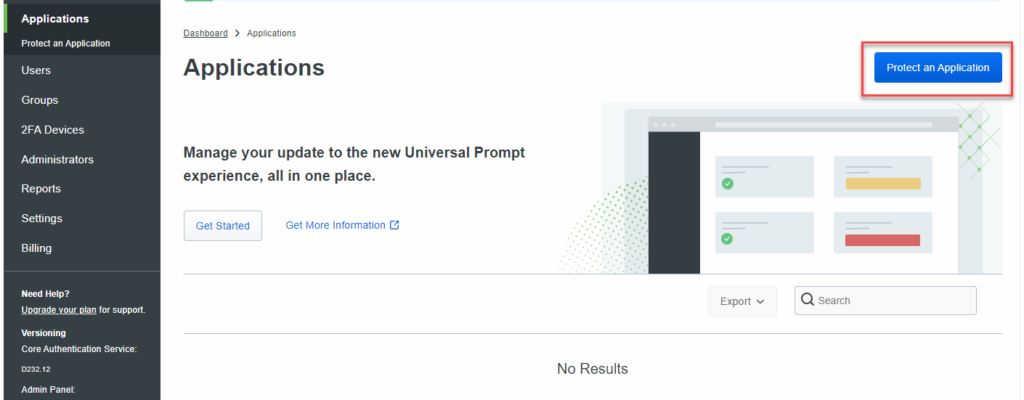
Jump back over to your Duo admin console. Find the Applications section and click the “Protect an Application” button.
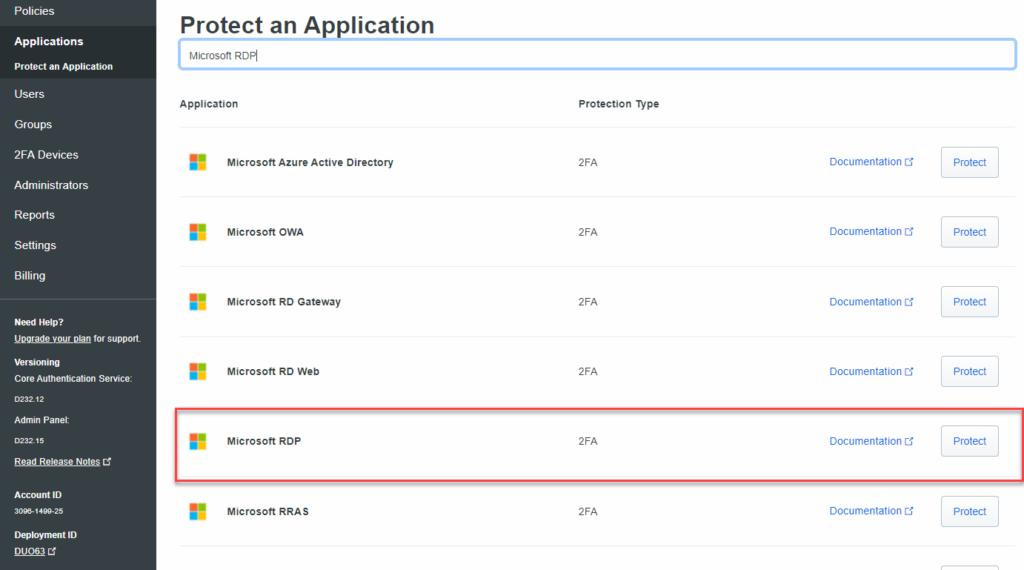
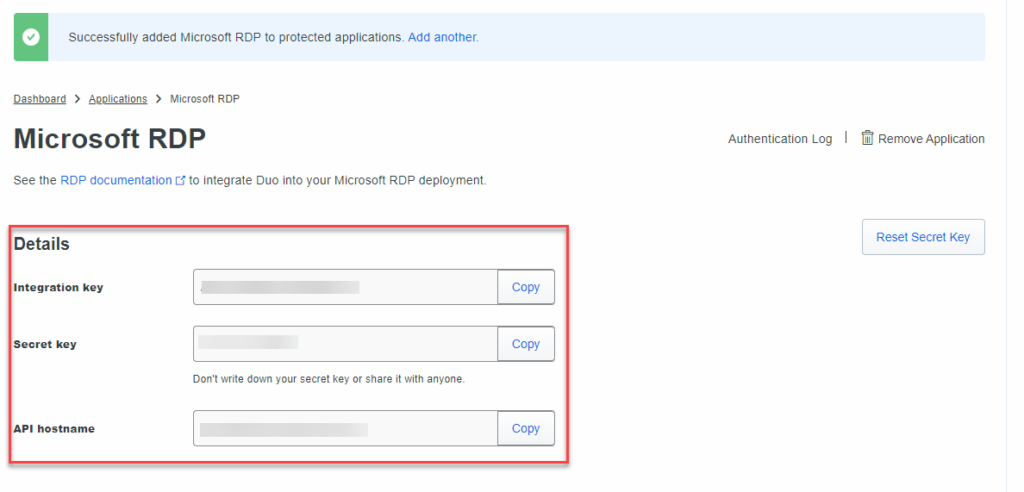
For this tutorial, we will be adding 2FA to our Windows systems, so locate Microsoft RDP. Click on the Protect button. This will protect RDP and local console access to your system(s).
Once you’ve clicked on Protect, Duo will generate an integration key, a secret key and an API hostname. You’ll want to jot these down in a password manager for reference.
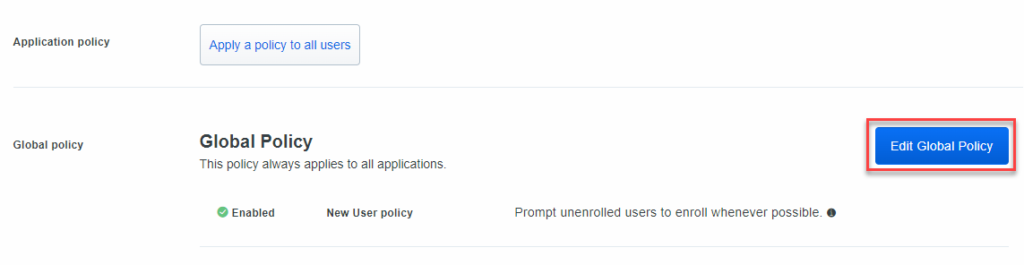
Scroll down and find the Global Policy. Let’s edit it. Another limitation of the free version is the lack of ability to create different policies. For now, this is ok
As my environment is very small.
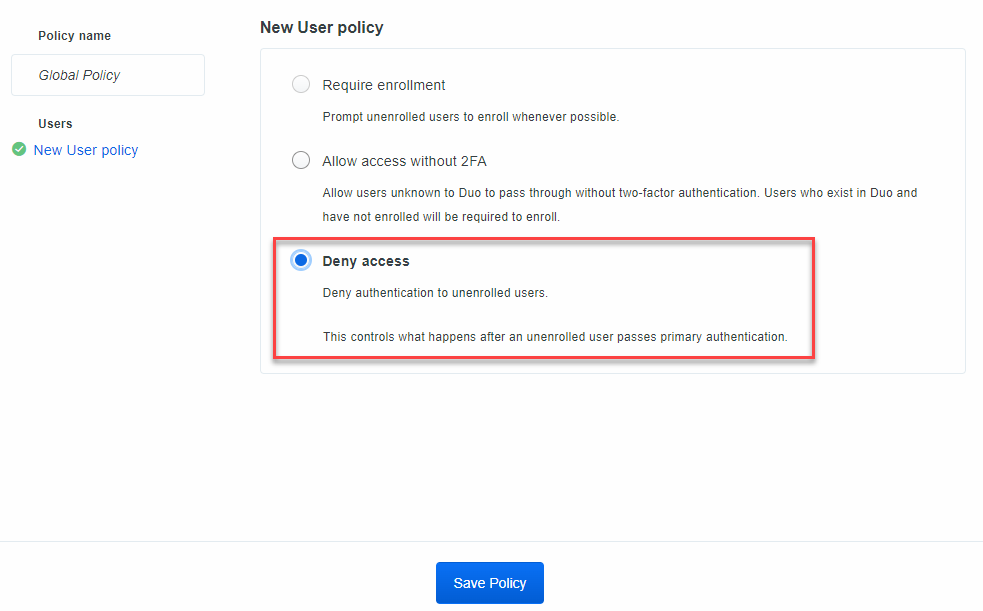
By default, “Require Enrollment” is selected. Let’s change it to “Deny Access” – Any user that is not enrolled in Duo will be denied access to the system you are securing. Click on Save Policy.
Back in the protect an application settings menu, give your application a name. In this instance since this is protecting my lab, we will call it Lab MFA. Make sure you add a note/description as this is just good practice.
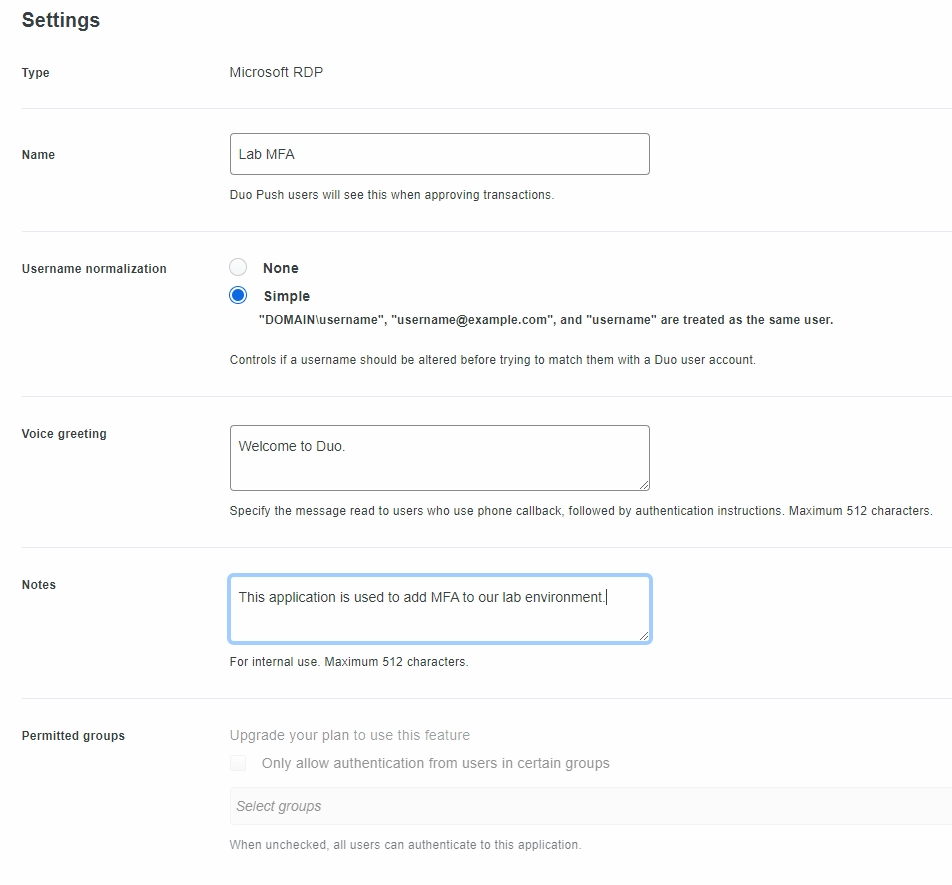
Click on the Save button. We’ve now configured the Duo side of the application. We now need to configure our Windows Systems that we wish to secure.
Windows Server and Workstation Configuration
Let’s move over to one of our lab machines. It doesn’t really matter what system we pick, this will work for a workstation or a server. We need to download the Duo Windows client.
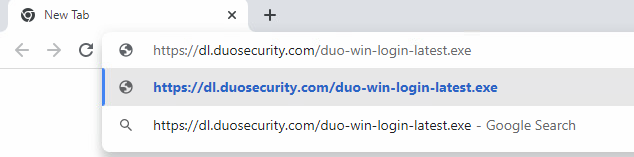
Duo Windows Client:
https://dl.duosecurity.com/duo-win-login-latest.exe
Open up Chrome or your favorite web browser and paste the above link. The executable will download and then we can run through executing it.
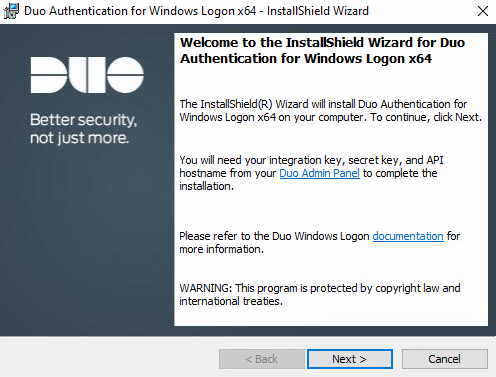
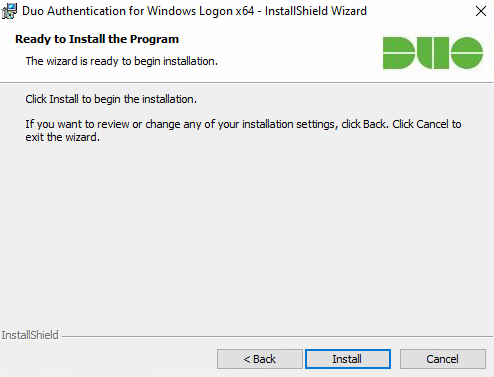
This is a very easy install. Click the Next button.
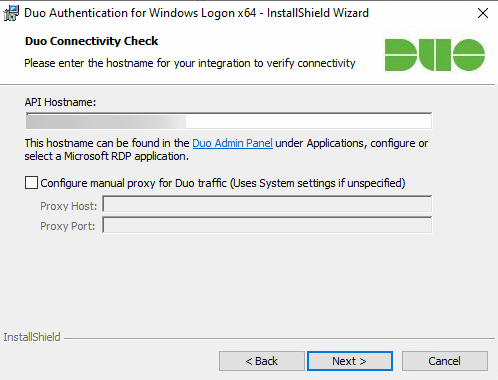
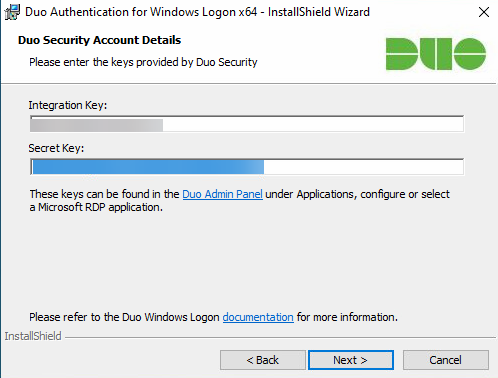
Enter in the API Hostname from the previous step. Click the Next button.
We will enter both the integration and secret keys that were generated when we setup the application within Duo. Then click Next.
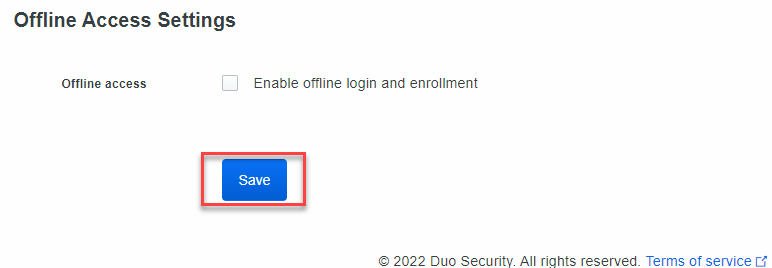
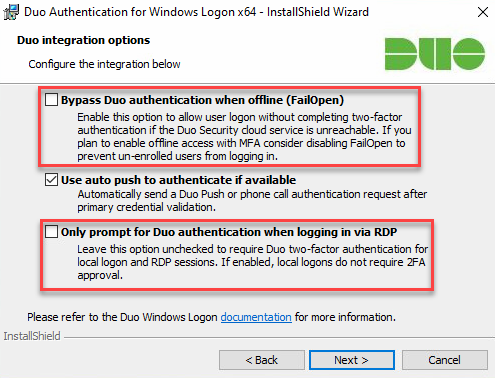
By default, the option of Bypass Duo Authentication When Offline is checked. What this means is that when the system cannot talk to Duo, you will not be prompted for MFA.
For me, I disable it. You may choose to leave it enabled. We will leave use auto push to authenticate enabled. This will automatically trigger the app on your smartphone to prompt
You if you want to approve the login.
I’ll also leave the Only prompt for Duo authentication when logging in via RDP unchecked. This will force Duo to prompt for MFA regardless if you are RDPing to the system or logging
In locally. Make your selections and click Next.
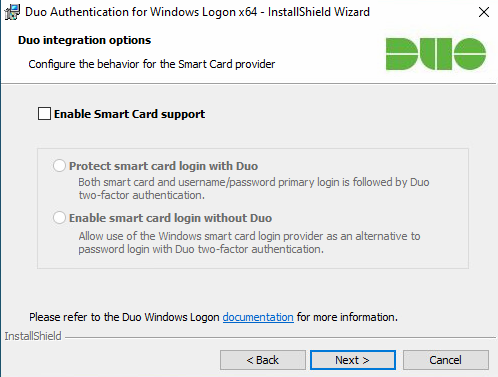
We can leave smart card support disabled and click Next.
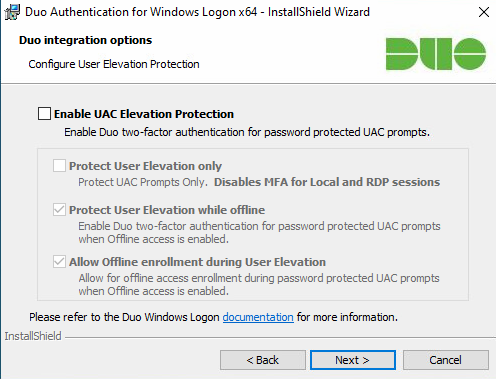
We will also leave Enable UAC disabled. Click Next.
Click the Install button.
Let the application install. This may take a moment or two.
Once the installation has completed, click the Finish button. Now we can test out what this looks like.

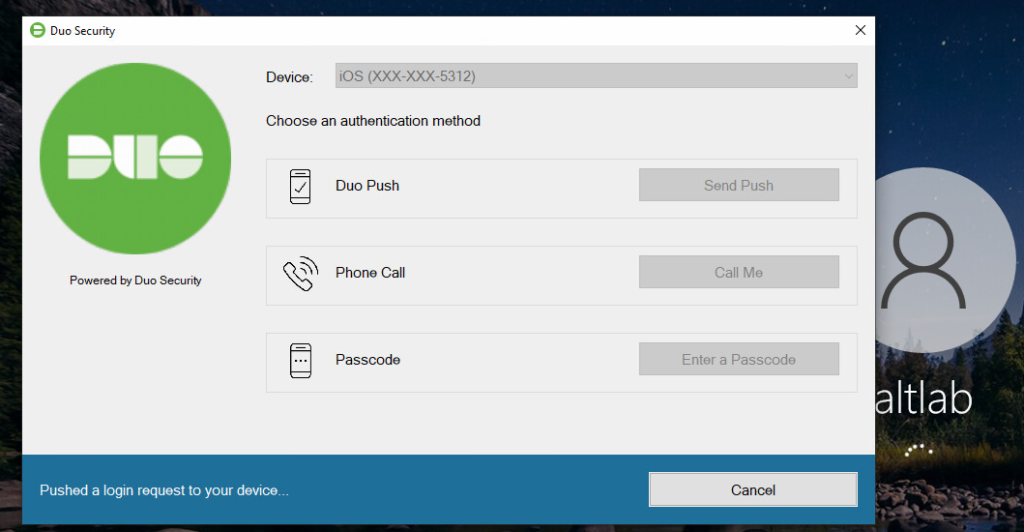
First we will test out logging in at the console of our newly protected system. We’ll test out an enrolled Duo user, the account we created earlier, altlab.
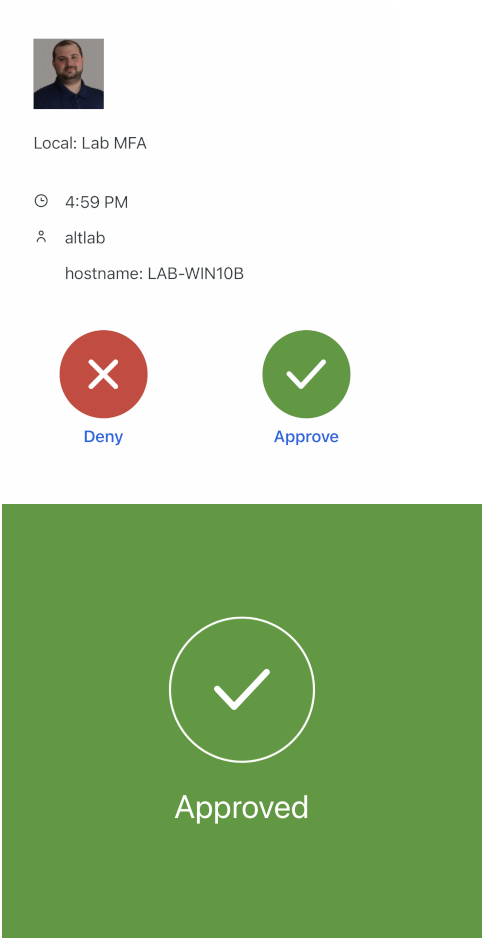
You can see once you enter the username and password that the Duo client appears on the screen. At this point, your smartphone should receive a prompt
From Duo, asking you to approve or deny access. If you approve it, you’ll be able to login. If you deny it, you will not be able to login to the system.
This is what the prompt on your smartphone will look like. Once you click Approve, you’ll see the screen go green and state “Approved”
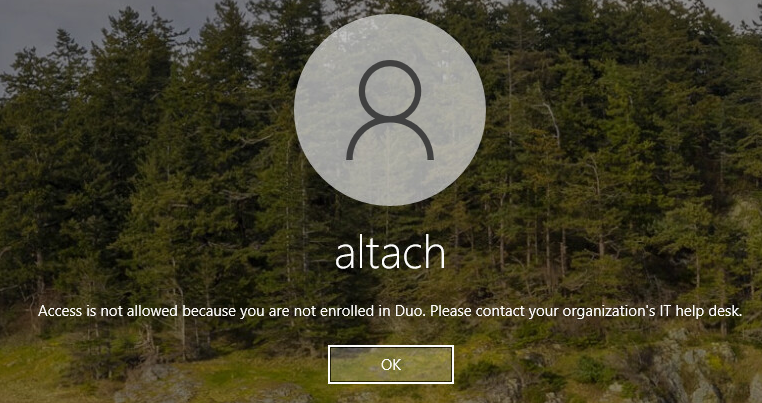
Unenrolled User
Let’s try to login to our lab machine as a user that is not enrolled in the Duo platform. We’ll use another lab user that I have, altach. Once we enter those credentials, you’re automatically denied.