
Overview
Hi all – Welcome to my channel, I’m Alex Hubbard, I’m a Senior System Administrator and Cybersecurity Engineer. If you’re new to the channel, please subscribe below. If you’ve been here before, welcome back. Be sure to check out my Instagram @ach_sysadmin and Facebook @achsysadmin pages.
In this video I am going to show you how to configure Microsoft Intune and Autopilot. We’ll go over how to capture your hardware IDs, base policies and groups, and I will show you what a full setup looks like. If you’ve never used Intune and Autopilot, you’ll want to check them out. As a small business systems admin, they are going to make your life so much easier when it comes to imaging and deploying new or repurpose systems. As always, I will have a full write up over at my blog site, achubbard.com.
Licenses
Microsoft 365 Licenses
What licenses do you need to implement Autopilot and Intune? Microsoft has a multitude of options when it comes to picking out licenses to make these two features work. I’ll leave a link to the requires in the article and video description. For this tutorial, I am leveraging my Microsoft 365 Business Premium license. This is the bare minimum, most simple license solution to get this to work for your organization. The current cost of this license is around $22 per user, per month. You can see where this would add up quickly. More advanced licenses cost even more.
Windows Licenses
It should also be noted that you will need Windows 11 Pro or Windows 10 Pro to join an Azure AD Domain. Keep that in mind as you are building out your fleet. I have seen many small businesses over the years run down to the local big box electronics store, grab whatever they had on the shelf and then wonder why it doesn’t work. Your best bet is to work with a VAR or OEM to get your environment configured so that you do not need to perform the manual hardware ID capture.
Microsoft Requirements:
https://docs.microsoft.com/en-us/mem/autopilot/licensing-requirements
Office 365 Configuration
Getting 365 configured correctly isn’t to terribly complicated. Make sure you have the right licenses purchased for your environment as we discussed earlier.
Group Creation
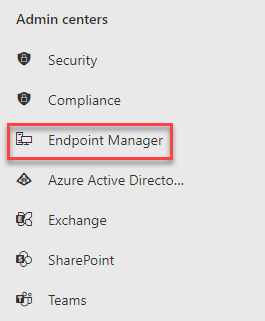
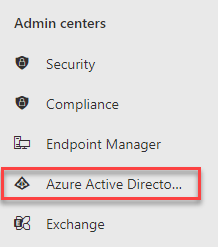
First we will build out a group. This is what we will assign our systems to. Login to the admin portal for your tenant. Under the Admin Centers heading, find Endpoint Manager. Click it. A new tab will open up in your browser.
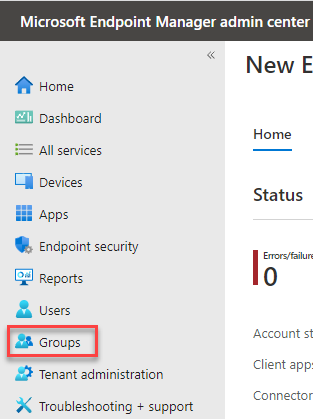
Click on Groups.
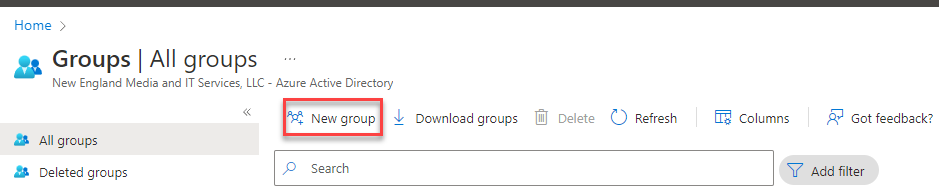
Click on New Group.
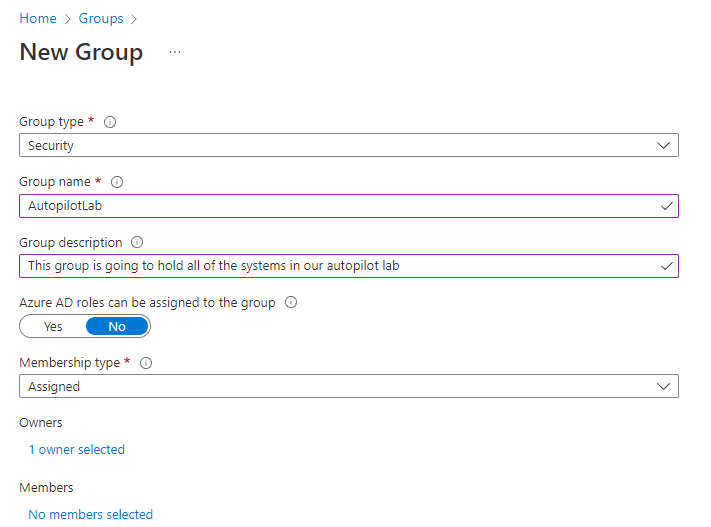
Leave the group type as security. Give the group a name. In our lab, I will call it AutopilotLab. I harp on this in all my tutorials, but be sure to give the group a description. This will help when you come back in the future (or another tech) to decipher what the group is for. You can leave Azure AD roles in the default of no. Leave the membership type as assigned. This means that we will manually have to assign systems to the group. This is ok for lab. In a production environment, you may want to switch it to dynamic and create custom rules to manage membership.
Group Type: Security
Group Name: Autopilot
Azure AD Roles: No
Owner: Admin
Membership Type: Assigned or Dynamic
Members: We will add these later
Click the create button to create your new group.
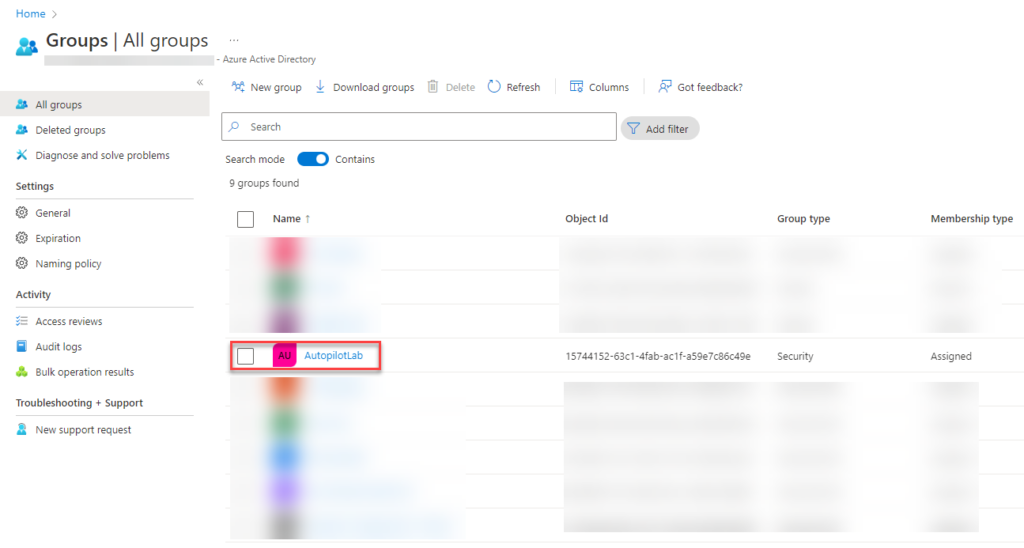
Now you should see the group you just created under All Groups.
Autopilot Profile
Moving on to our Autopilot Profile. This is how the magic happens.
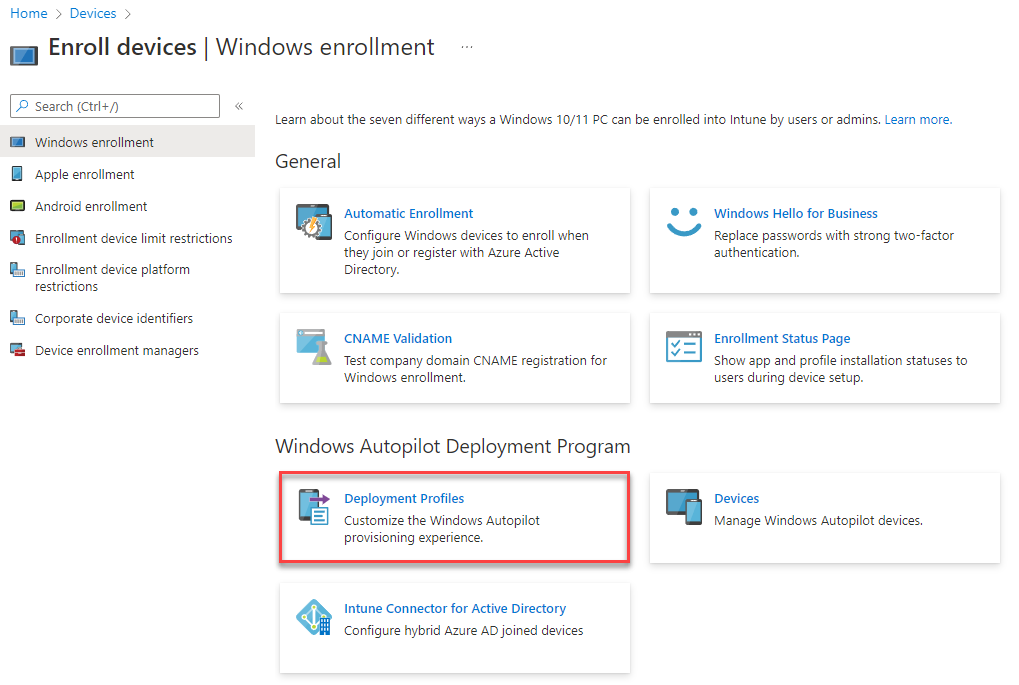
From Endpoint Manager, click on the Devices button on the left hand side.

We want to next click on the Enroll Devices button.
Under the Windows Autopilot Deployment Program, select Deployment Profiles.
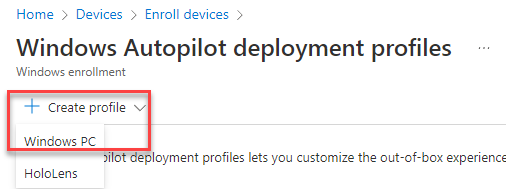
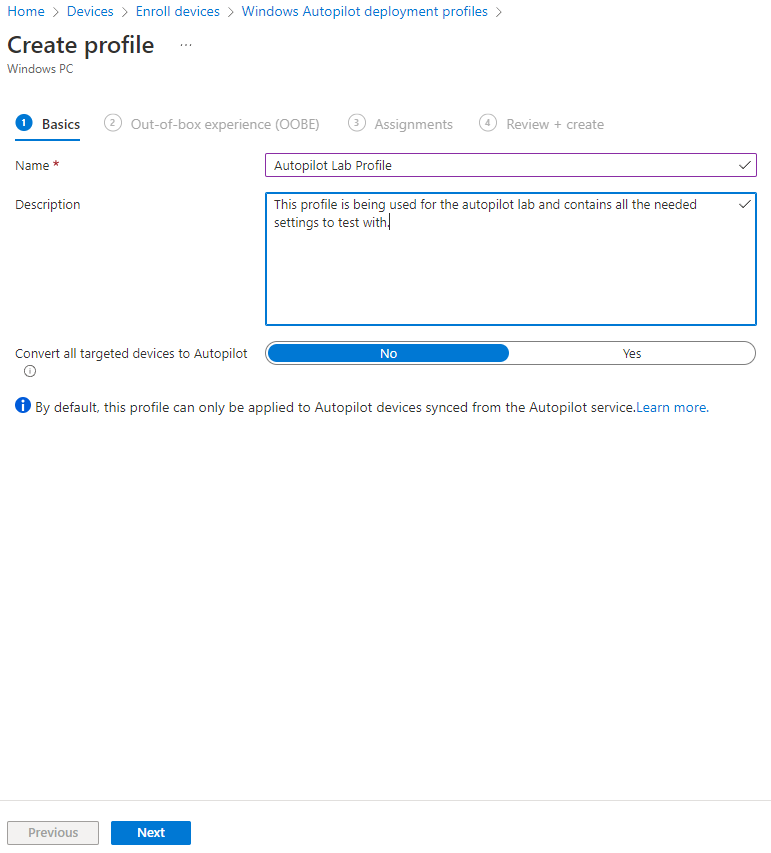
Click Create Profile and select Windows PC.
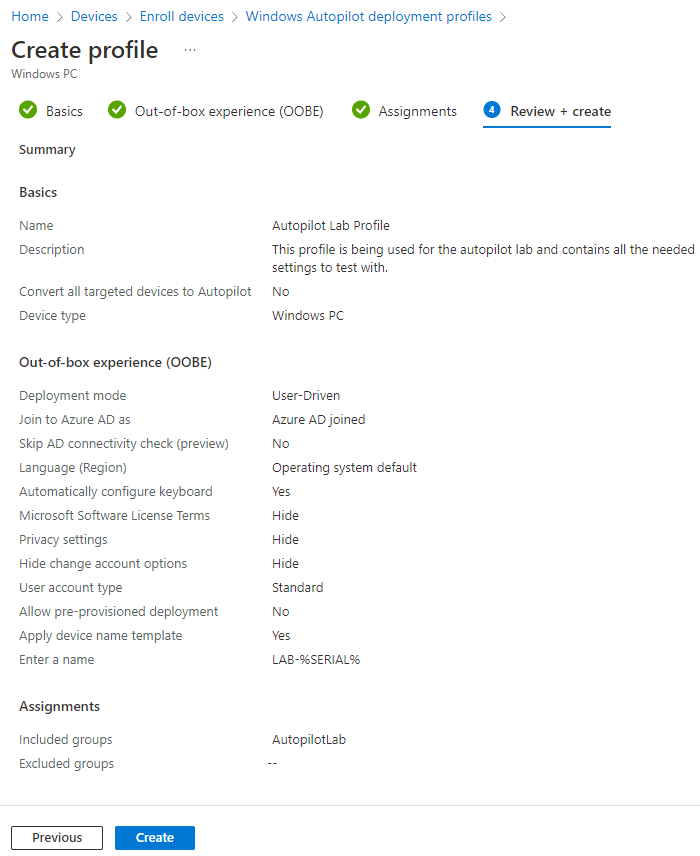
Give your profile a name and good description. We do not want to target all devices as this is just a lab. Targeting all devices will force this profile out to all devices within the tenant if they are not registered. Users will have to go through the autopilot enrollment/OOBE if this option is selected. Since this is just our lab, we will select no for the time being. Click the next button.
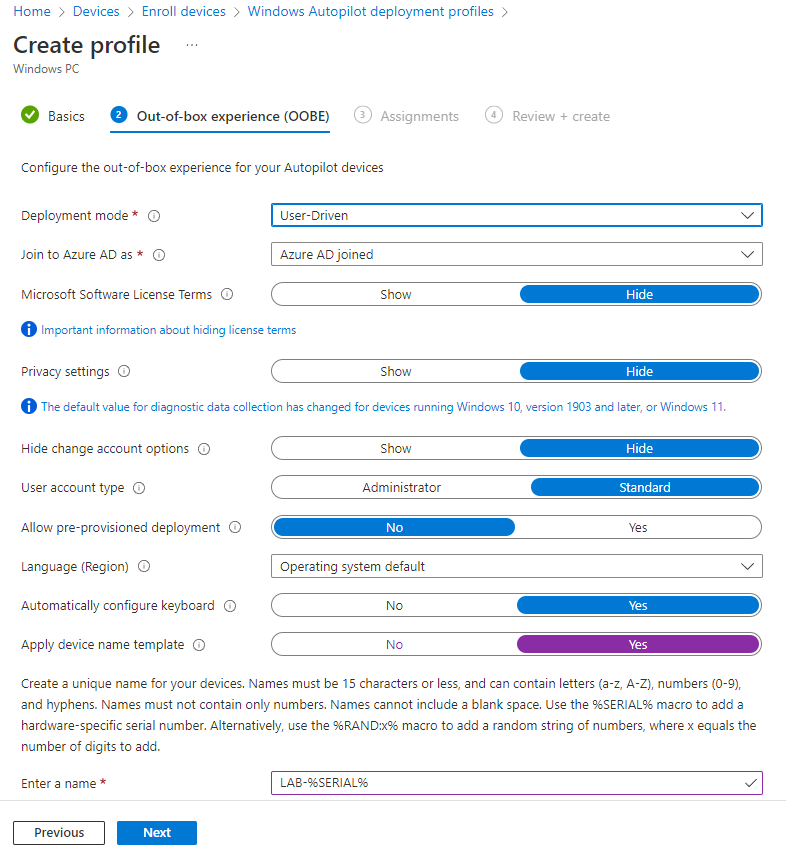
Now we need to configure how we want the device to handle the Out-of-box experience. This is what the end user will see.
For deployment mode, select User-Driven. We want the system to join the domain, so select Azure AD joined. We can hide the license terms and privacy settings. We’ll also hide the option to change accounts. Since this is being configured to be deployed to a theoretical user, we will set the account type to standard.
Depending on your environment, you may wish to allow pre-provisioned deployment. This would allow you to bypass any user authentication during deployment. User related settings and applications would be pulled down later. This might be helpful if you, as the admin, were setting up the system but perhaps didn’t have a user to assign to it just yet.
We will leave the language to pick the operating system default and automatically configure the keyboard.
Finally, we want the system to be named so that we can identify it. You can enter your company name and then the %SERIAL% variable. So it would look like this: LAB-%SERIAL% – This will name the system LAB- and then append the serial number or service to it. IE: LAB-A2B4588
Click next.
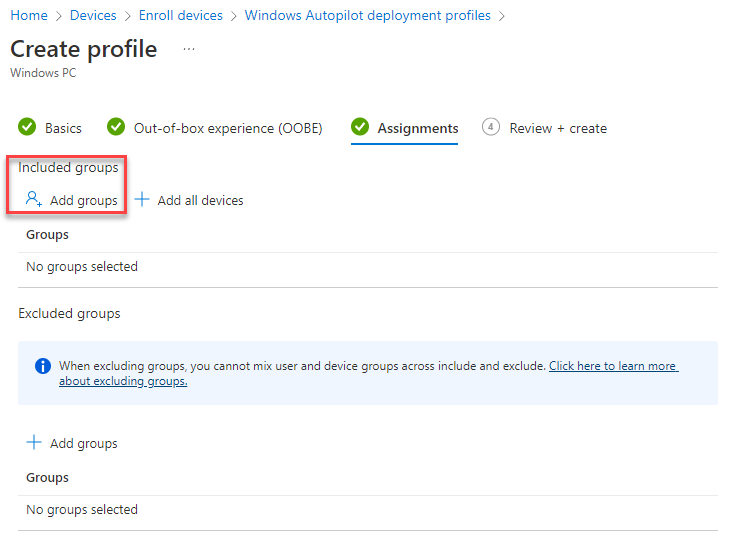
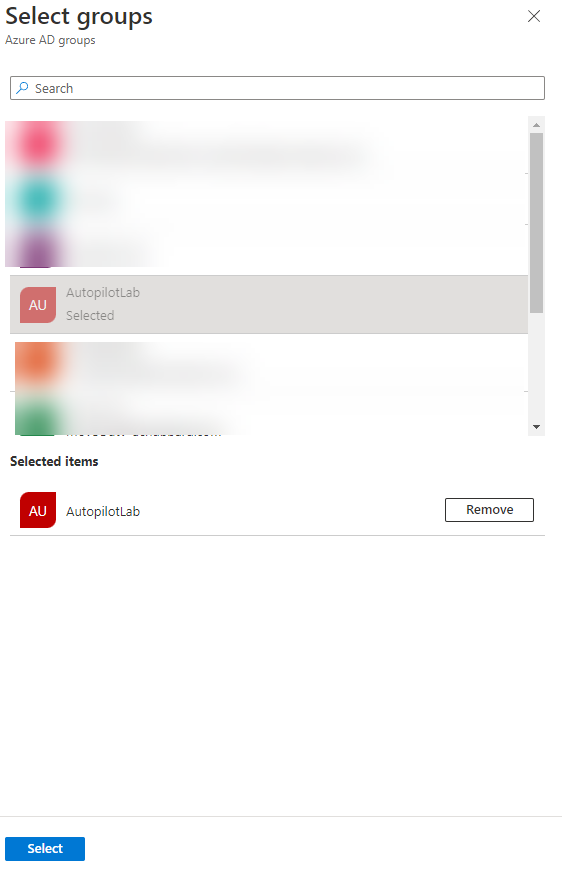
Here we are going to assign the profile to the group we created in the previous step. Click the Add Groups button under the Included Groups section.
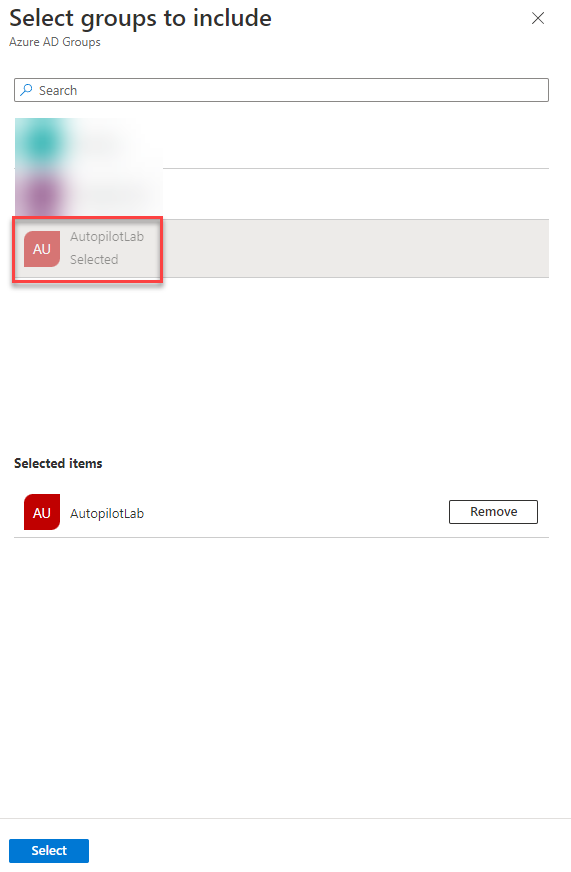
Find the group you created, AutopilotLab and click the select button.
Review all of your settings to ensure they are correct. Once you are satisfied, click create.
Application Deployment
Ok so now we’ve got our base configuration dialed in, but what about deploying applications your users might need? We will take a look at creating an application installs for both Google Chrome and the Microsoft Office 365 desktop applications.
Chrome Deployment
First off, deploying Chrome this way can get stagnant. You should really be running a patch management solution in your environment. You’ll want to come in and update this MSI file fairly regularly. You’ll need to download the Google Chrome MSI.
You can download it from Google:
https://chromeenterprise.google/browser/download/#windows-tab
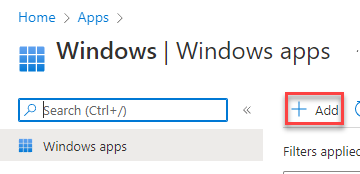
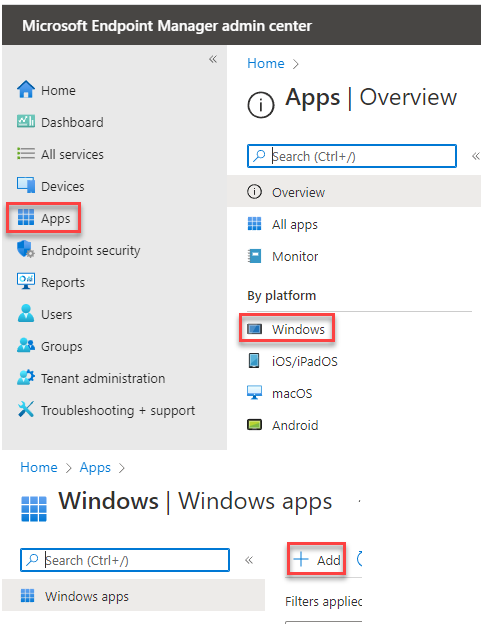
Unzip it and remember where you extracted it to. We will need the MSI file shortly. From the Microsoft Endpoint Manager Admin Center, click the Apps link and select Windows under By Platform.

Click the Add button.
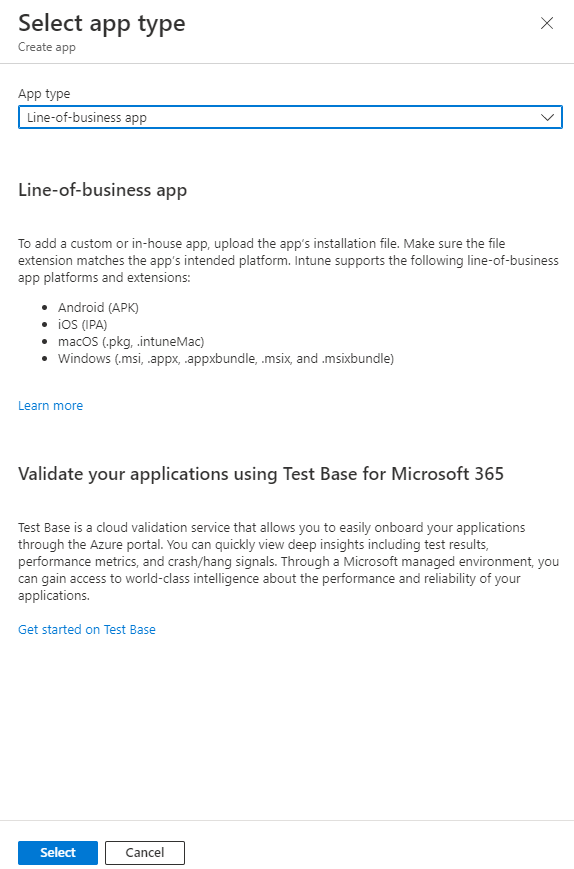
For Chrome, we will select the app type of Line-of-business app. Then hit the select button.
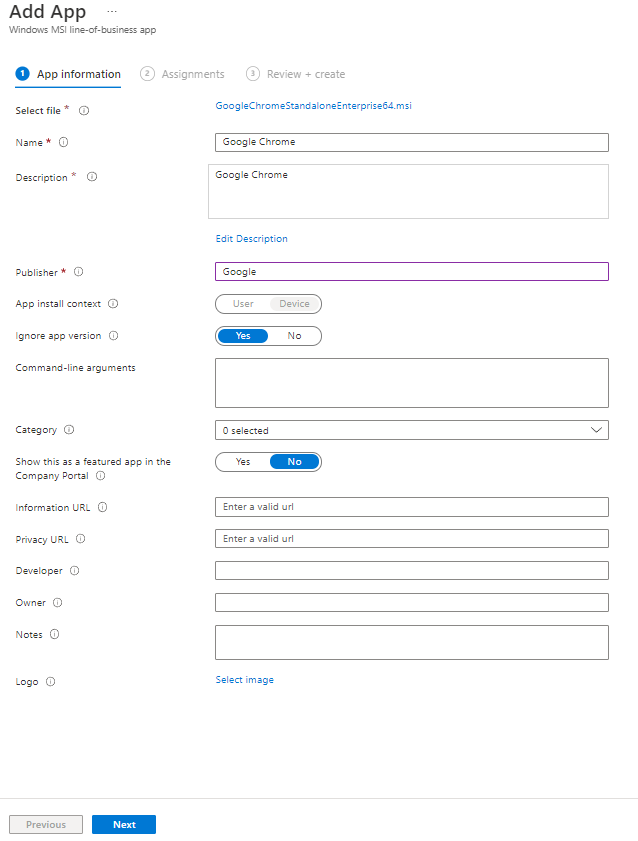
This is where we will need the MSI from the Google Enterprise zip file. Select the app package and point it to the location you save the MSI file. Click Ok. Note that it may take a few moments to upload.

Make sure you enter the publisher as Google. You can leave the rest as the default and hit the next button.
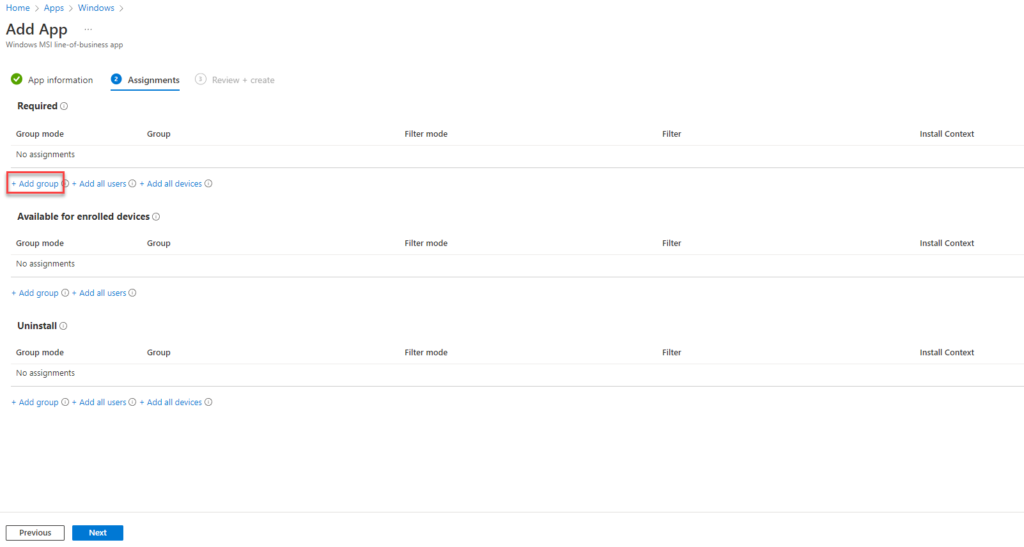
Finally, we need to add some assignments to this application. This tells 365 what systems are going to get Chrome. Since this is a lab, I am just going to assign it to our Autopilot lab group. You may wish to create a separate group for specific application installations. Click the Add group button.
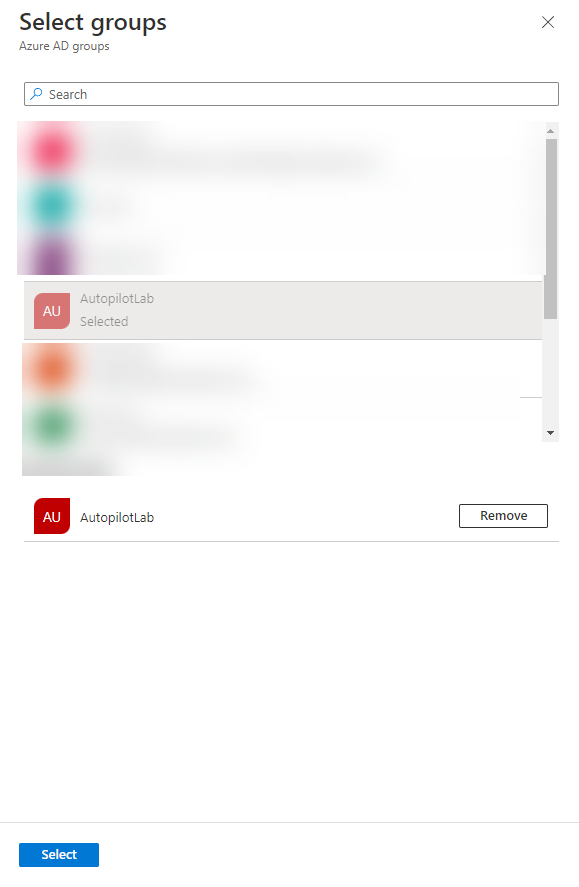
Find your AutopilotLab group, or equivalent. Click it and then click Select.
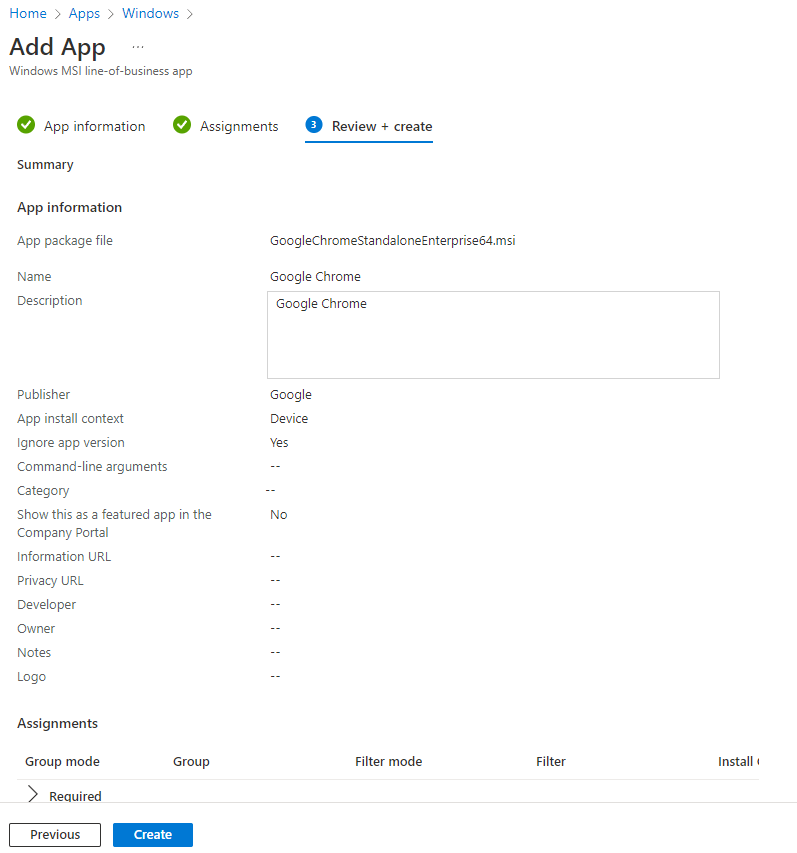
Review your settings and click create.
Microsoft 365 Apps for Windows 10 and Later
Above we created a task to deploy Chrome. Let’s say we also want to deploy the Office desktop applications to our newly enrolled systems. How can we do that? Well that is even easier as there is nothing to download. It’s all handled by 365. Follow the same process as above and enter the Apps section of the Microsoft Endpoint Manager Admin Center. Click the Windows button under By Platform. Then click the add button.
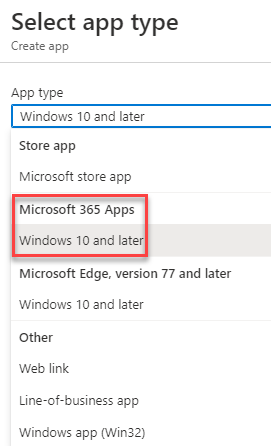
For our app type, select Microsoft 365 Apps, Windows 10 and later.
You can give this app a name or leave it as the default. I am going to leave it as the default for now. It is pretty clear what it is. Click next.

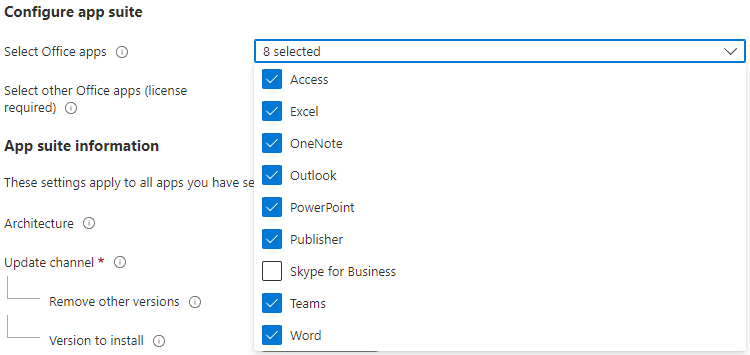
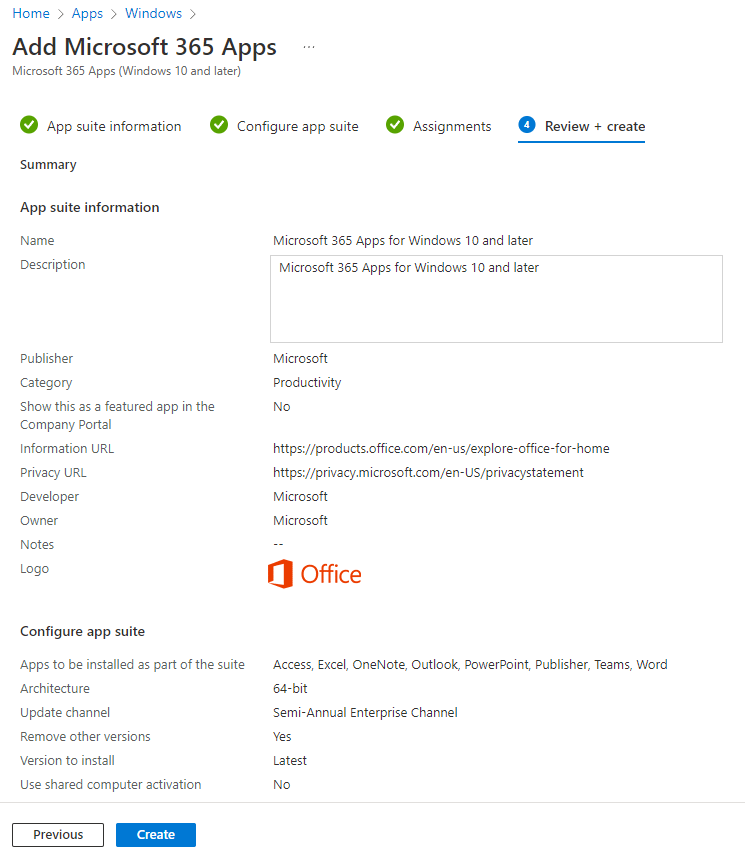
Select the Office 365 applications that you would like installed. I am going to run with the full suite, minus Skype, that my license allows.
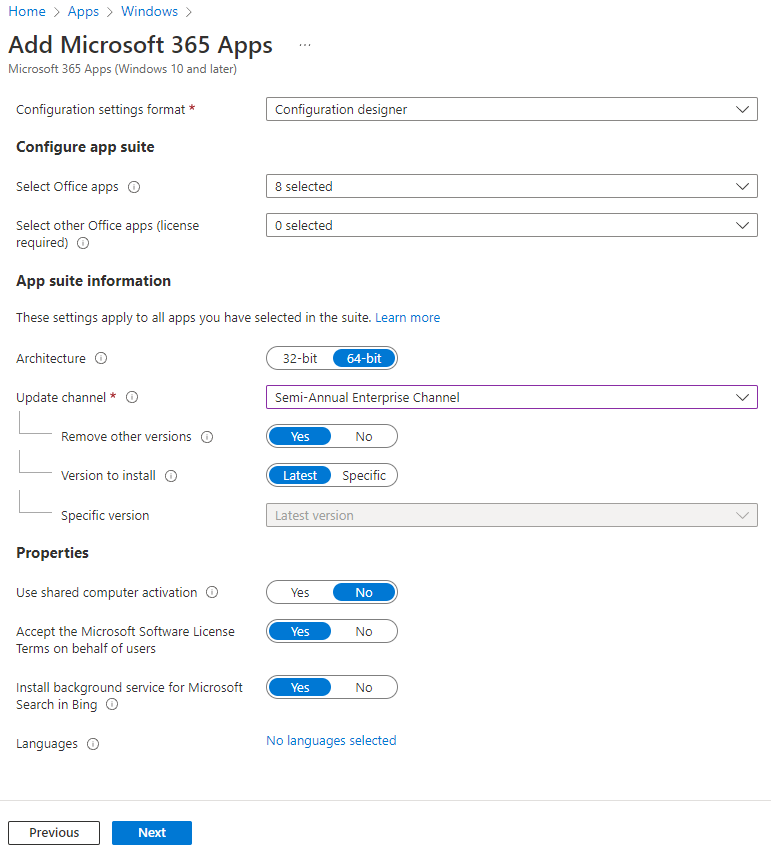
Once you’ve select the applications to be installed, we will pick the update channel. This controls how often Office is updated with new features. I will typically pick the Semi-Annual Enterprise channel. We do want to remove other versions if installed. Select latest for the version to install.
If this is to be installed on a shared system, like a conference room PC, you’ll want to select Yes when asked to use shared computer activation. Otherwise, leave the default of No.
You can leave the rest as the default. Click Next.
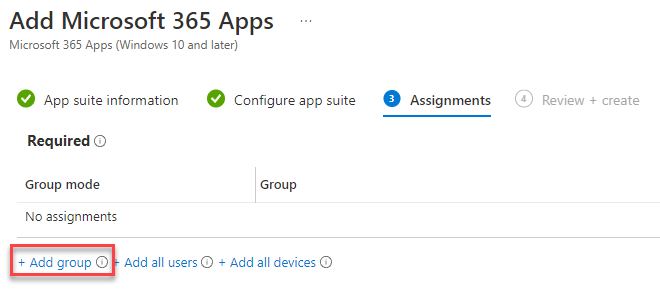
Again, we need to assign this application to a group. I’ll continue to use my Autopilot lab group. Systems in this group will get Chrome and the Microsoft Office 365 desktop applications installed upon login. Click Add Group.
Find your Autopilot lab group. Click it and then click Select.
Review all your settings for you app. Once you are satisfied, click Create.
Company Branding
Company branding is a very important piece to the Autopilot and intune feature set. This is what your end user sees when they login. If you’re setting this up for your business, you’ll want to work with your marketing or graphics team to get your logo and a background.
Open the Endpoint Manager Admin Console and select Azure Active Directory.
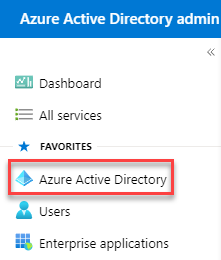
From the Azure Active Directory Admin console, select Azure Active Directory again.
Scroll down until you see Company Branding. Click it.
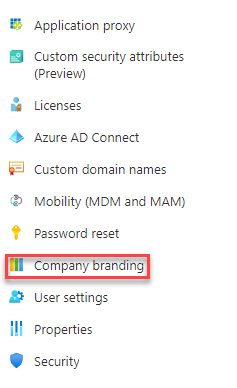
Click your Default Policy.

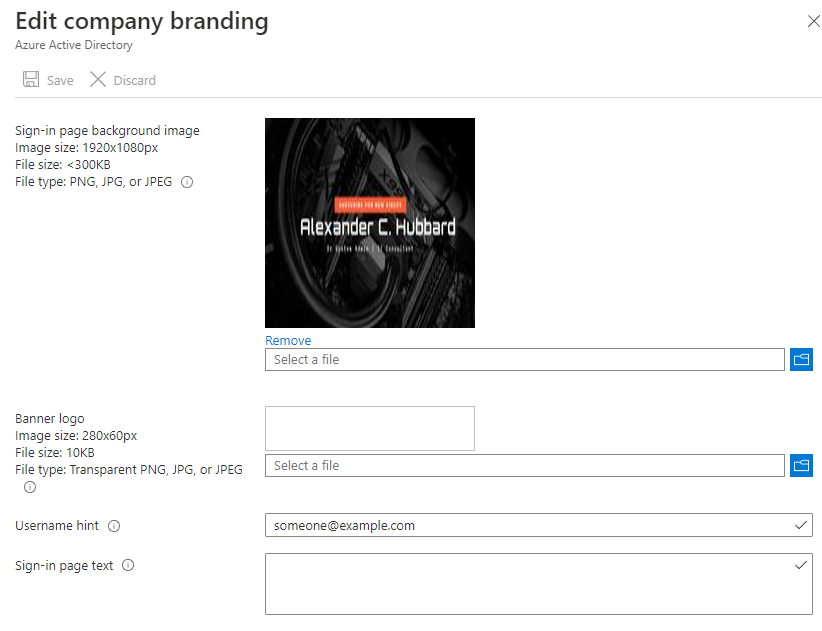
This is where you can upload a sign-in page background, banner etc. Upload and configure the relevant settings.

Mobility Settings
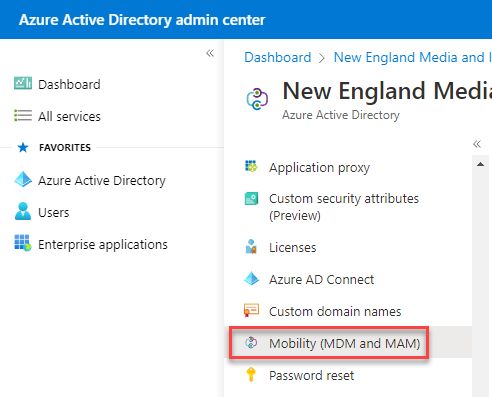
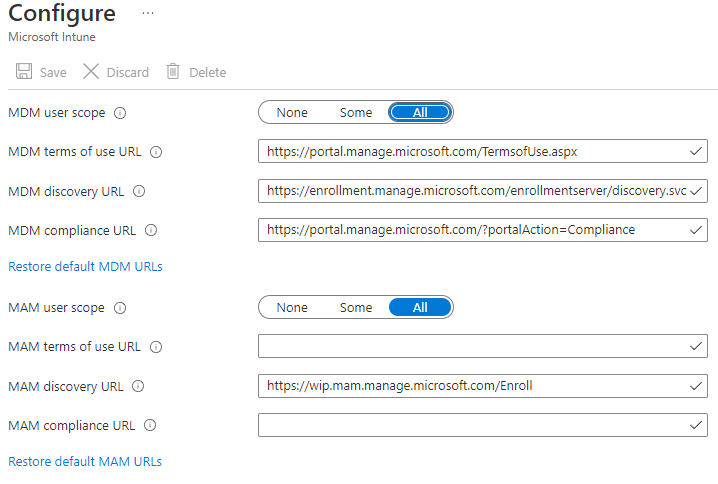
The mobility section is what tells Microsoft 365 what MDM to use. Since we are leveraging Intune. There is nothing really to change here. From the Azure Active Directory Admin Center, Click on the Mobility link.
You’ll see it is configured for Microsoft Intune out of the box. Click on Microsoft Intune.
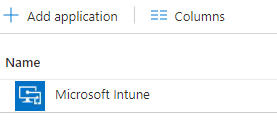
We don’t want to change much here. Make sure the MDM and MAM scopes are set to “All” – this will enroll all devices into Intune. If you’re testing, you may wish to set it to “Some”.
Endpoint Configuration
The first steps we need to perform is to capture the system’s hardware ID. If you were to purchase a system from an OEM vendor like, Dell or HP, they should be able to capture this information prior to the system shipping. That way, you can ship it right from the vendor to your employee without ever having to lay a hand on the system. VARs like CDW may also be able to help you accomplish this.
But let’s say you’re a small IT shop, maybe you don’t have a VAR or relationship with an OEM. You can still use and leverage Microsoft Intune and Autopilot. To start, we need capture your hardware ID and add it into the M365 admin portal.
Manually Capturing Hardware IDs
On your VM (I should mention I am using a VM for this tutorial) open up Powershell as an admin. First we need to create a directory to save our output file to. This can be any directory, but I get into the habit of creating an updates folder in the root of C. This is a temporary directory that I use for moving files to and from the system, calling them with tools like PDQ and other various scripts. You can call this folder whatever you wish.
Type mkdir Updates and hit enter.
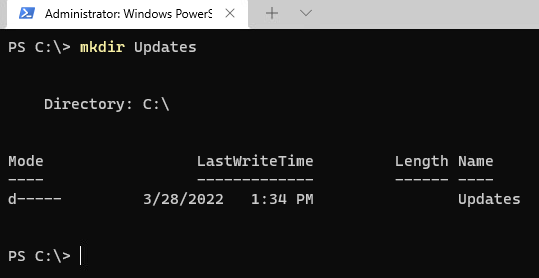
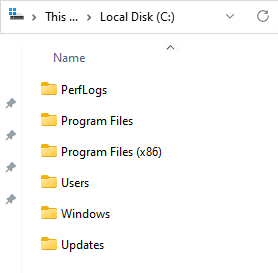
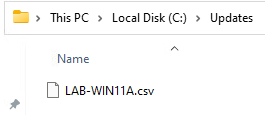
Looking at the root of C from Windows Explorer, we can see that we created our directory.
Type the following:
Set-Location C:\UpdatesThis will change your working directory to the folder we just created.

Next we need to set our execution policy to allow us to run the script that will ultimately capture the hardware IDs.
Run the command:
Set-ExecutionPolicy -Scope Process -ExecutionPolicy Unrestricted -ForceThis will set your execution policy to unrestricted during this powershell session only. Once the session is closed, the execution policy reverts back to it’s default. The -Force switch suppresses any confirmation prompts.

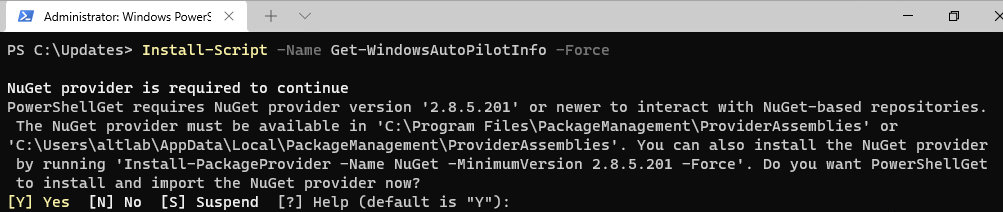
Install the script by typing:
Install-Script -Name Get-WindowsAutoPilotInfo -ForceIt is likely that your system will prompt you to install NuGet. You can enter “Y” for yes and let it install it. NuGet is the package manager for .NET.
Now we need to run the script and tell it where to output the file to. Using the -Outputfile switch, we can tell it to save it to the C:\Updates directory we created above. Make sure you give the file a descriptive name so you know what file to upload later on.
Run the script:
Get-WindowsAutoPilotInfo.ps1 -OutputFile SystemName.csv
You can see we now have a CSV file in our C:\Updates folder. Save this away in a safe spot for later.
Adding Hardware ID to Office 365
Now that we have collected the hardware ID of our test system, we need to provide this information to Microsoft. This is what tells Microsoft that the system belongs to you and how 365 knows what policies to assign it.
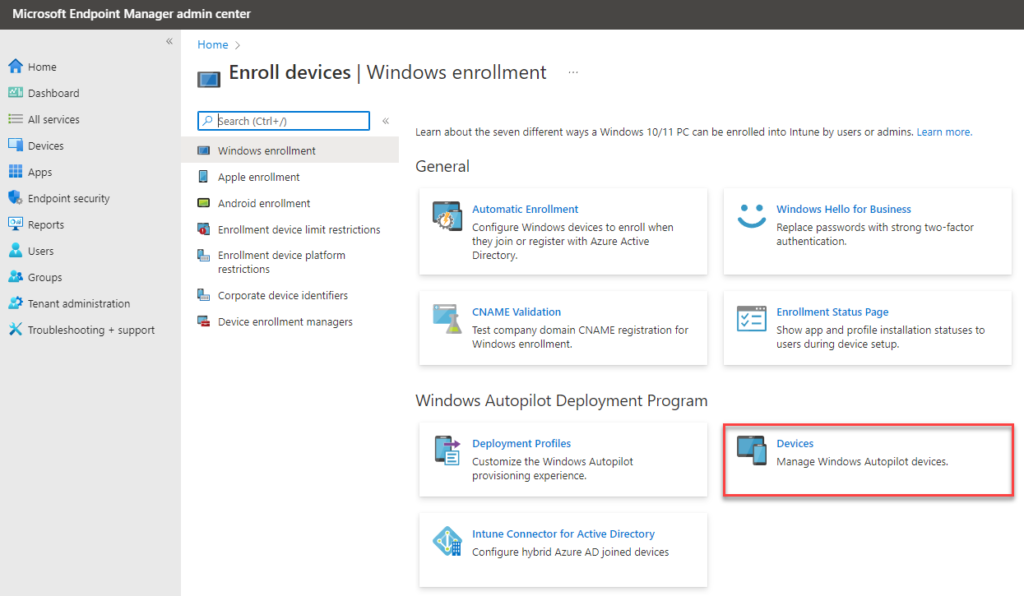
Login to your office 365 portal and navigate to the admin center. Find Endpoint Manager and click it. Once you’re there, click on Devices. From there, select Enroll Devices under the “Device Enrollment” section.
Under Windows Auto Pilot Deployment click Devices
Click the Import button

Click the folder and point it to the .csv you exported from the workstation you are trying to import, then click the import button.
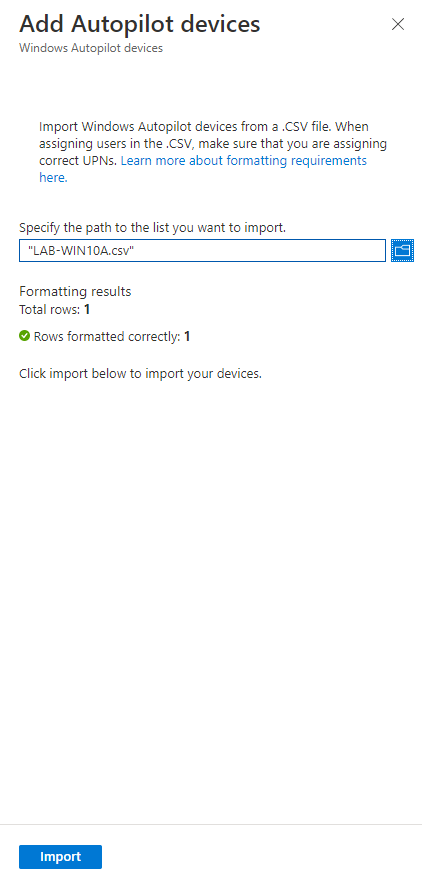
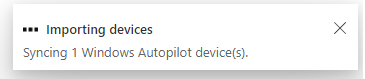
You’ll see it importing the CSV, it could take up to 15 minutes.
Assign your system to a group
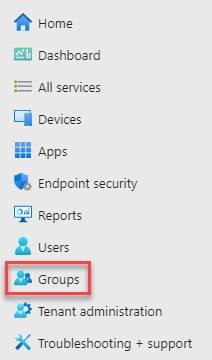
From the Endpoint Manager, click on Groups
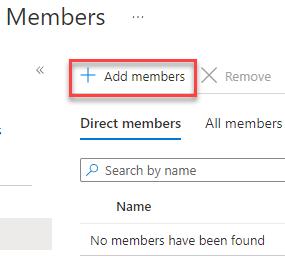
Find the group that we created previously Autopilot Lab. Click the Members button.


Click on Add Members
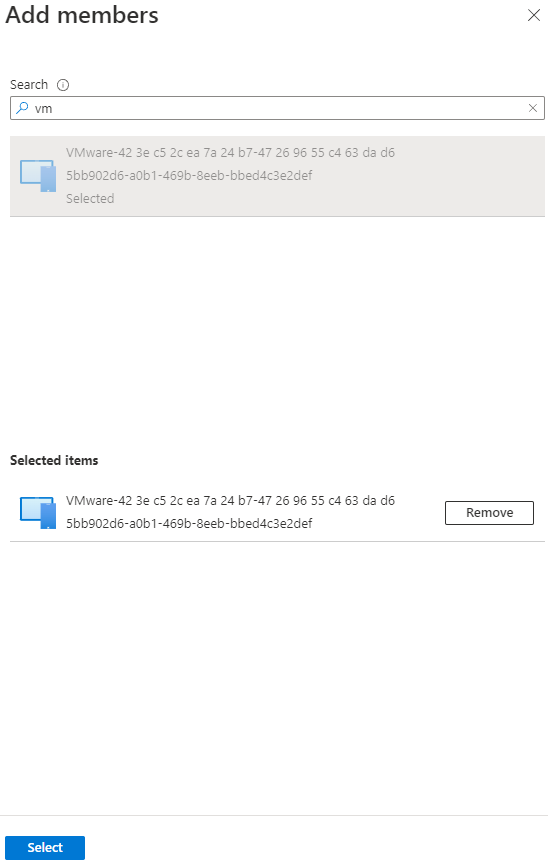
Search for your serial number. Since mine starts with vm, I typed in vm and it popped up with the system we just imported. Highlight it and hit the select button.
Reset the PC or VM
We’ve collected the hardware IDs. We’ve uploaded them to the Office 365 portal and assigned the system to a group. The last step we need to here is to reset our VM (or laptop, desktop, tablet etc) – When the system comes back online, you will be able to run through login just like one of your employees. It should be seamless.
Windows 10 Reset
On Windows 10, go to settings and click on Update and Security. Find the Recovery option. Under the Reset this PC header, click the Get Started button.
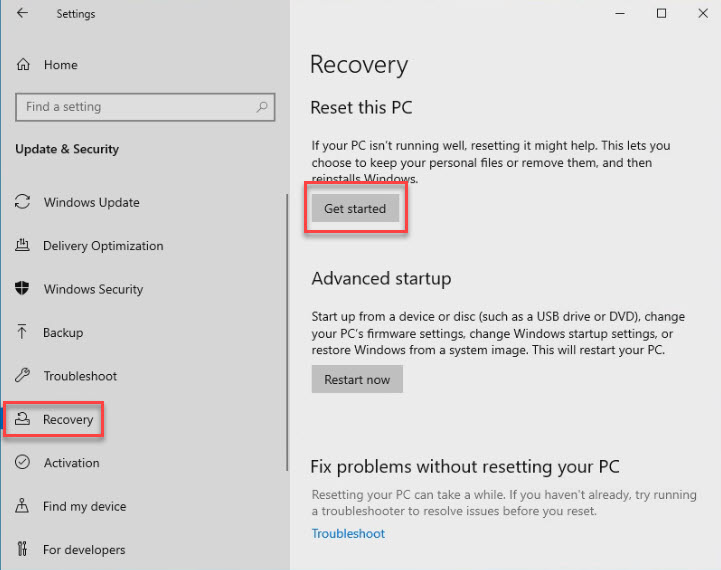
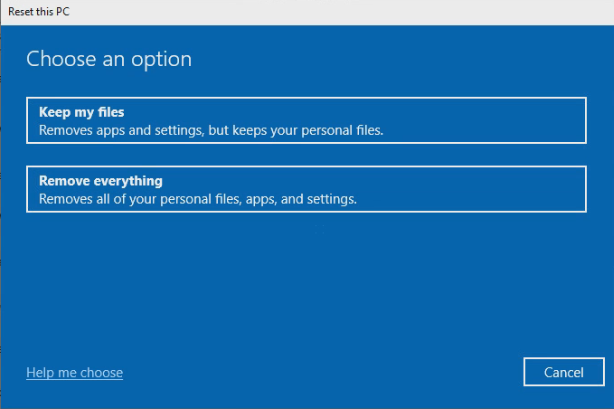
You’ll select Remove Everything
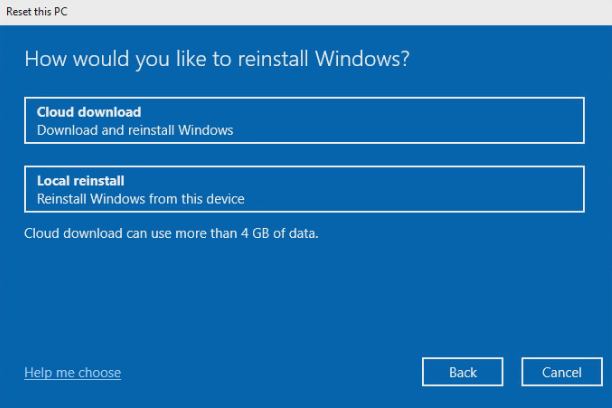
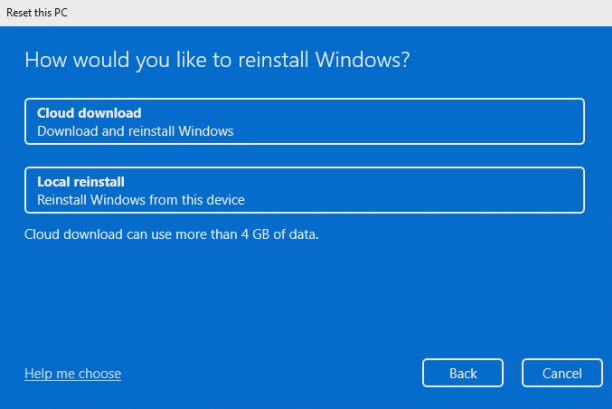
and perform a local reinstall.
Windows 11 Reset
For Windows 11, the reset process is very similar. Go to your start menu and open settings.
Find the System entry in the right hand column. Find the recovery button.
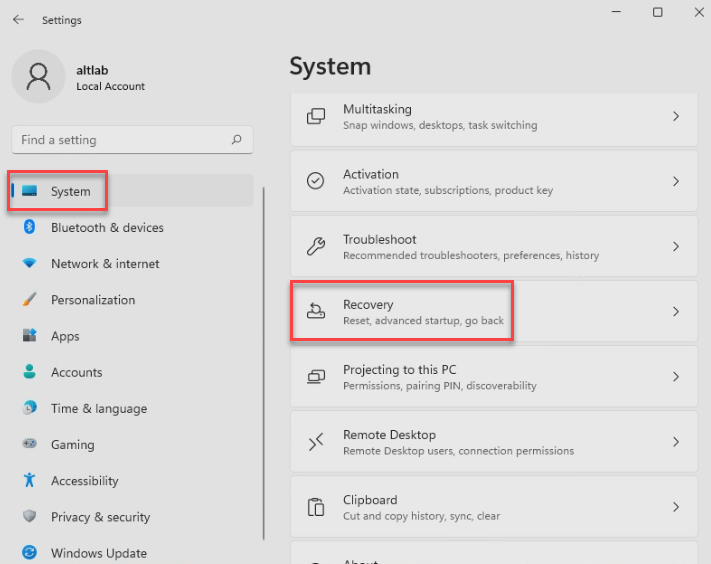
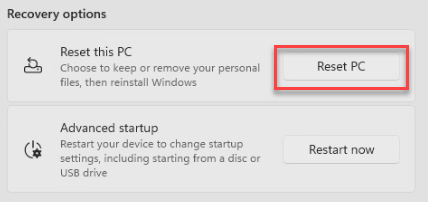
Hit the Reset PC button.
Select the Remove everything option.
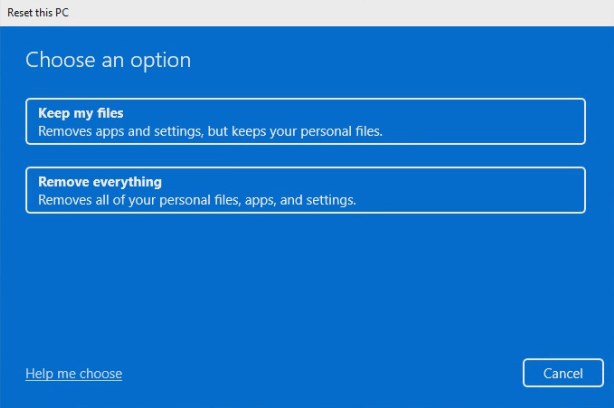
Perform a local reinstall.
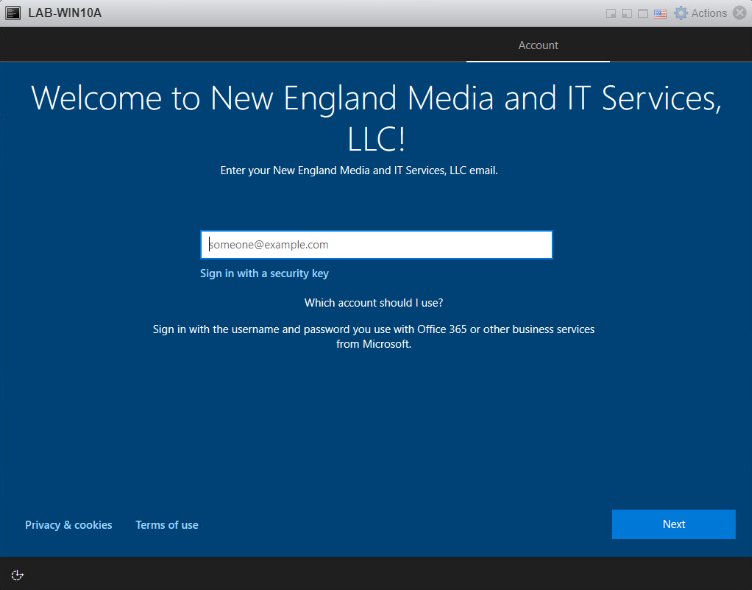
What does autopilot look like for the user?
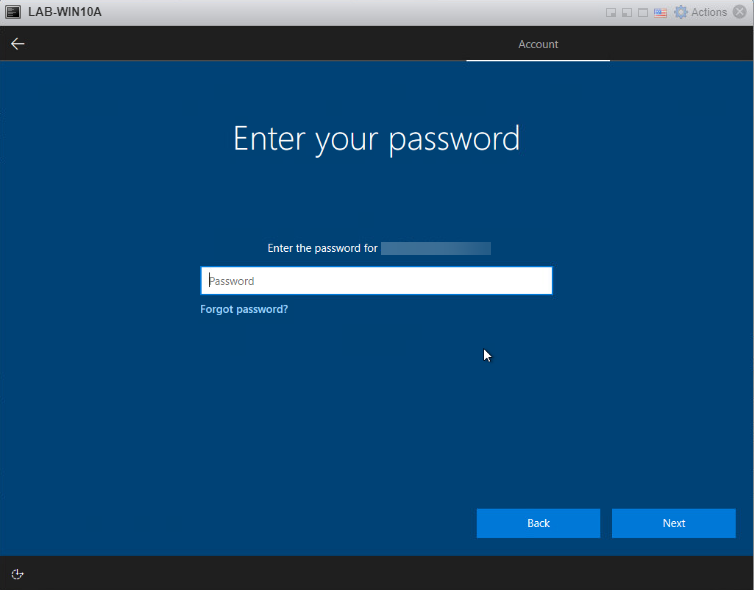
Once the system has been reset and the hardware IDs are within autopilot, the below screen is what your user should see. They can proceed by entering their company email address and hitting next.
Enter your password
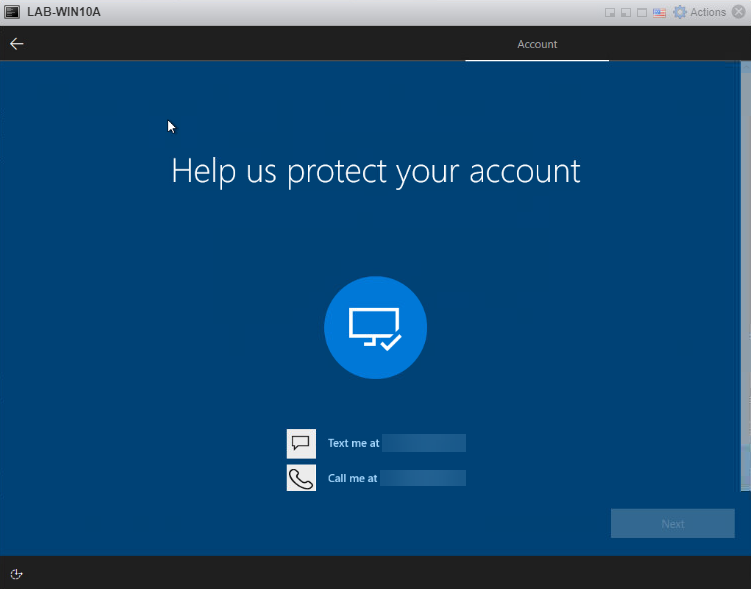
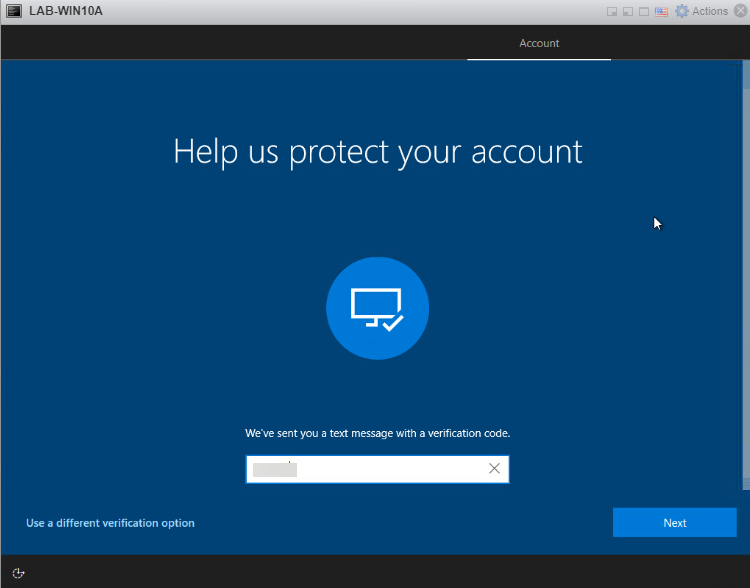
If you have 2FA enabled in your environment, and you should, you’ll be prompted for that as well.
Enter your 2FA code
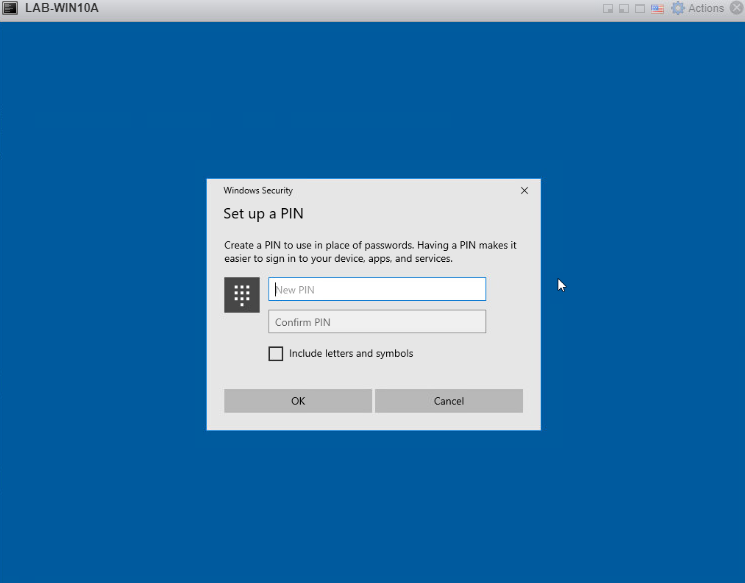
If you have a PIN requirement within your organization, you’ll be asked to set it up here.
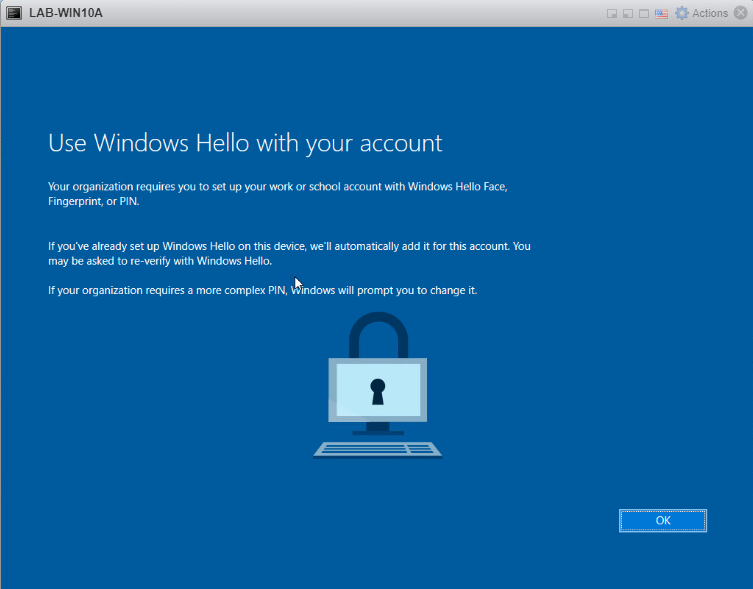
Enter your new PIN twice.
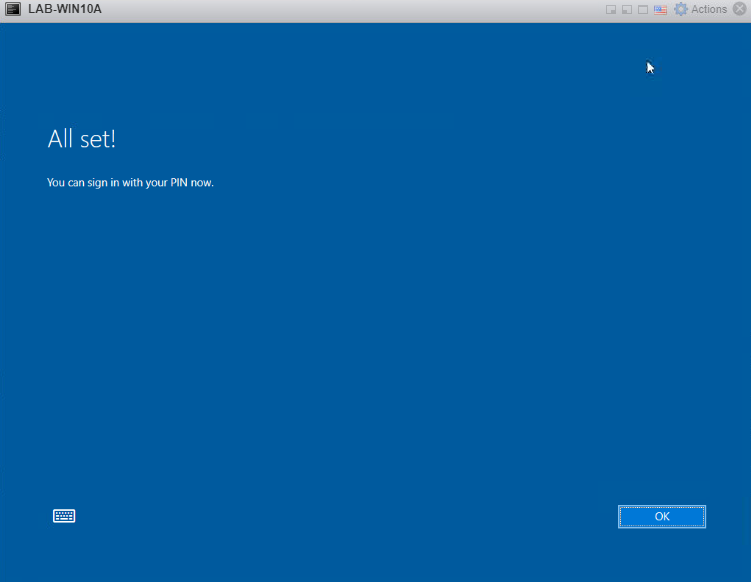
All set, now you can login.
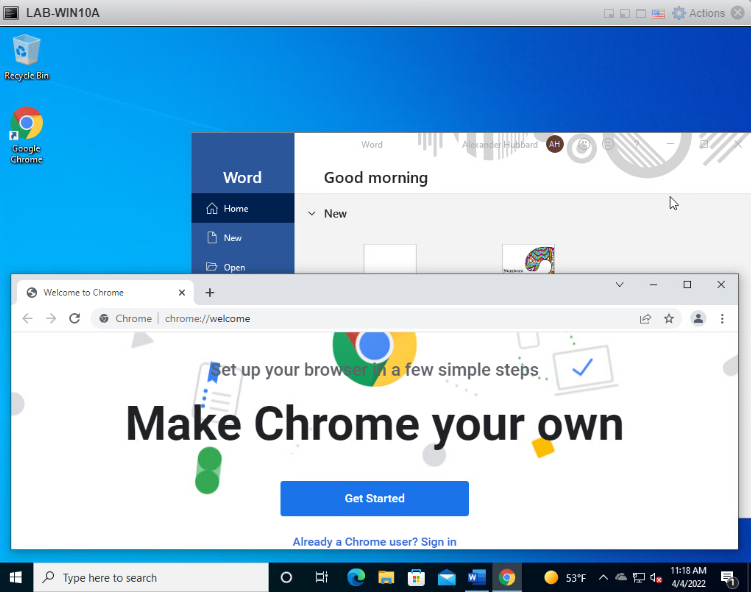
Once we’ve logged in, you can see the Chrome icon on the desktop. I’ve launched it to show that they were both installed with the policies we created about.
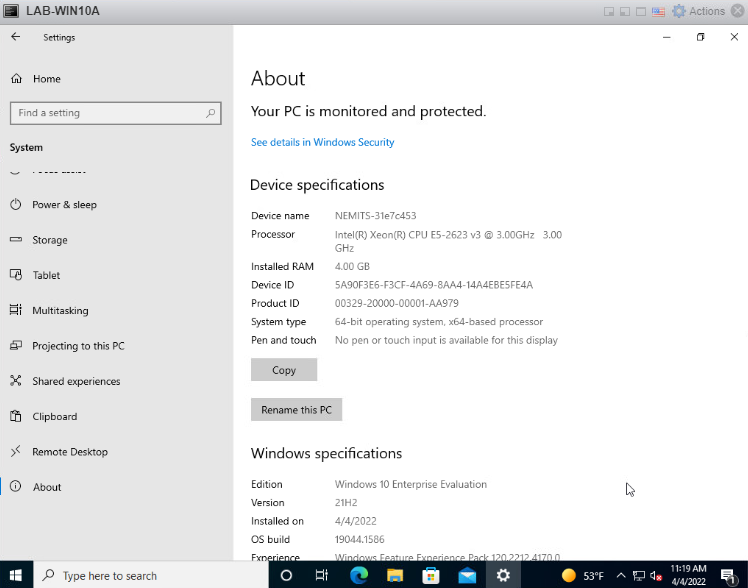
Taking a look at Settings > About – you can see the system has the company name and serial number for the Device Name. This was also configured about. (Pay no attention to the VM window showing LAB-WIN10A, this is just my test VM)
Summary
Autopilot is very easy to get setup in your environment if you have the correctly licenses. The initial onboarding of hardware is a little tedious if you are not partnered with an OEM or VAR to automatically input the hardware IDs upon shipment of a system.
Especially as a one man band, solo IT guy, small IT shop – this will save you a lot of time once it’s up and running. There are additional policies, applications and security controls you can implement as well. Hope this helped someone out. If you liked the video, please give it a thumbs up below and consider subscribing below. Head on over to my Instagram and Facebook pages and them out as well. I’ll see you in the next video.