
Dell R610 Intel Xeon CPU Upgrades
The first tasks I am tackling in my home lab rebuild is to upgrade the Intel Xeon CPUs in my Dell R610 hosts. I am removing the existing Intel Xeon E5520s in one, and Intel Xeon E5504s in the other and upgrading to Intel Xeon L5630s. As a result of going with the Intel Xeon L5630s, my power usage should, hopefully, be a bit lower. Upgrading the CPUs is a pretty straight forward task.
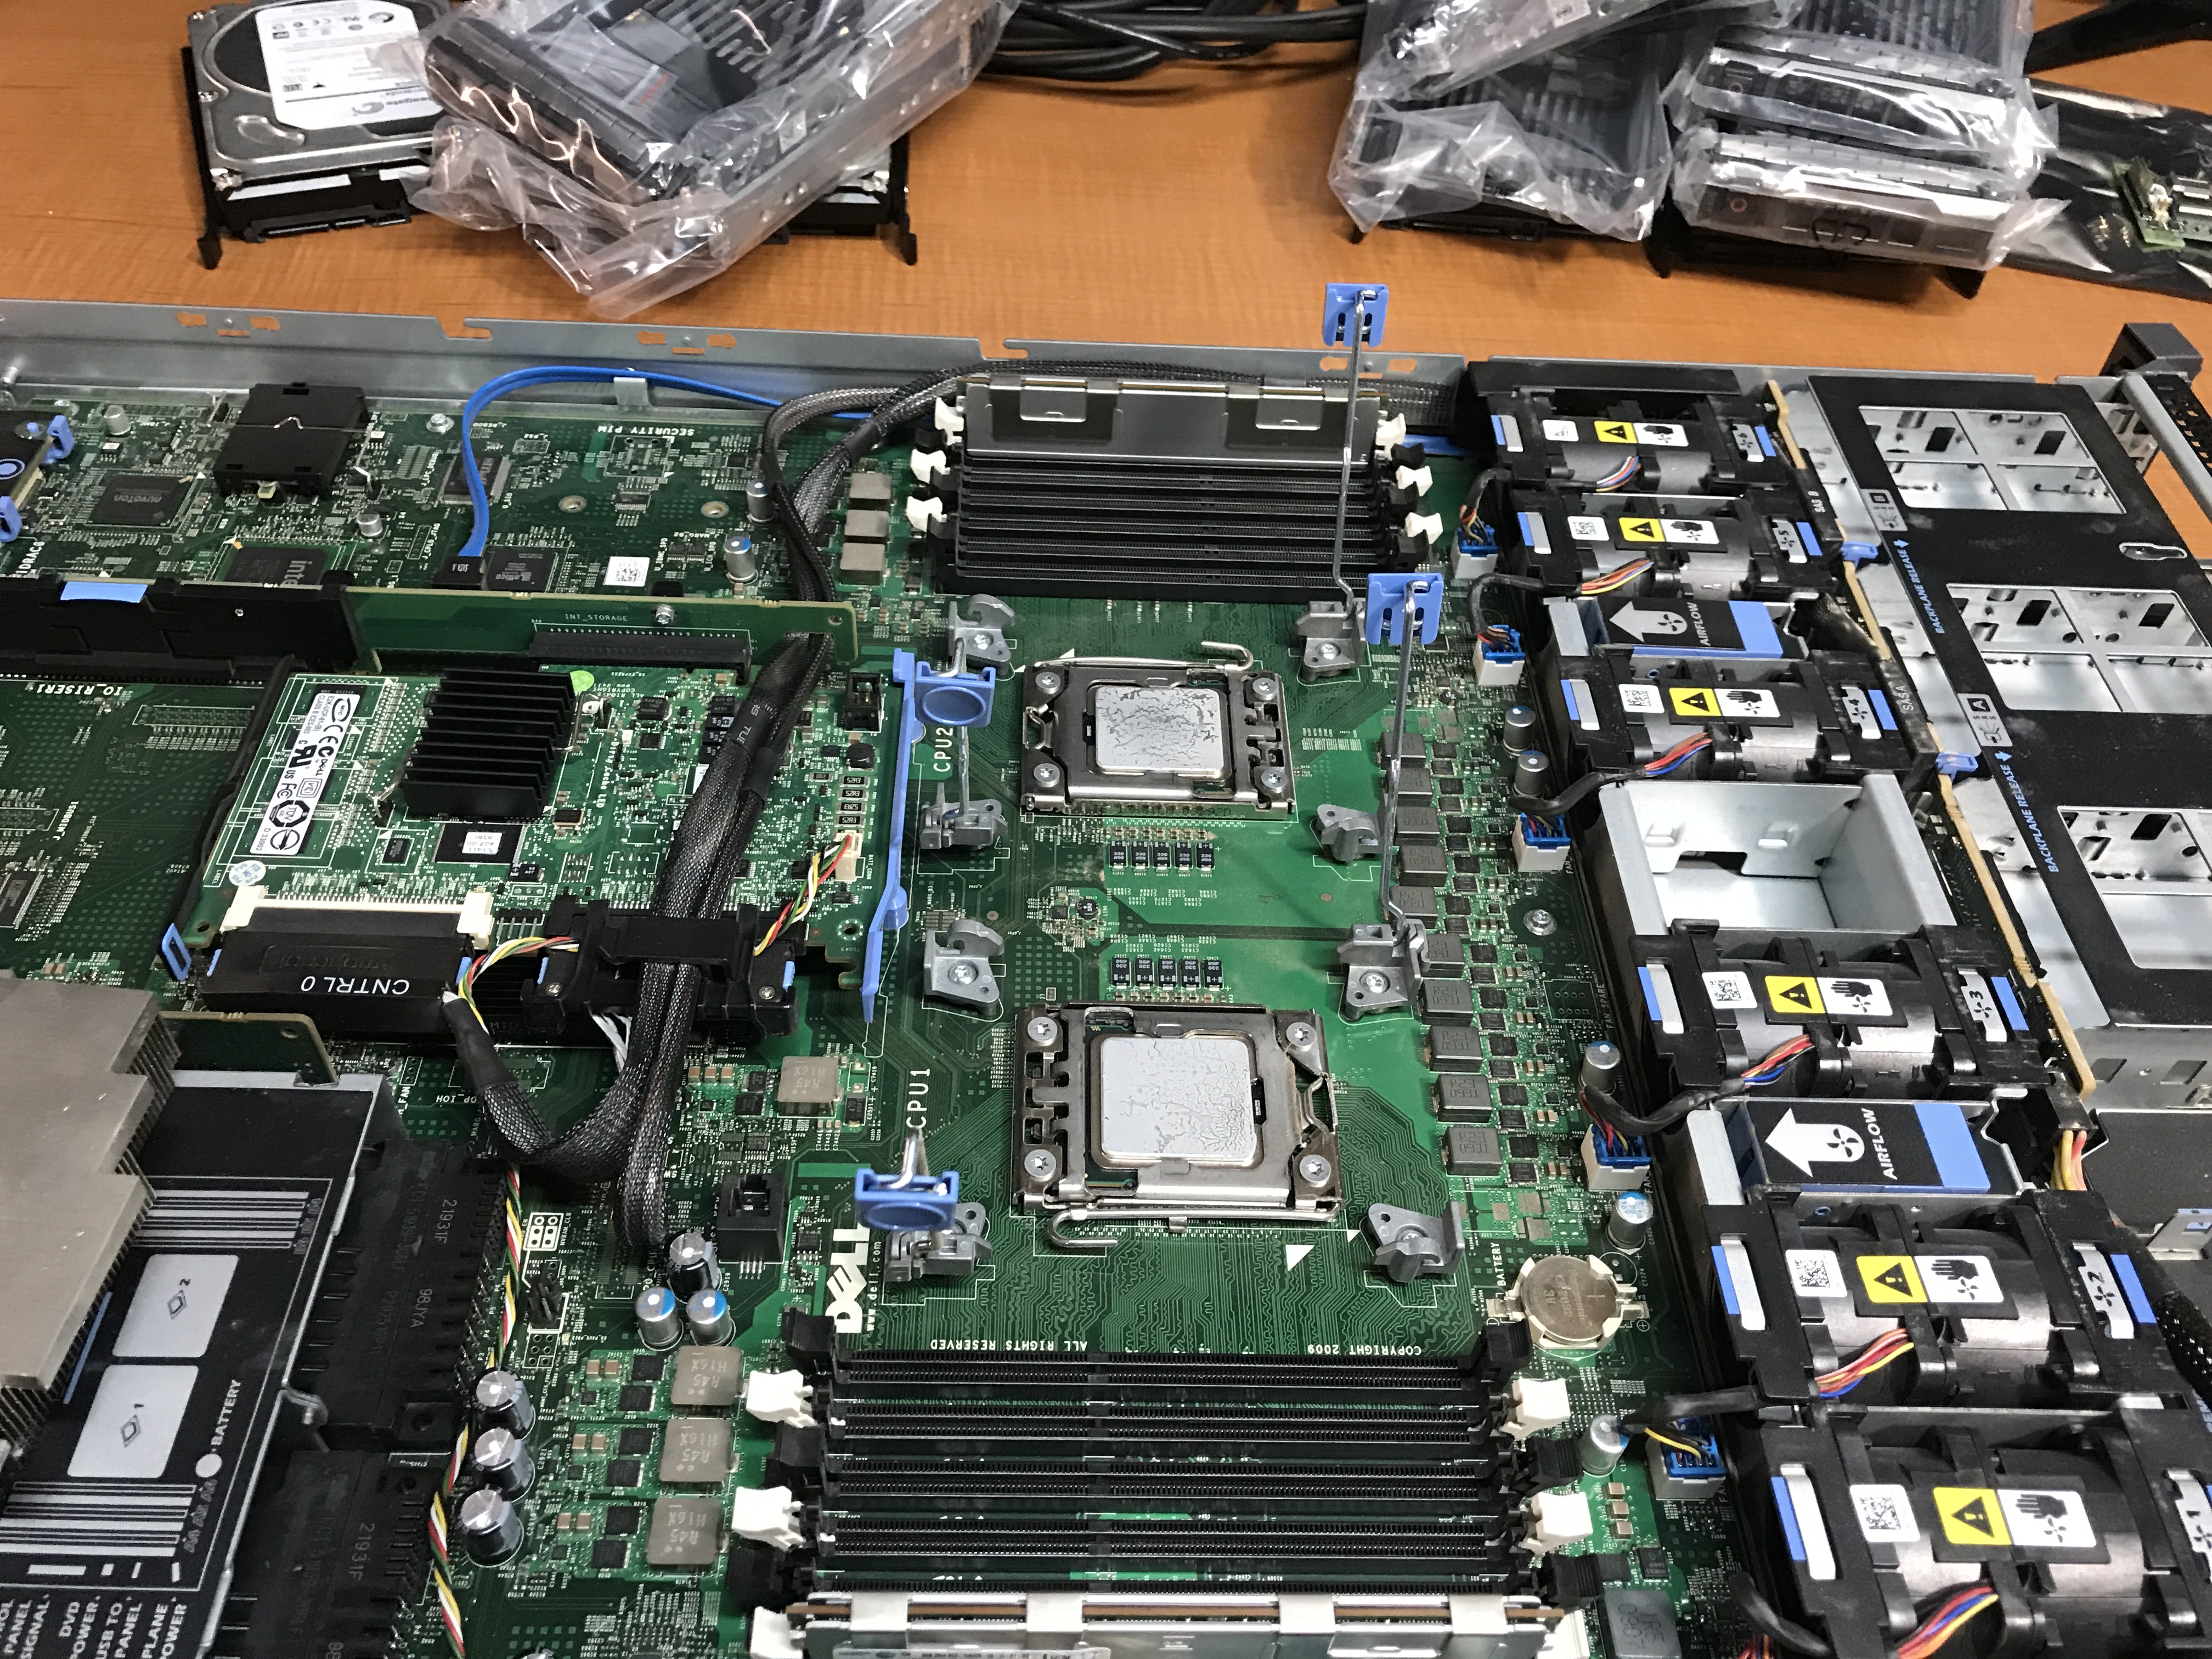
Removing the Dell R610 heat sinks and CPUs
The first step we must take is to remove the heat sinks and old CPUs. The heat sinks are the first to go. They are held in place by two metal levers that are clipped under a clasp on each side. Press down on the blue plastic piece at the end of each metal lever. Slide it out from under the clasp and lift it up. Once you have done that on both sides, the heat sink will now come off.
If the CPUs are still good and you might reuse or give them away, take care to clean off all of the old thermal paste. This way they go into the appropriate packaging clean.
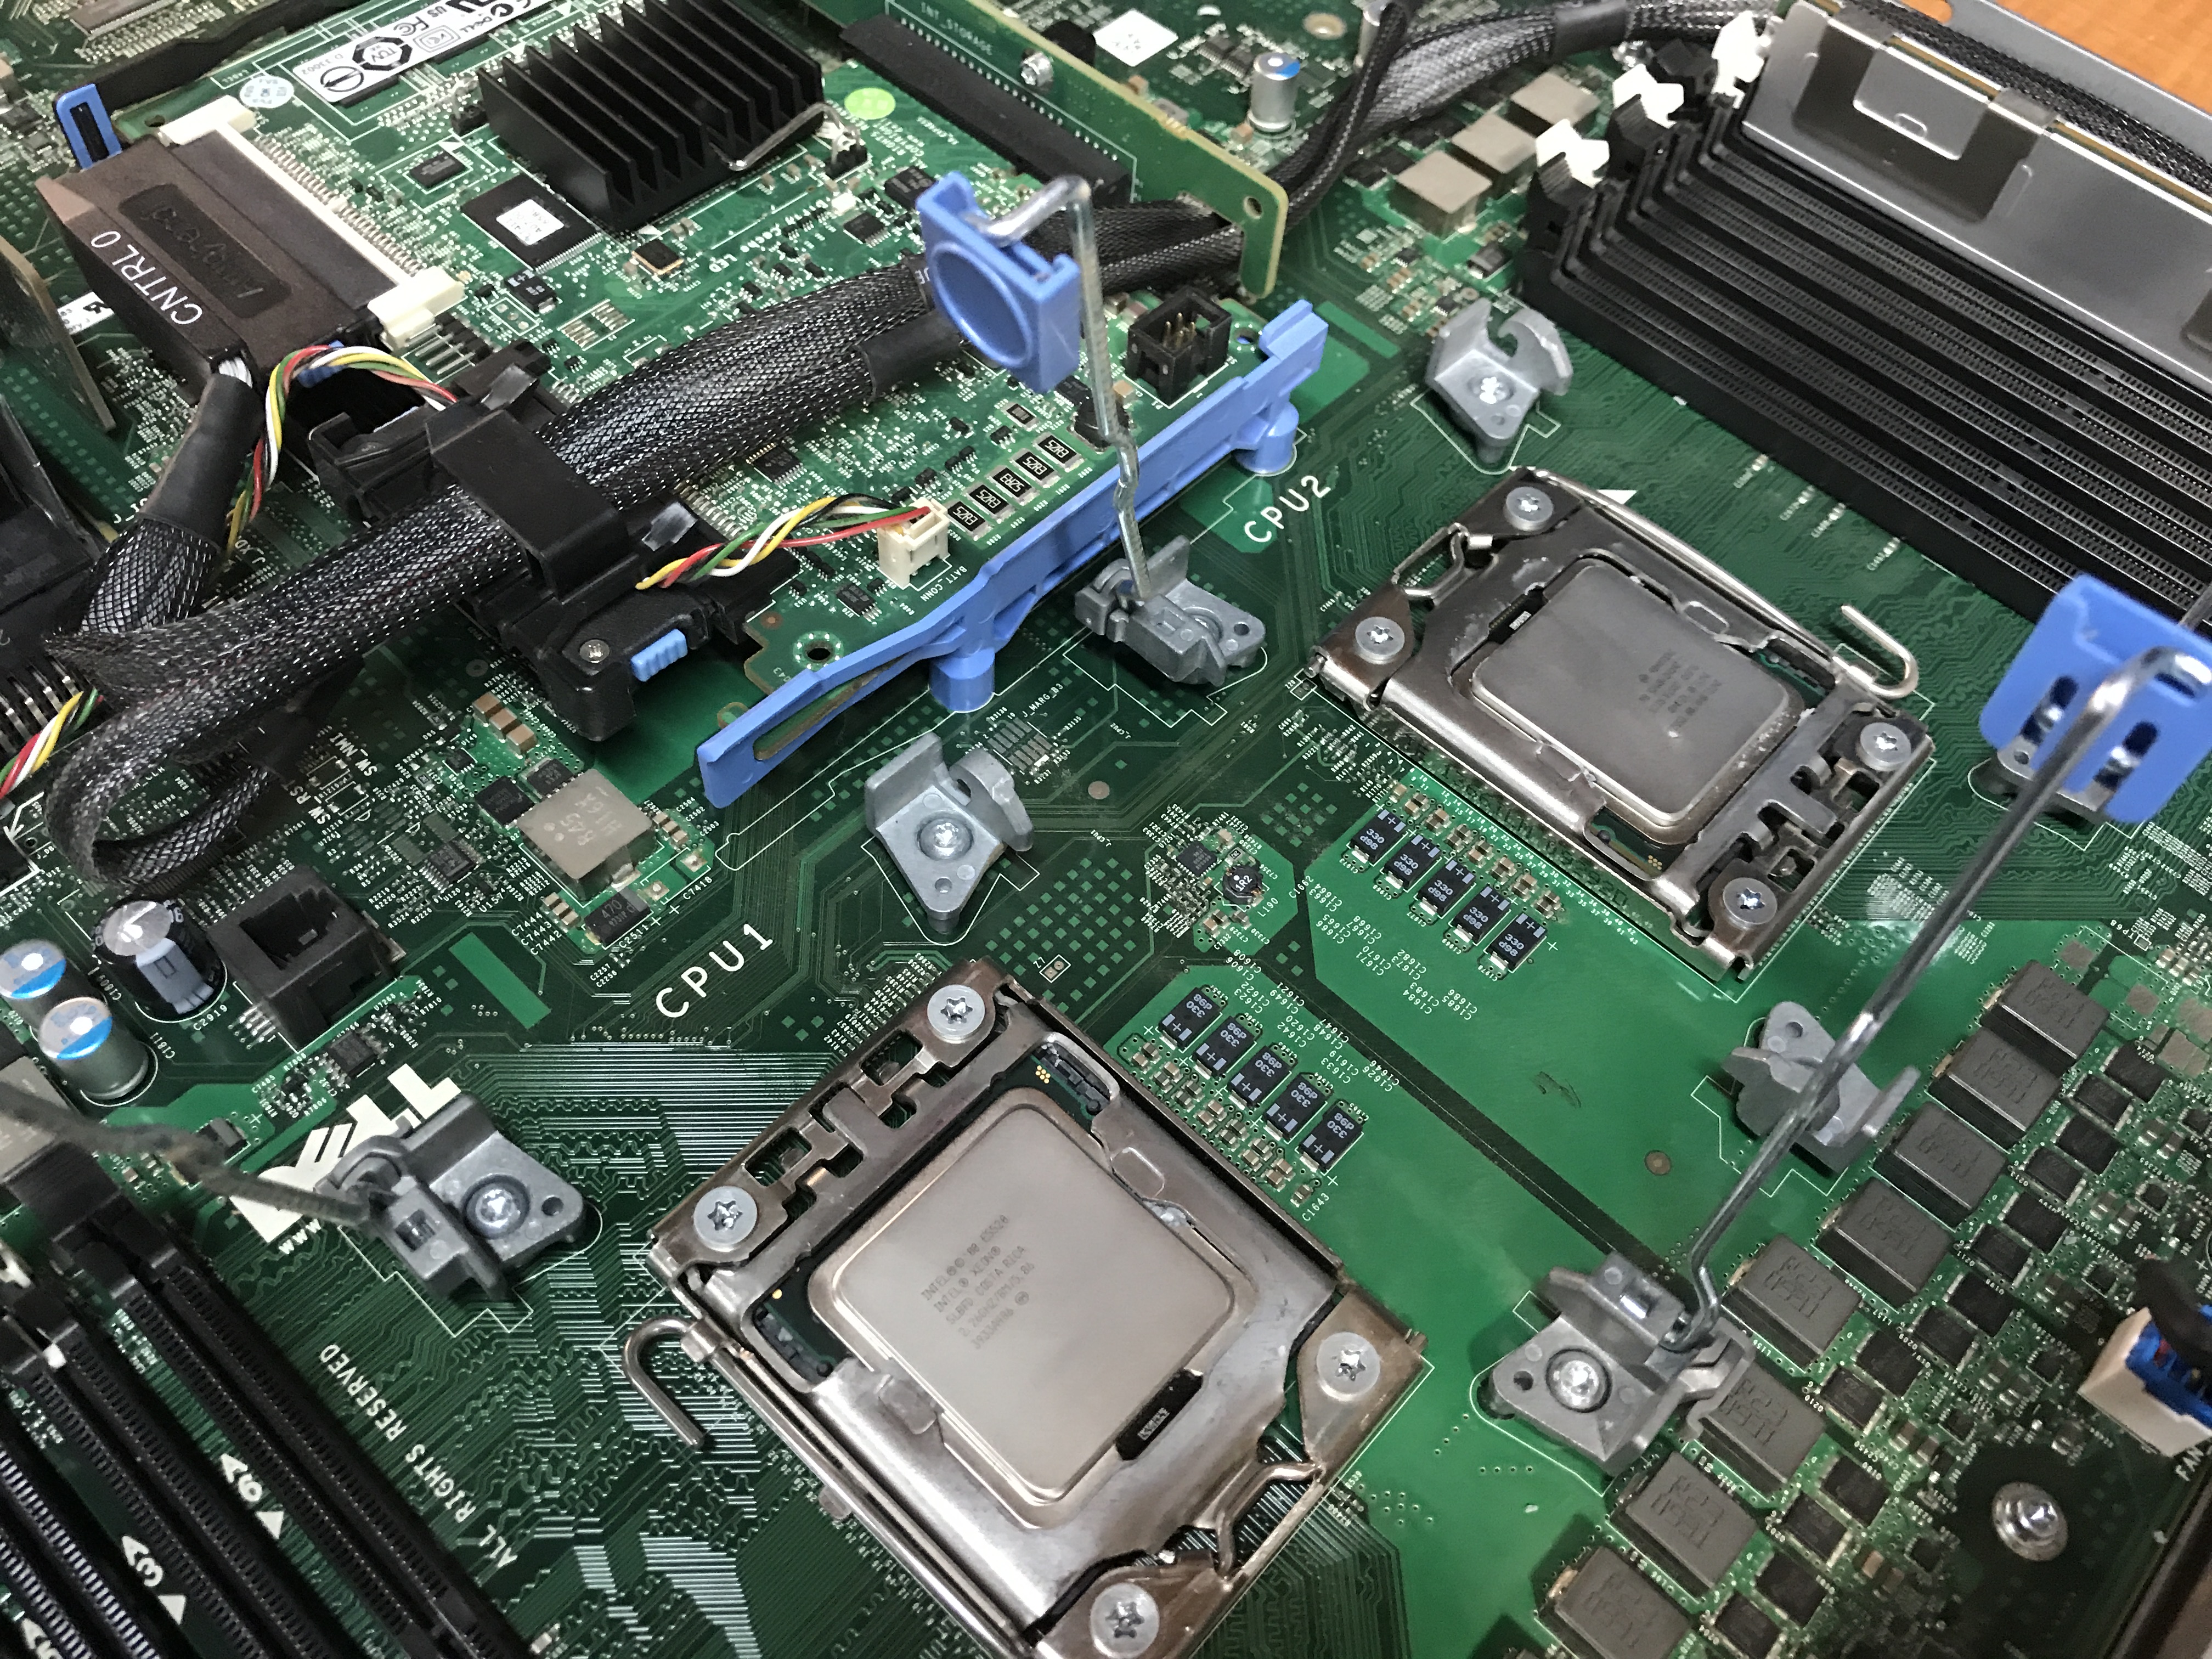
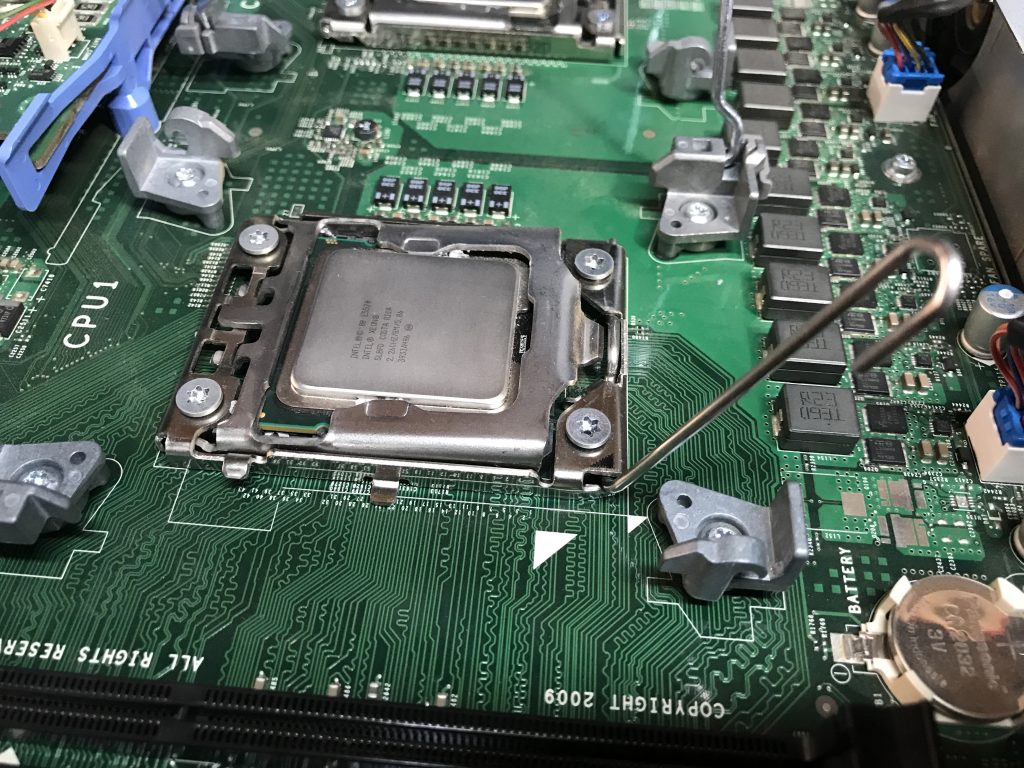
Removing the CPU is a similar process to removing the heat sink. On the CPU socket, you will find a metal lever that is also hooked under a clasp of sorts. You will need to gently press down on the lever and slide it away from the clasp/hook. Once out from under the hook, allow the lever to go upward gently. It will be under pressure so be sure to keep a finger on it so it does not spring back and hit something.
Pull back the metal ring around the CPU and remove the CPU. Be careful not to damage any of the pins on the socket when you remove the CPU.
Cleaning the Dell R610 Heat Sinks and Applying Thermal Paste
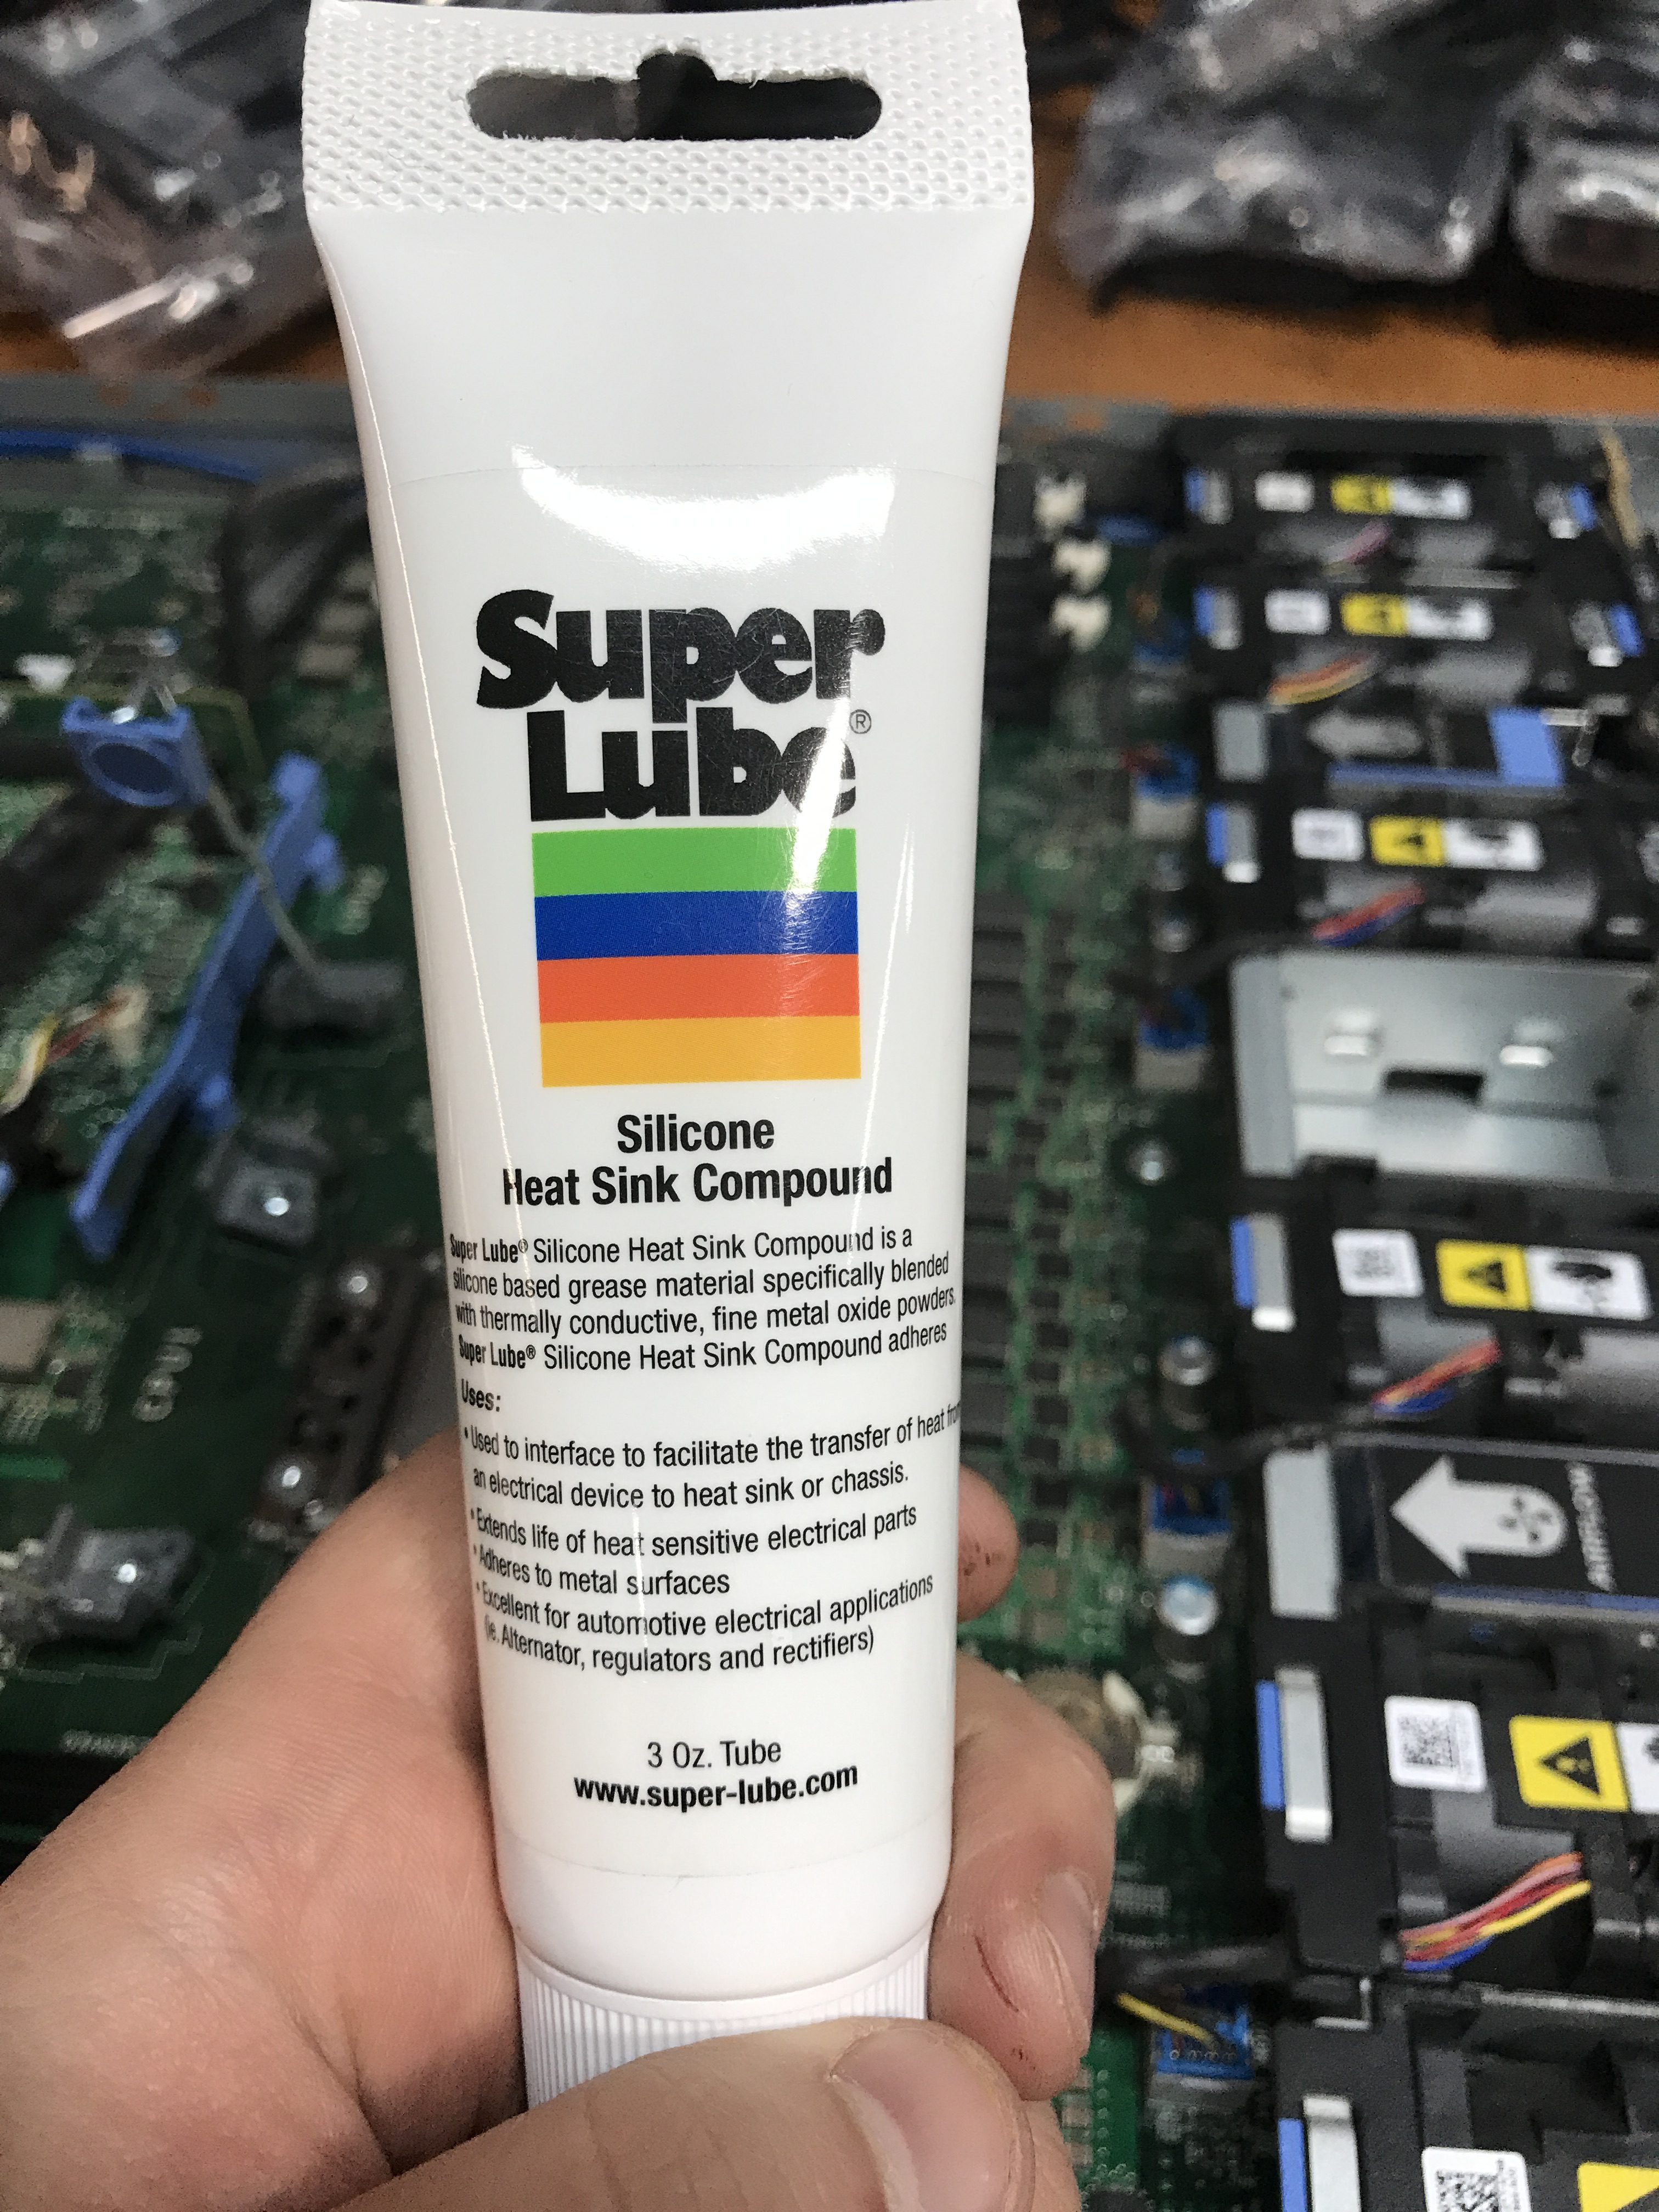
Now that the heat sinks are off and in your hands, wipe off any thermal paste that remains on them. We will replace it with fresh thermal paste. Take a cloth and lightly dampen it with some rubbing alcohol. Then take the cloth and wipe the bottom of each heat sink. This will take the residue of the old thermal paste off and allow the new thermal paste to transfer the heat from the CPU to the heat sink better.

There are many different types of thermal paste to use. The product I have been using successfully is a product called Super Lube. It is a silicone heat sink compound. A tube of it will run you around $7-8 on Amazon and should last you a long time. You don’t need much of it.
Re-installation of CPUs – Dell R610
Grab your new or replacement CPUs and unpackage them.
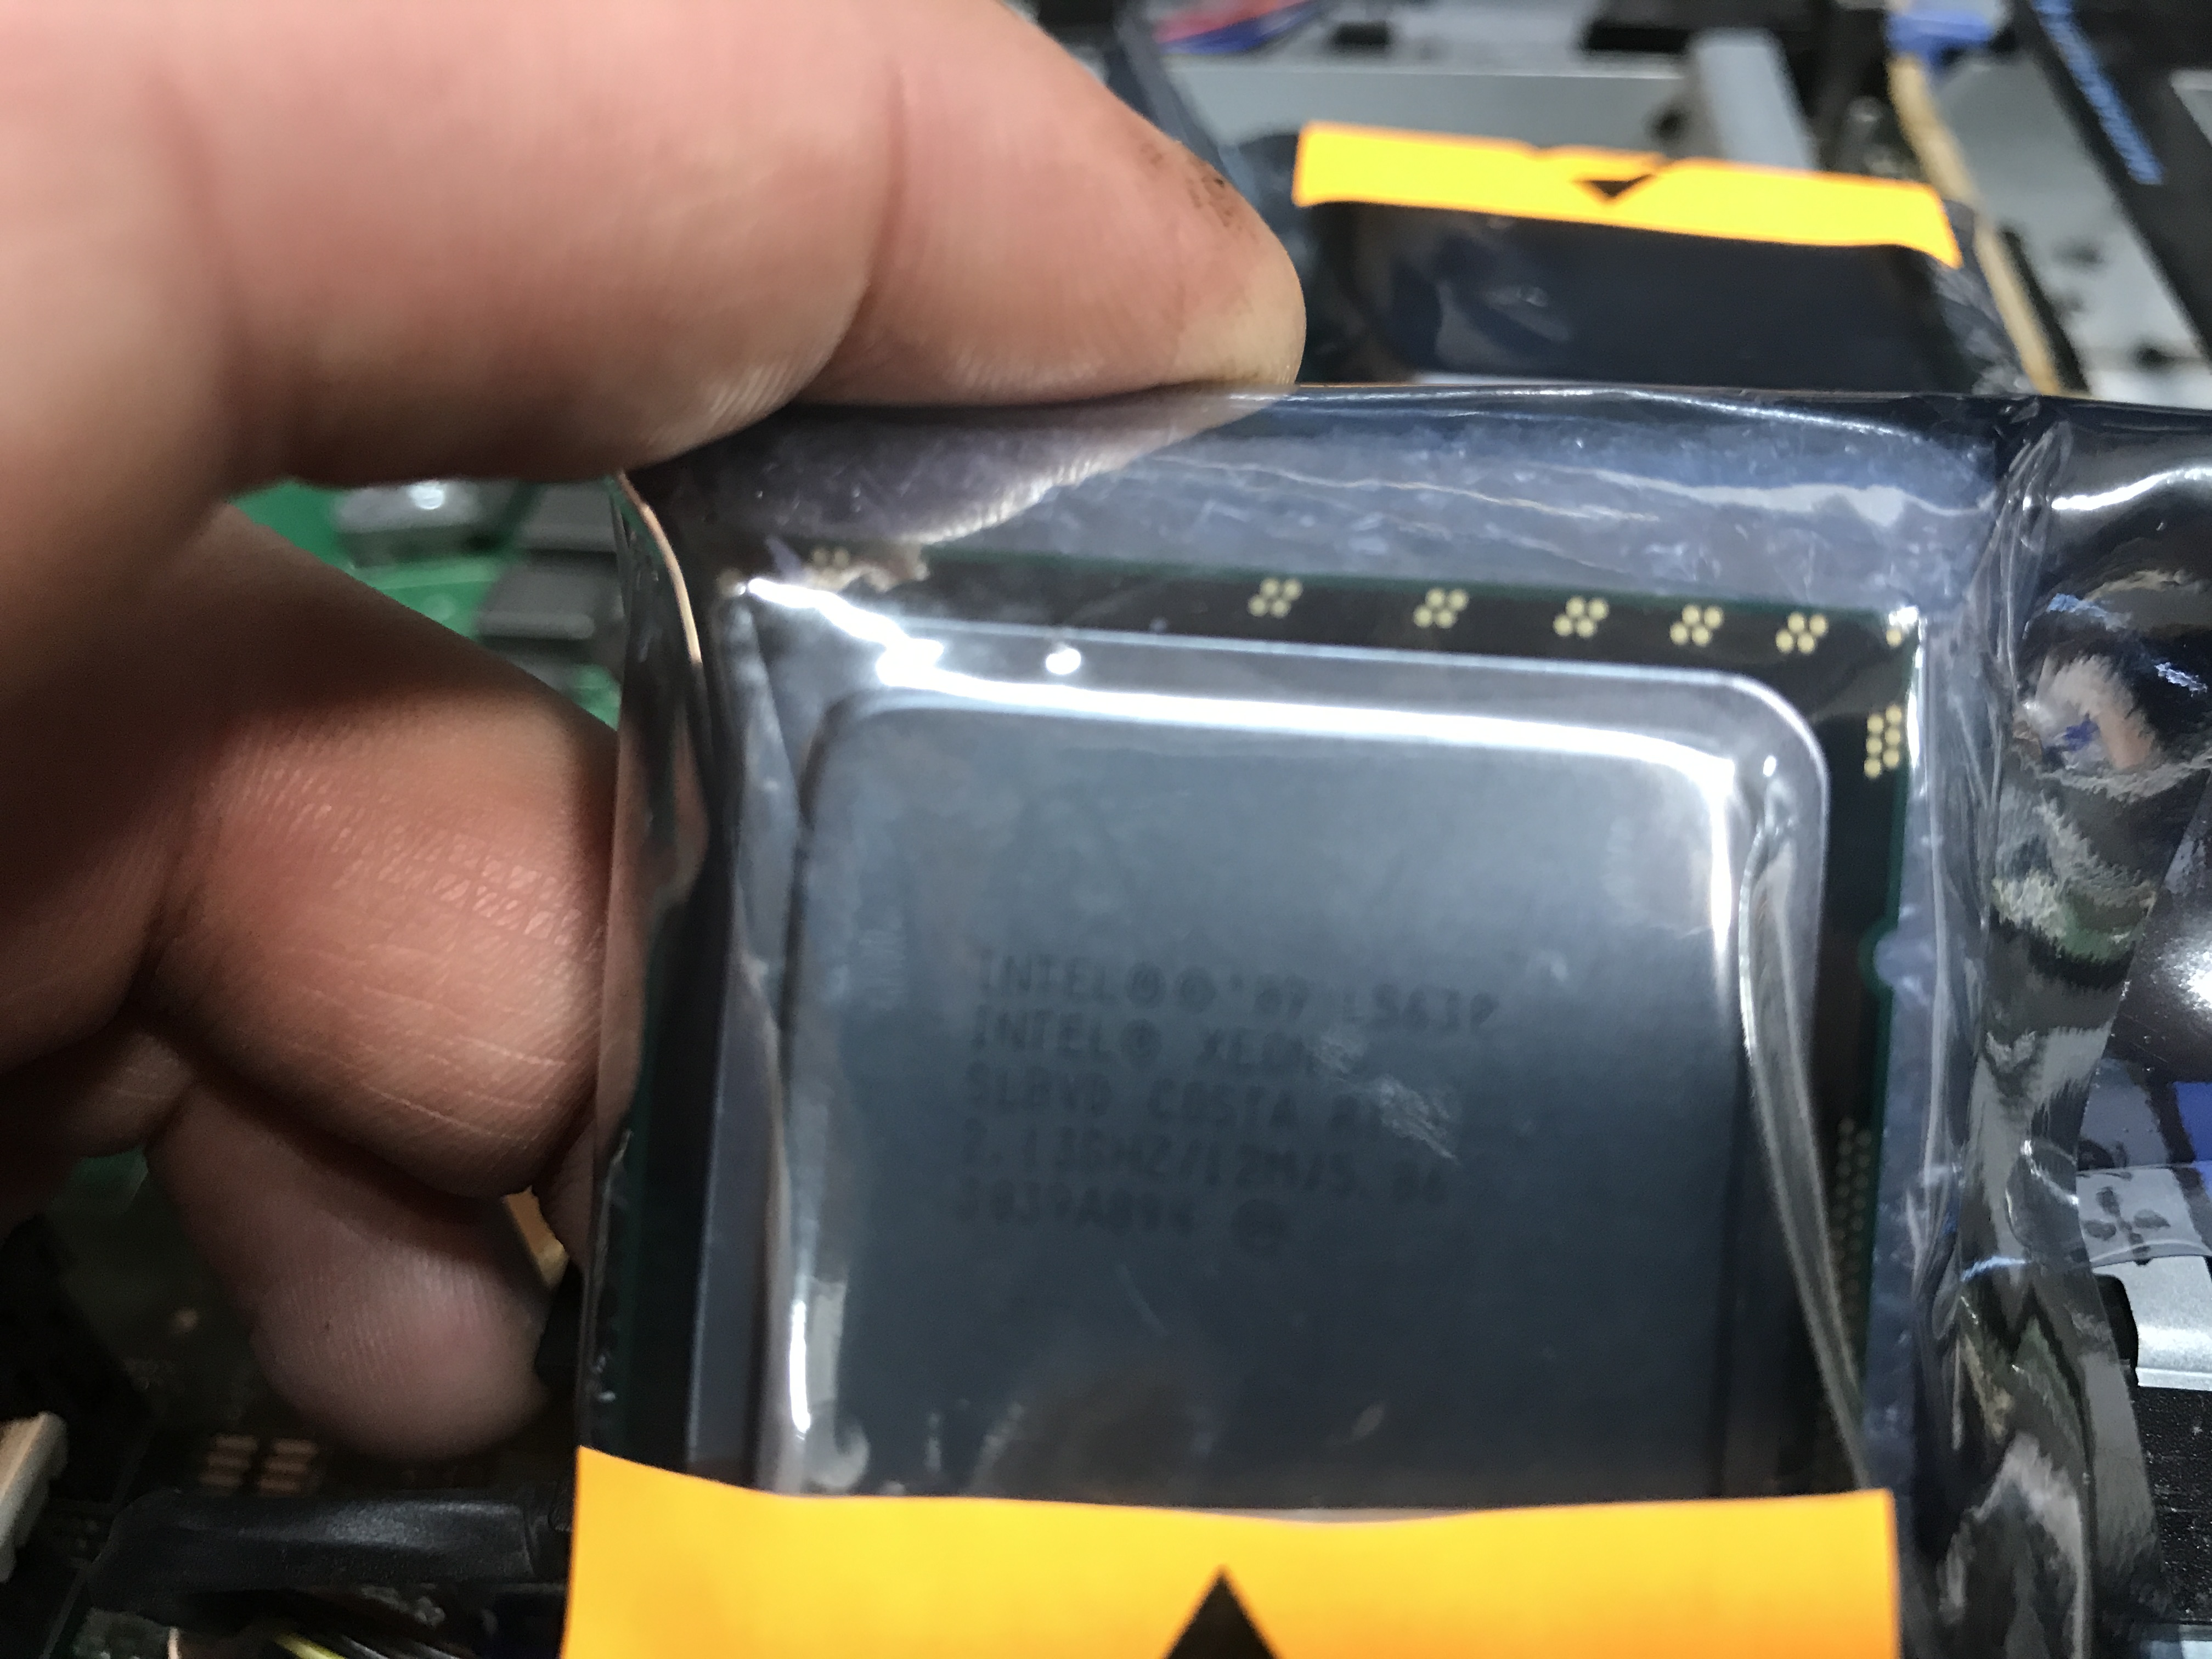
I am using the Intel Xeon L5630 CPUs. They are a lower power CPU and are fairly cheap. I believe I paid around $5-6ea on eBay.
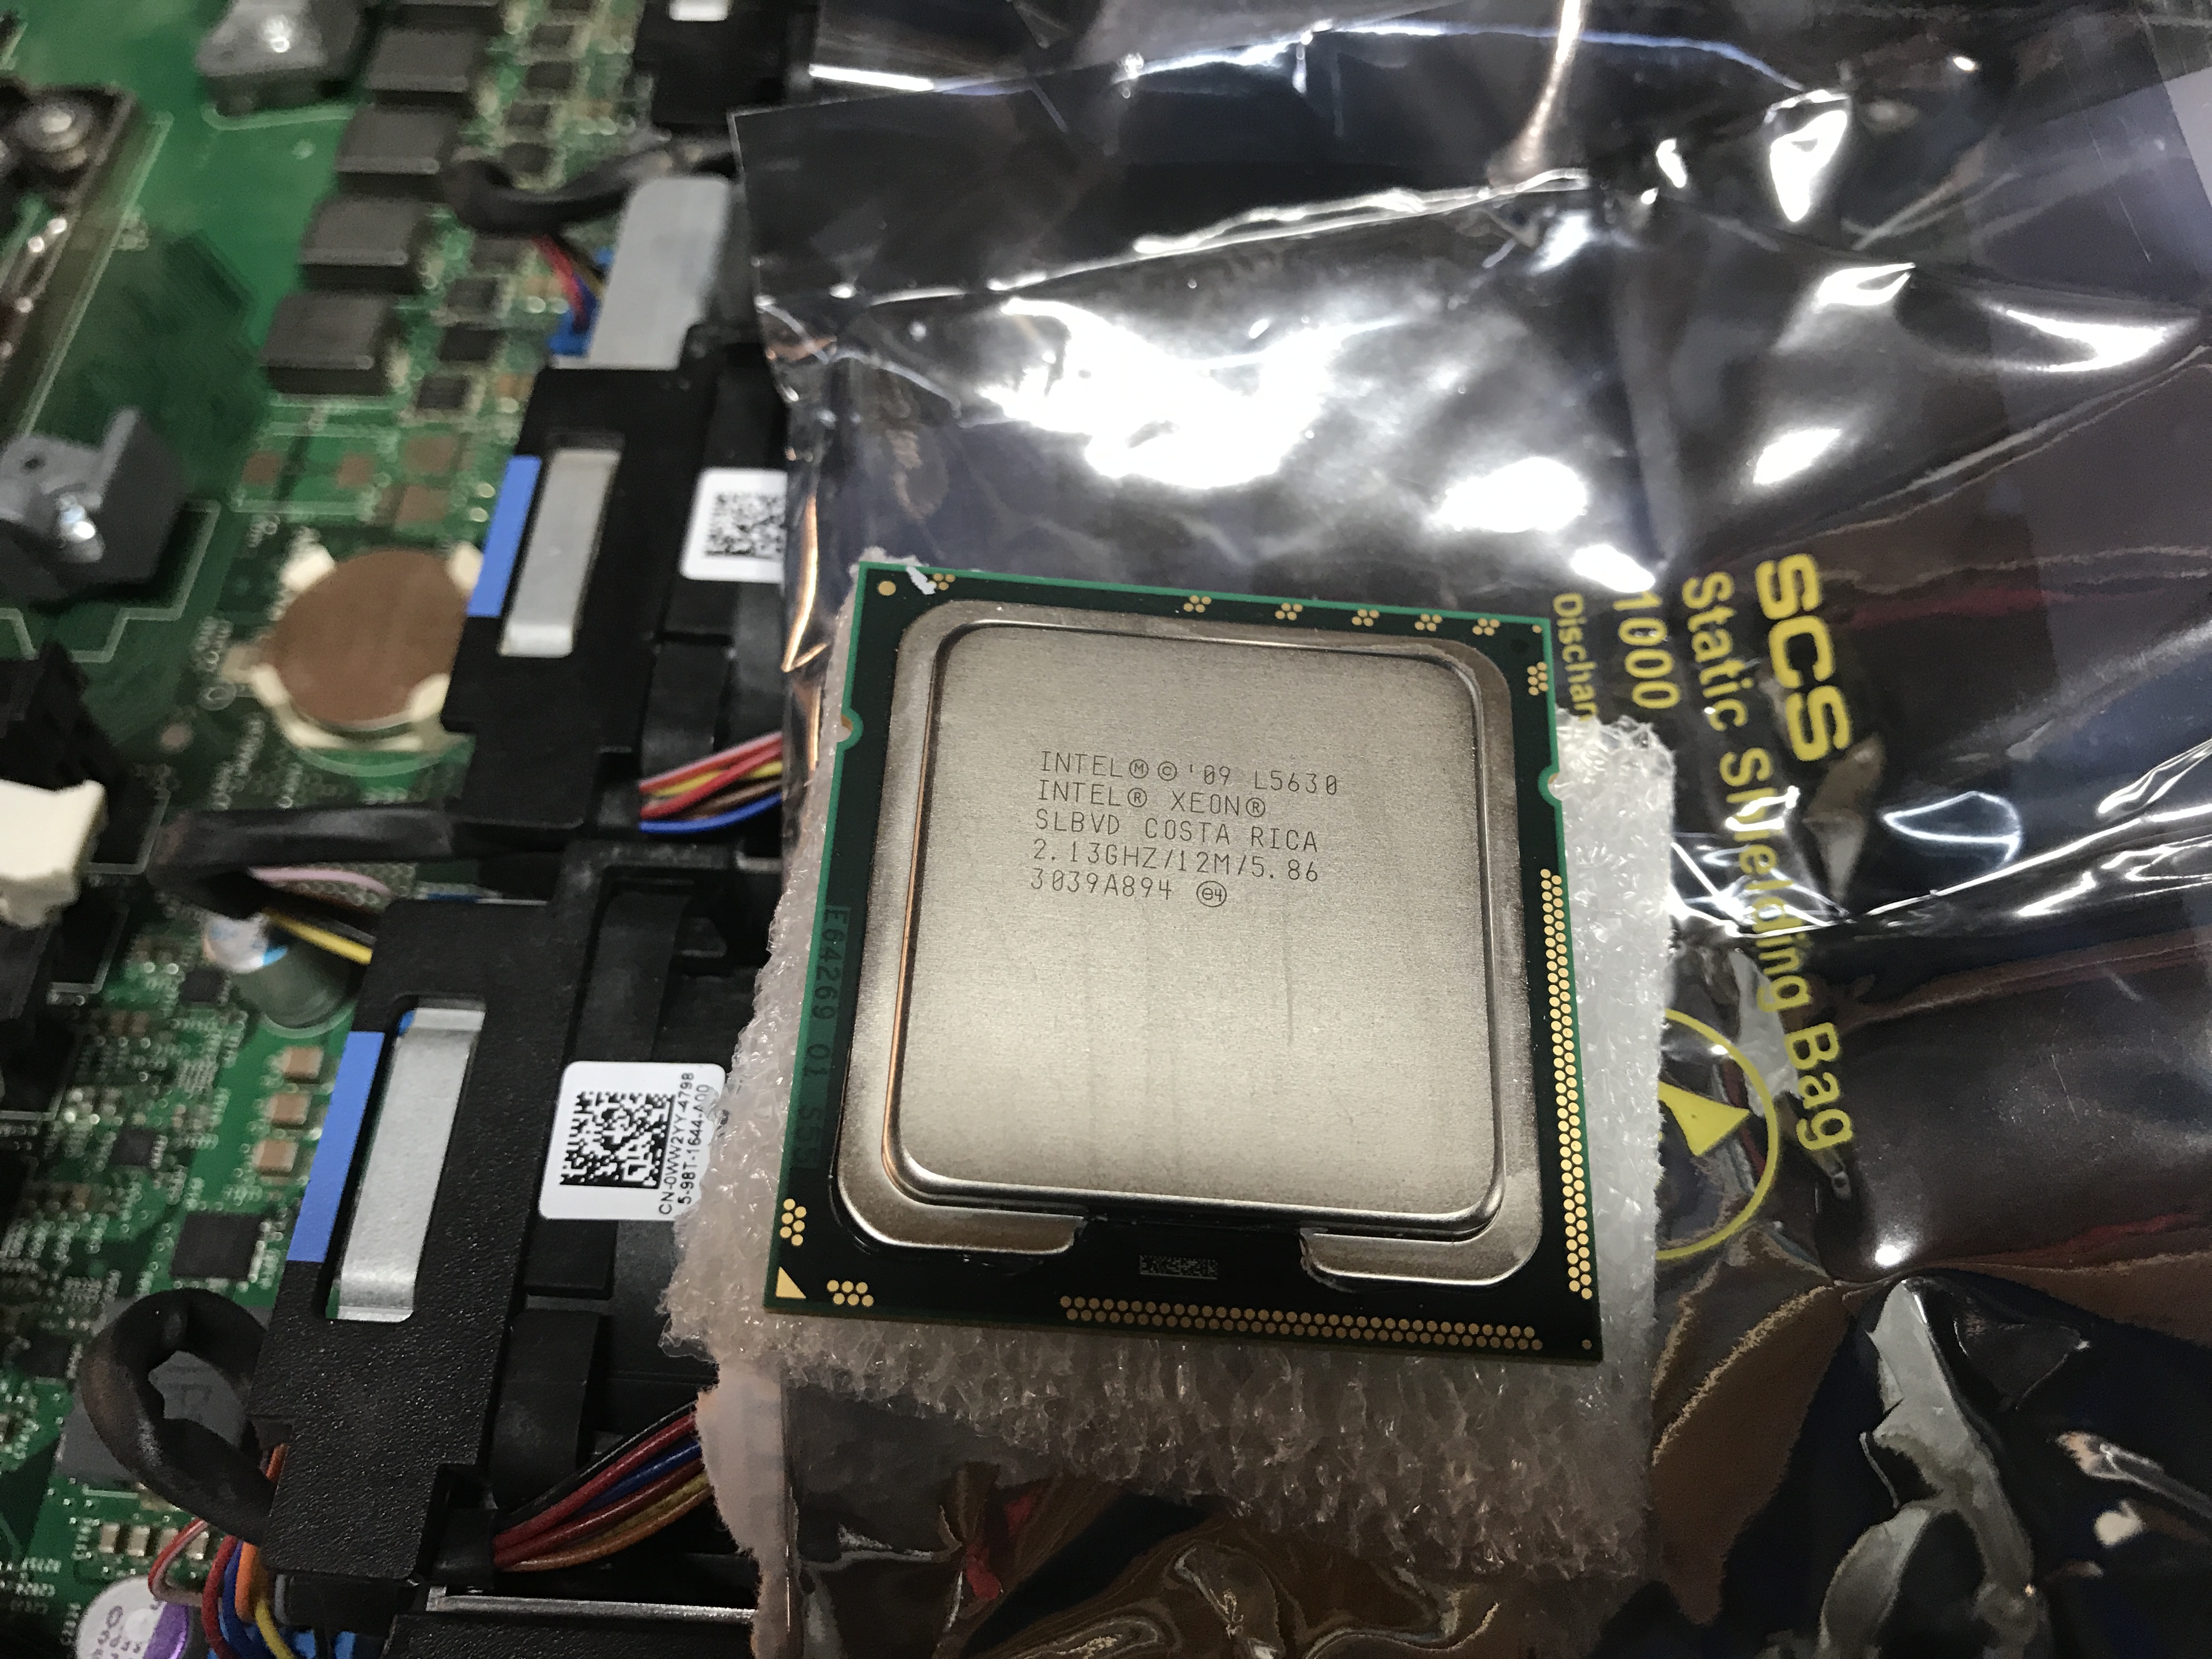
Install your new CPUs carefully. The chips have two half circle notches cut out of them. One on each side. These notches line up with little plastic pegs within the socket. This keeps the chips aligned properly. They act as a key so you cannot put the chip in backwards.
Next, place the chips in their sockets. Fold the metal ring around the top of the chip and take the metal lever and push down. Slide the metal lever under the clasp/hook. The lever will have some pressure on it but you should not have to force it. If you have to force it, chances are you’ve installed the chip backwards.
Once the chips are installed, take a small dab of thermal paste and put a very thin layer on the top of each chip. This does not need to be very thick nor do you want gobs and gobs of thermal paste on there.
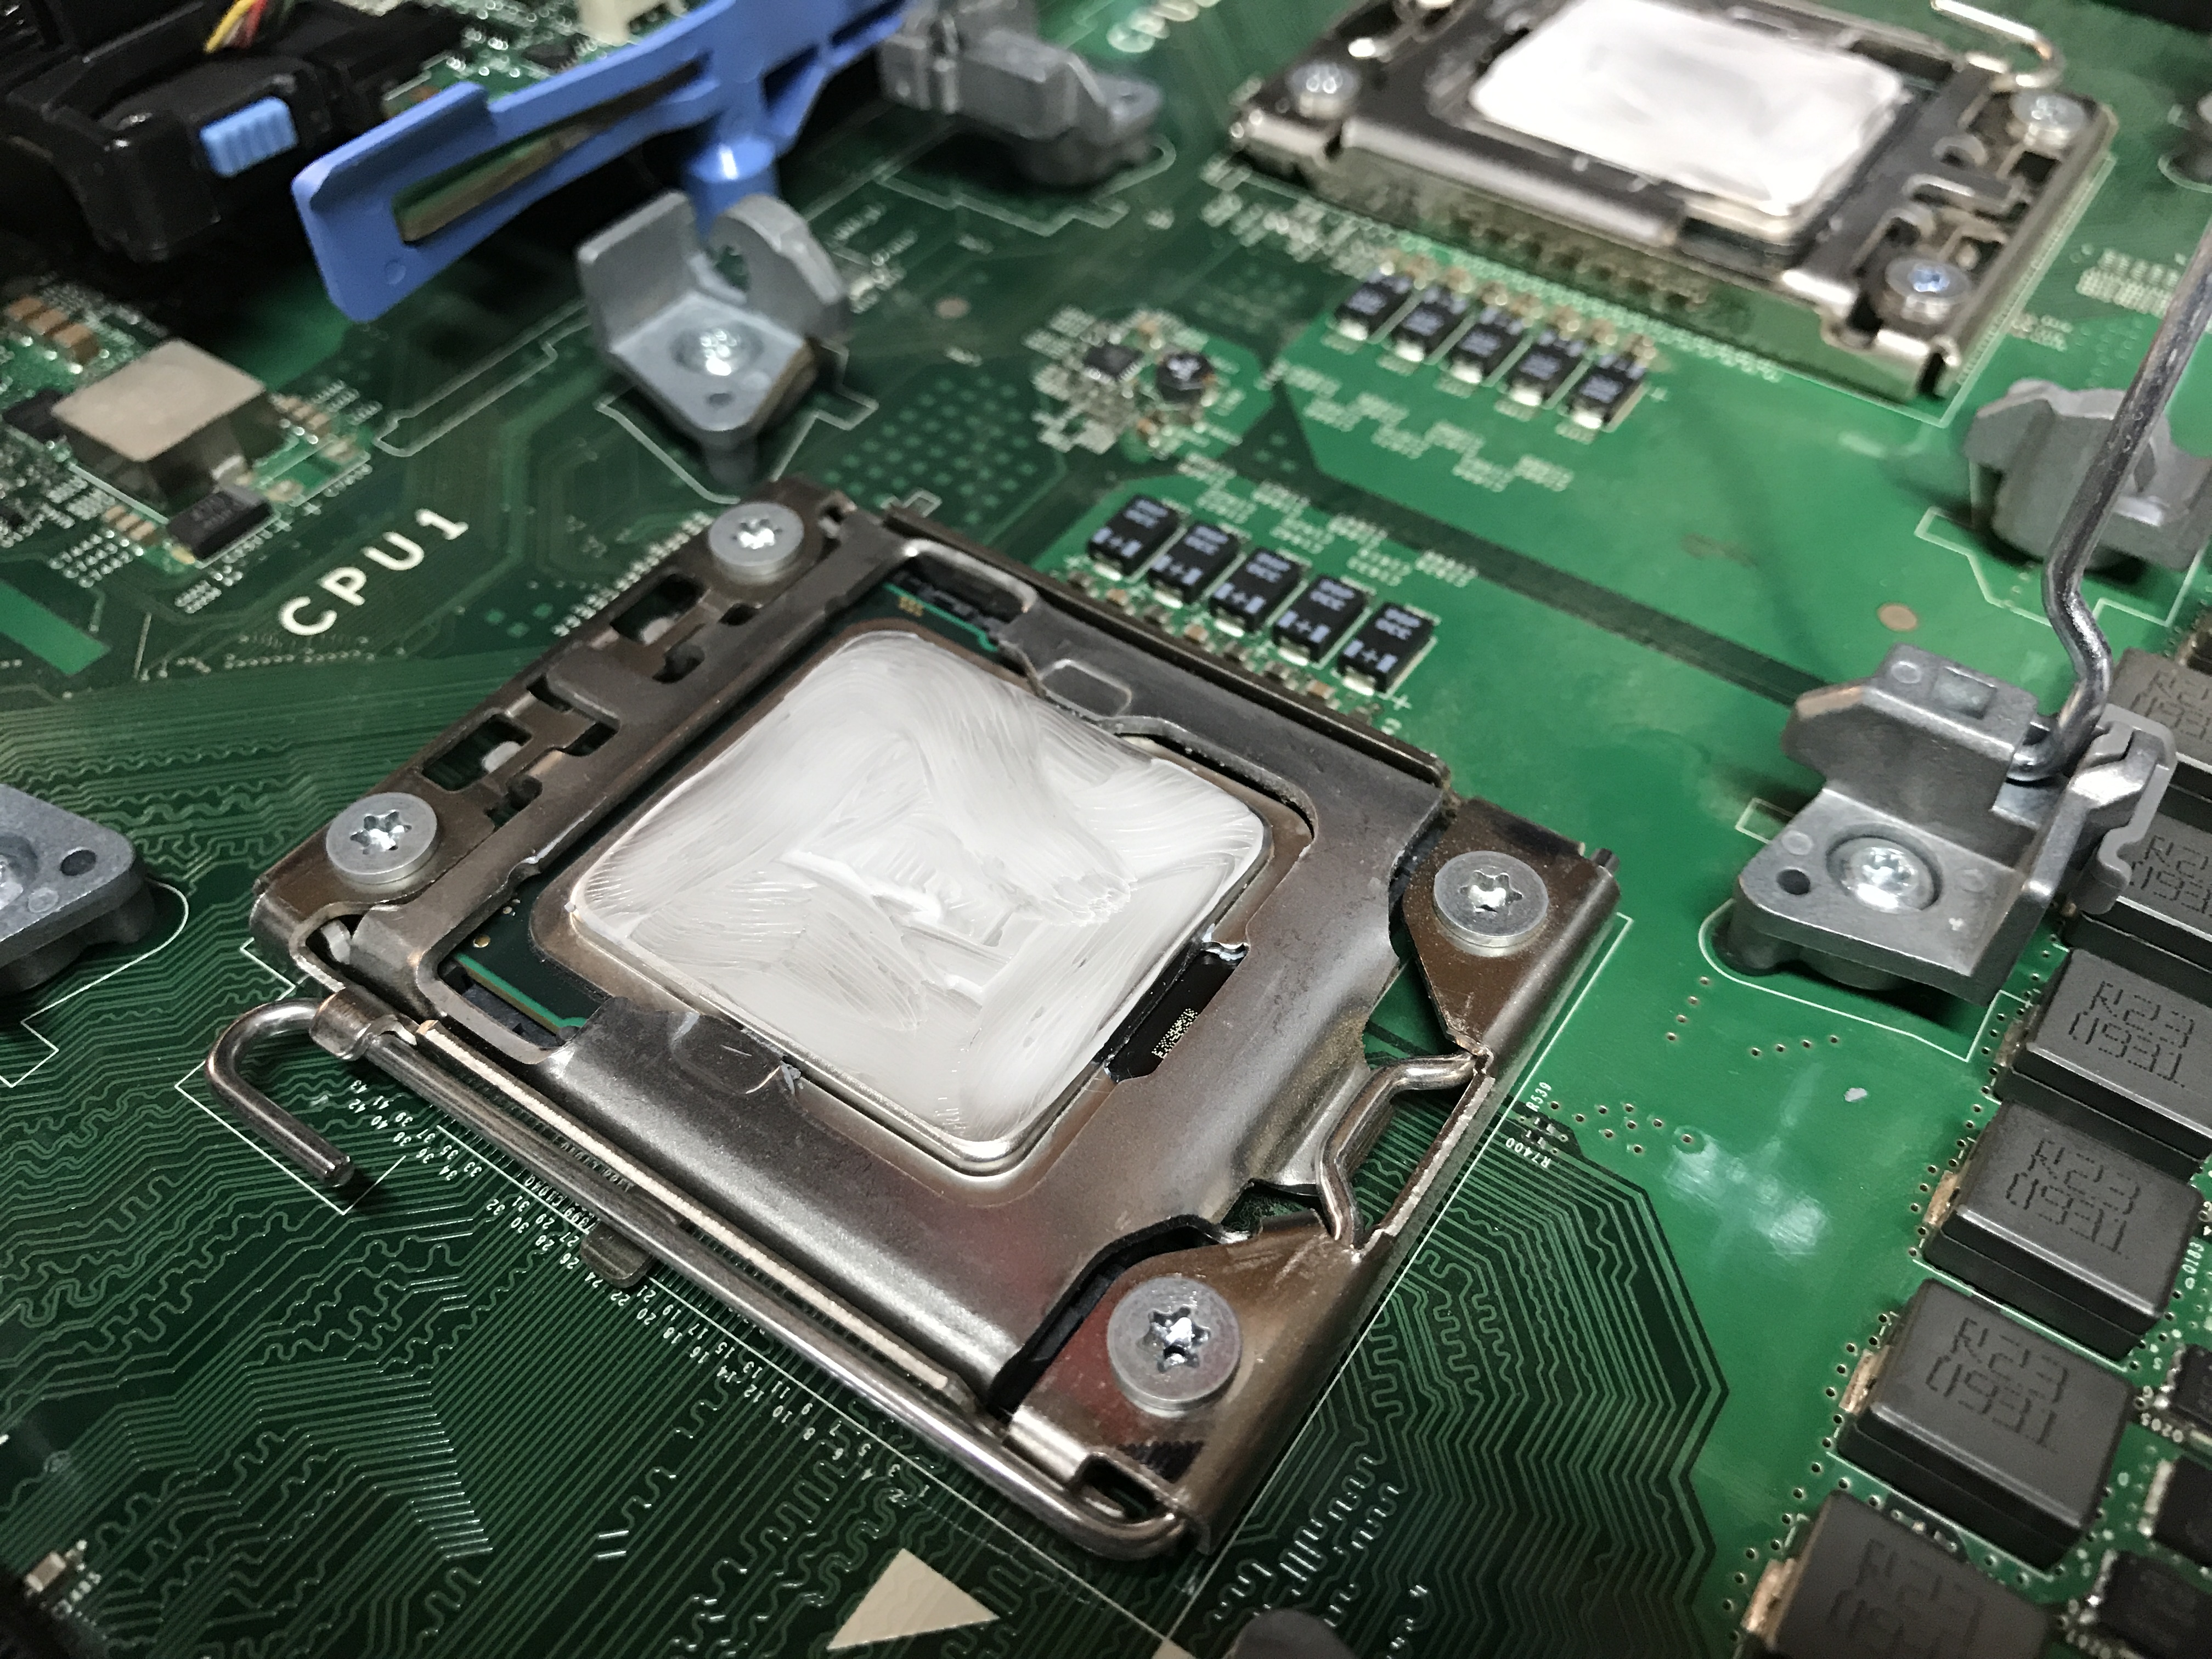
Once you’ve applied your thermal paste, you can go ahead and re-install the heat sinks. Next, place one on each chip. Push down on the metal levers. Finally, lock the levers in place under the hook/clasp on each side.
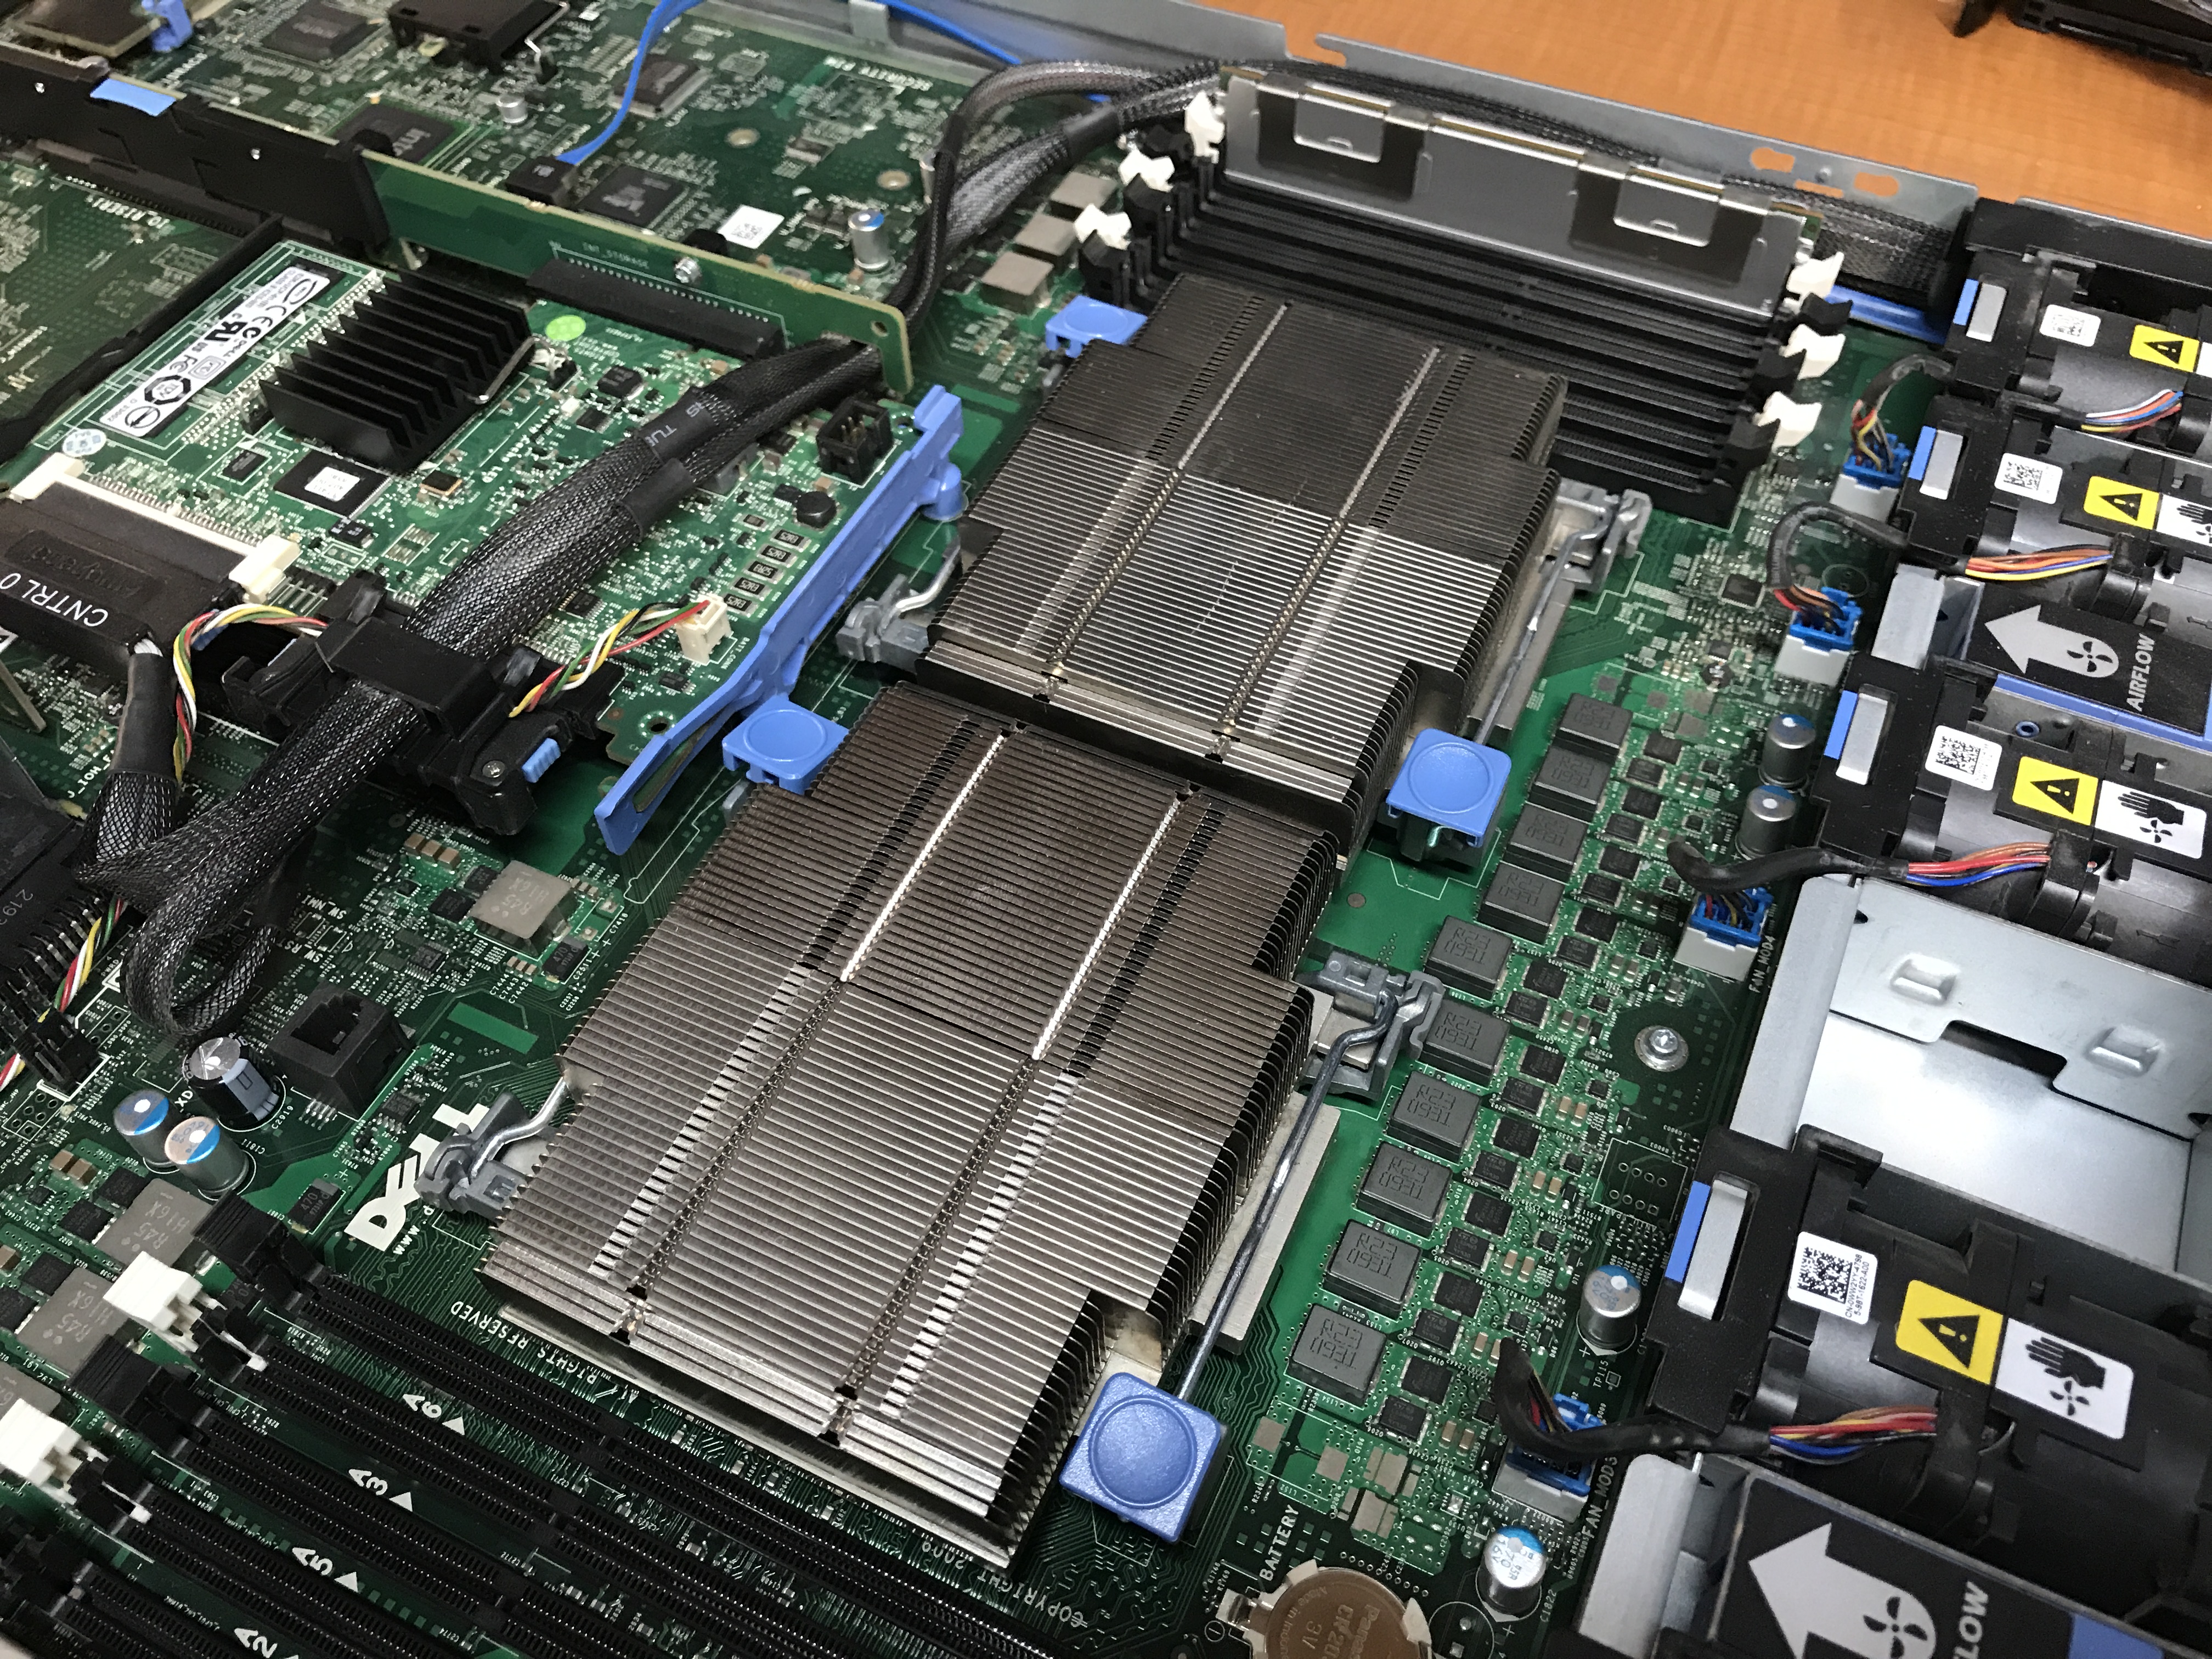
Now that you’ve successfully changed out both Intel Xeon CPUs in your Dell R610, you can power it up and enter the BIOS and confirm that it sees both CPUs.
Summary
Finally, if you are interested in my home lab rebuild, please check out my blog post titled “Homelab Rebuild – Part 1 – Intro” for more information
Please feel free to check out some of my latest blog posts or my about me page to learn more!